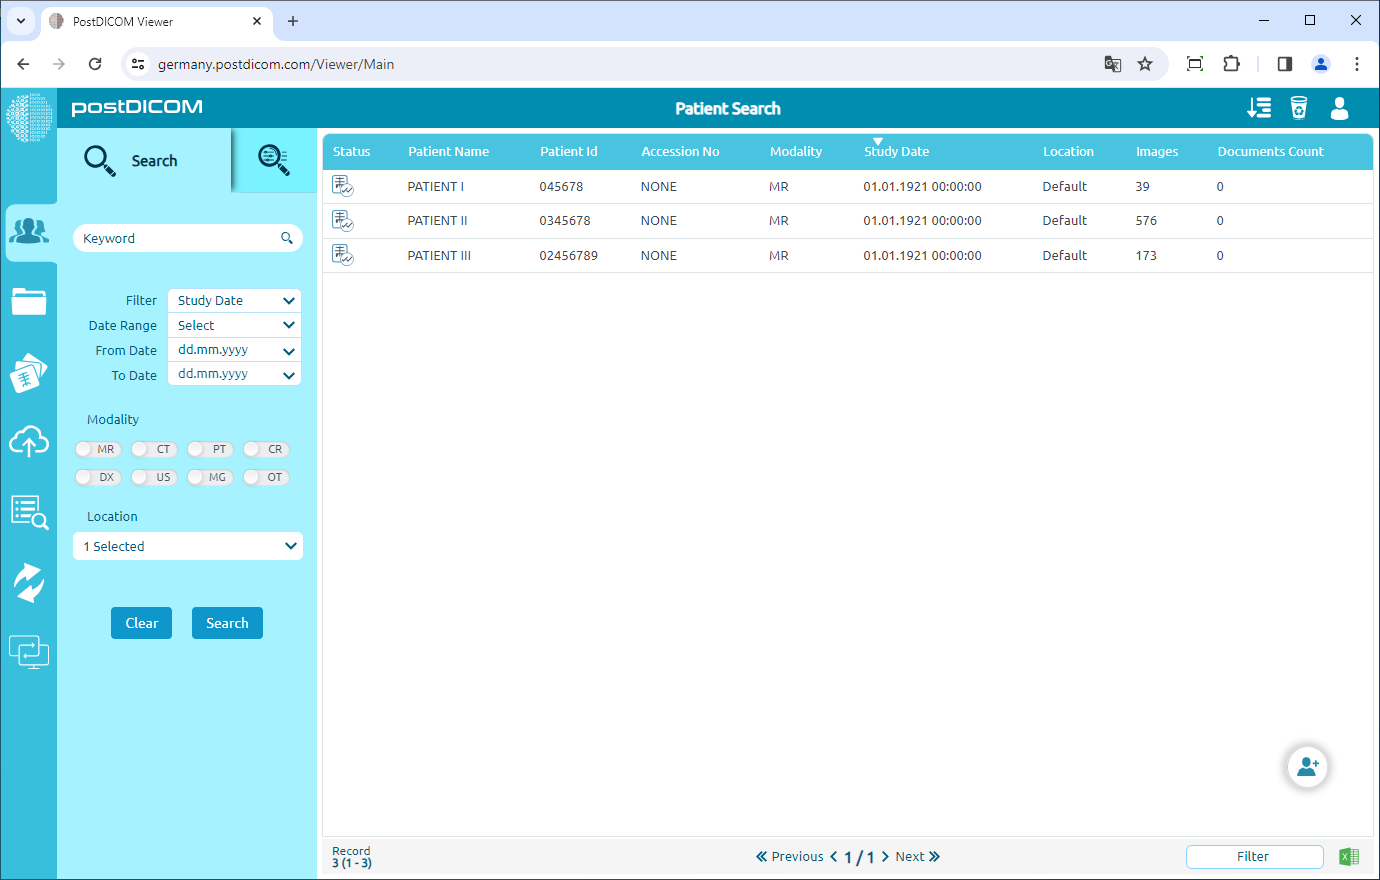
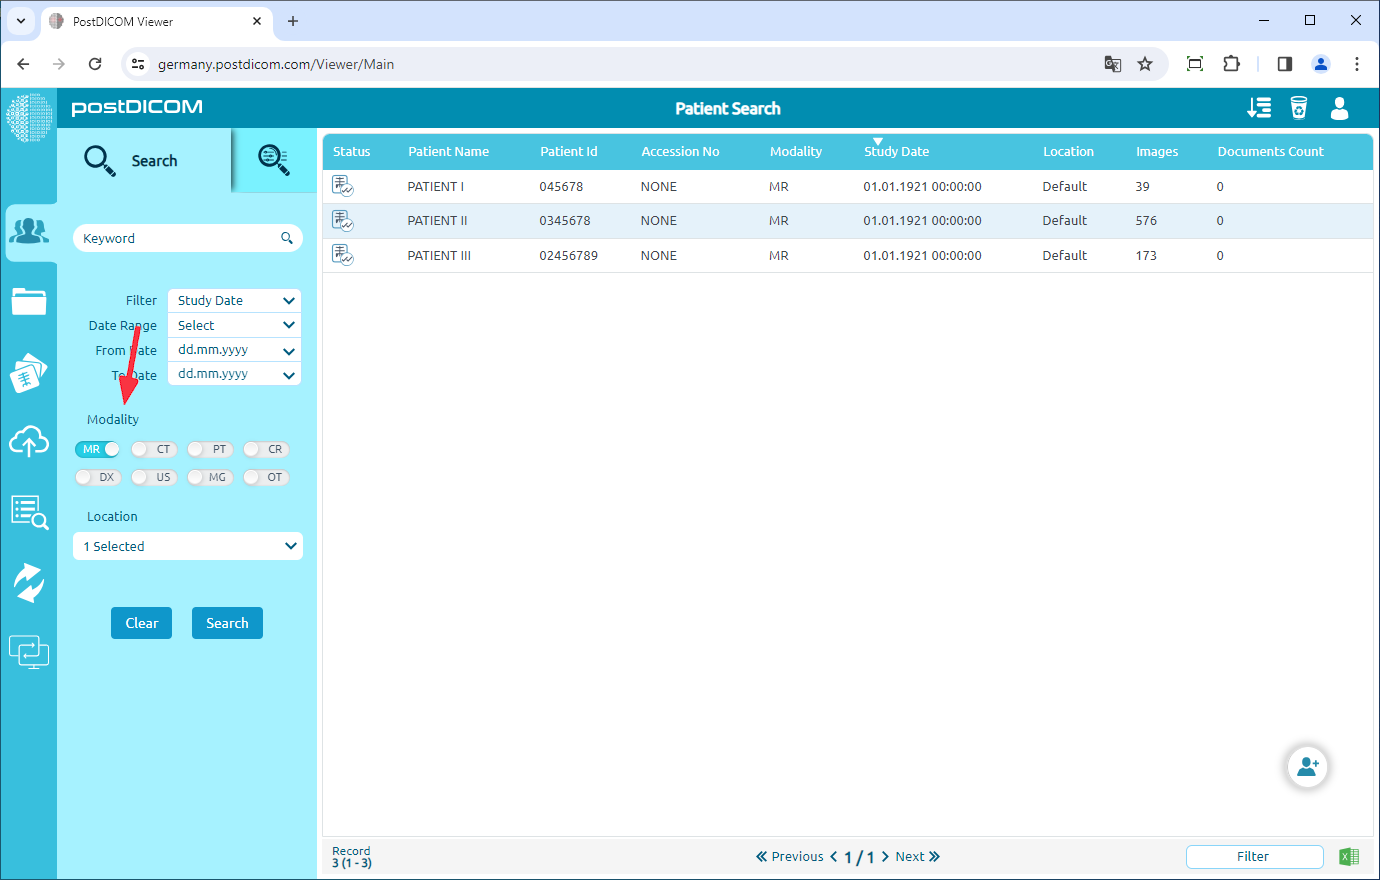
When you open the "Patient Search" page, all patient orders in your account will be shown. Patient Search results are displayed on the grid with patient name, patient ID, accession no, modality, study date, location, images count columns, and documents count. You can sort the patient orders by clicking on these columns. The orders will be sorted accordingly to the column you clicked on.
You will see the "Record" section on the lower left corner of the page. The first figure in front of the parentheses indicates the total number of orders. The figures in the parentheses indicate the first and the last row number of orders on the displayed page, respectively.
You can navigate through pages by clicking on the "Previous" and "Next" button on the lower of the page. The figures between these buttons indicate the current page number and the last page number, respectively.
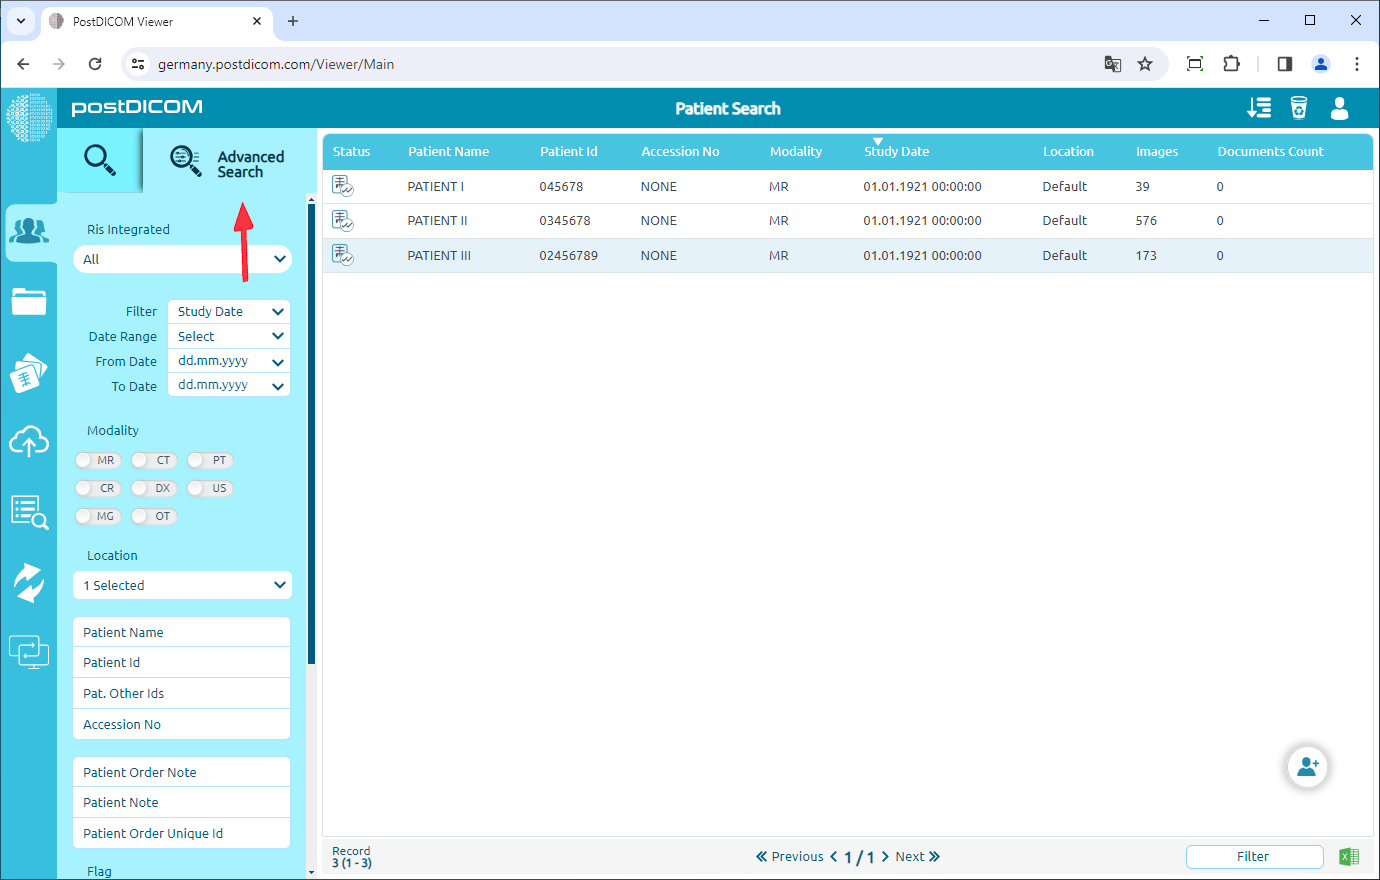
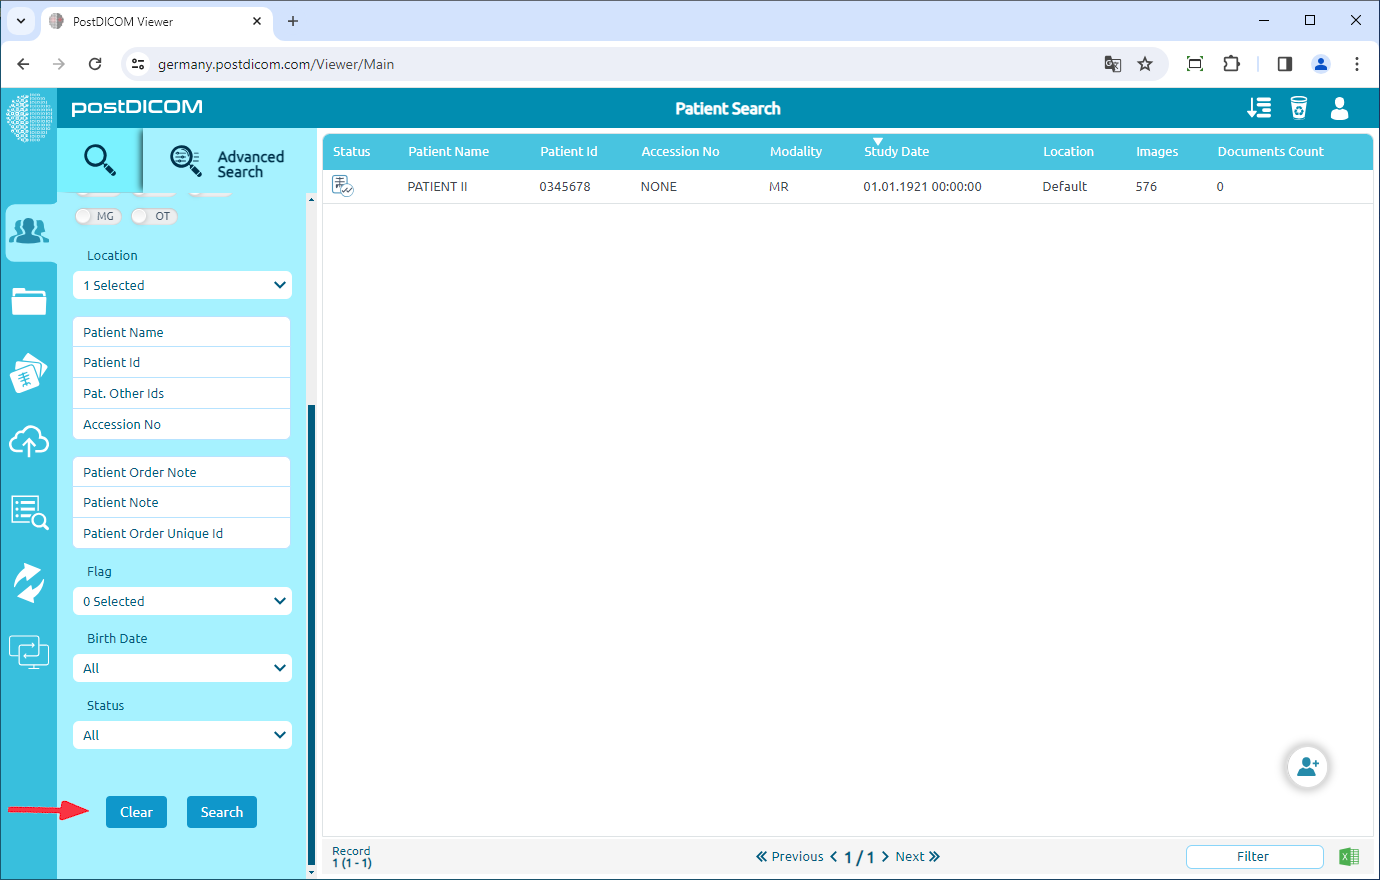
For advance search click the magnifying glass icon.
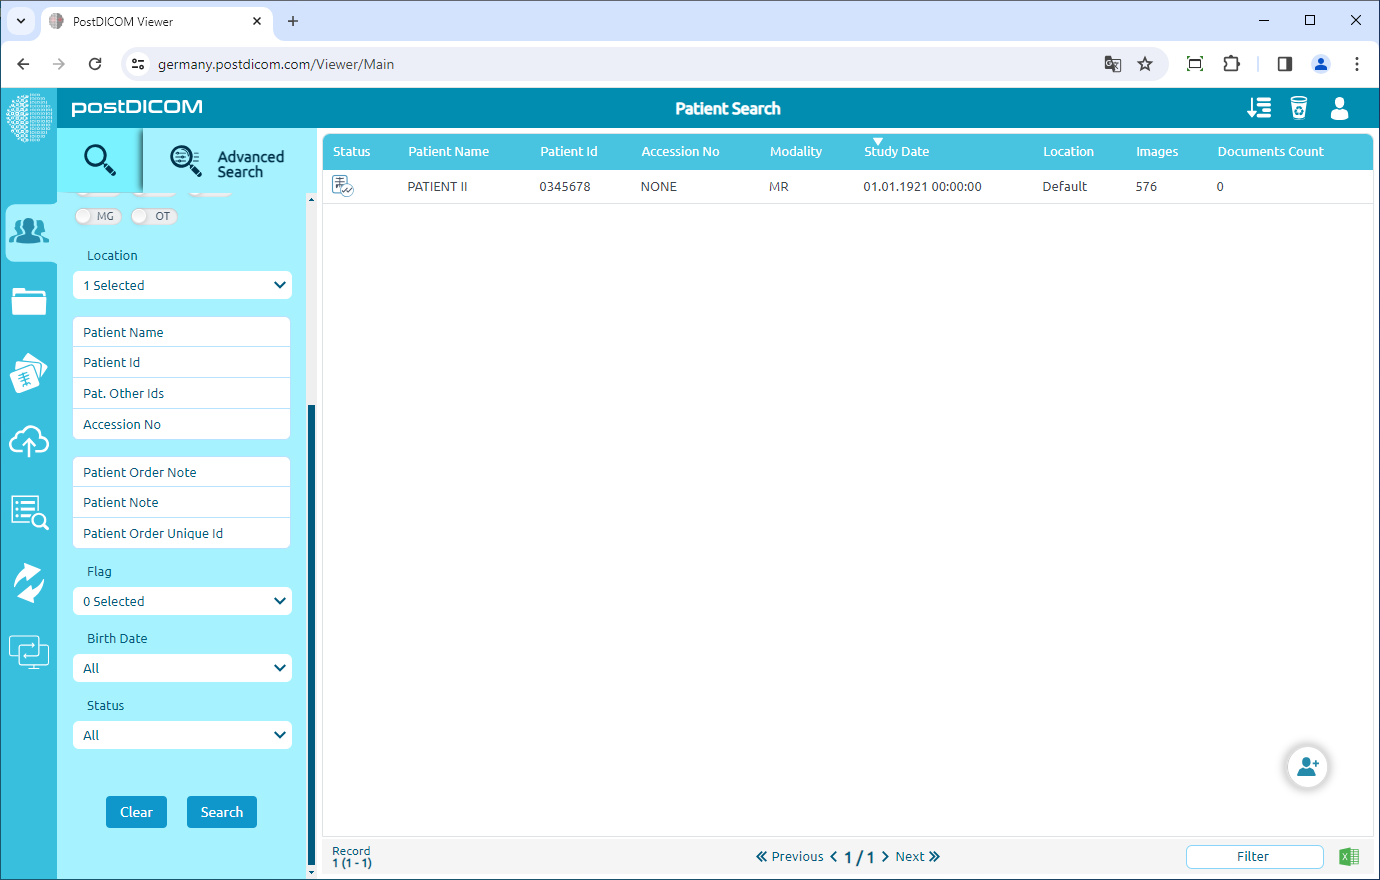
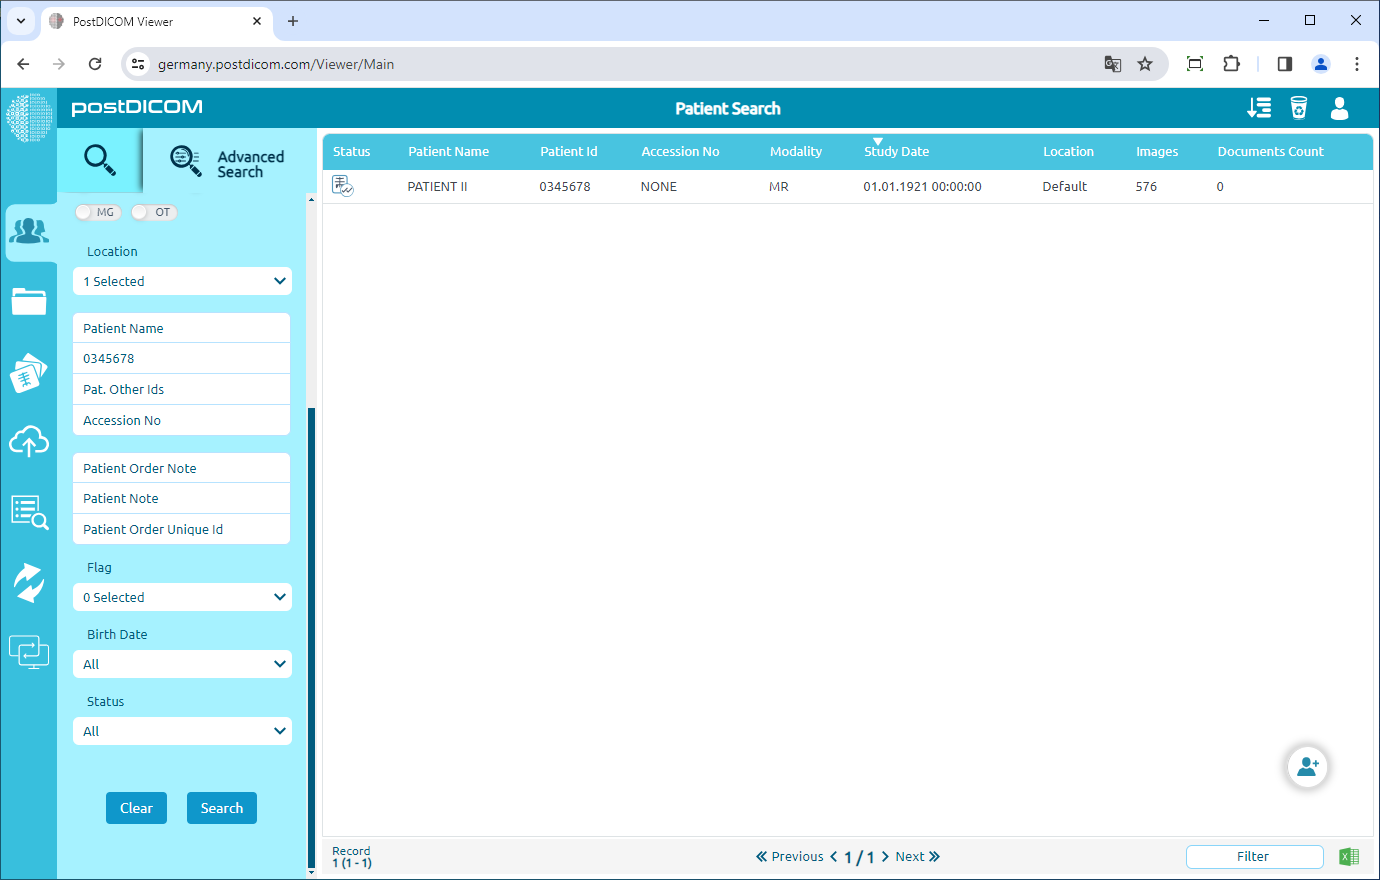
Patient orders can be searched by using patient name, patient id, patient other ids, accession number,patient order note,patient note,patient order unique Id,flag,birth date, status. Enter any of these information in the related field and click on "Search" button.
Related patient order or orders that are matching to your search parameters will be displayed on the page.
In order to clear the search parameter, click on "Clear" button. If you want to see original Patient Search content, click on “Search” button after clearing your search parameters.
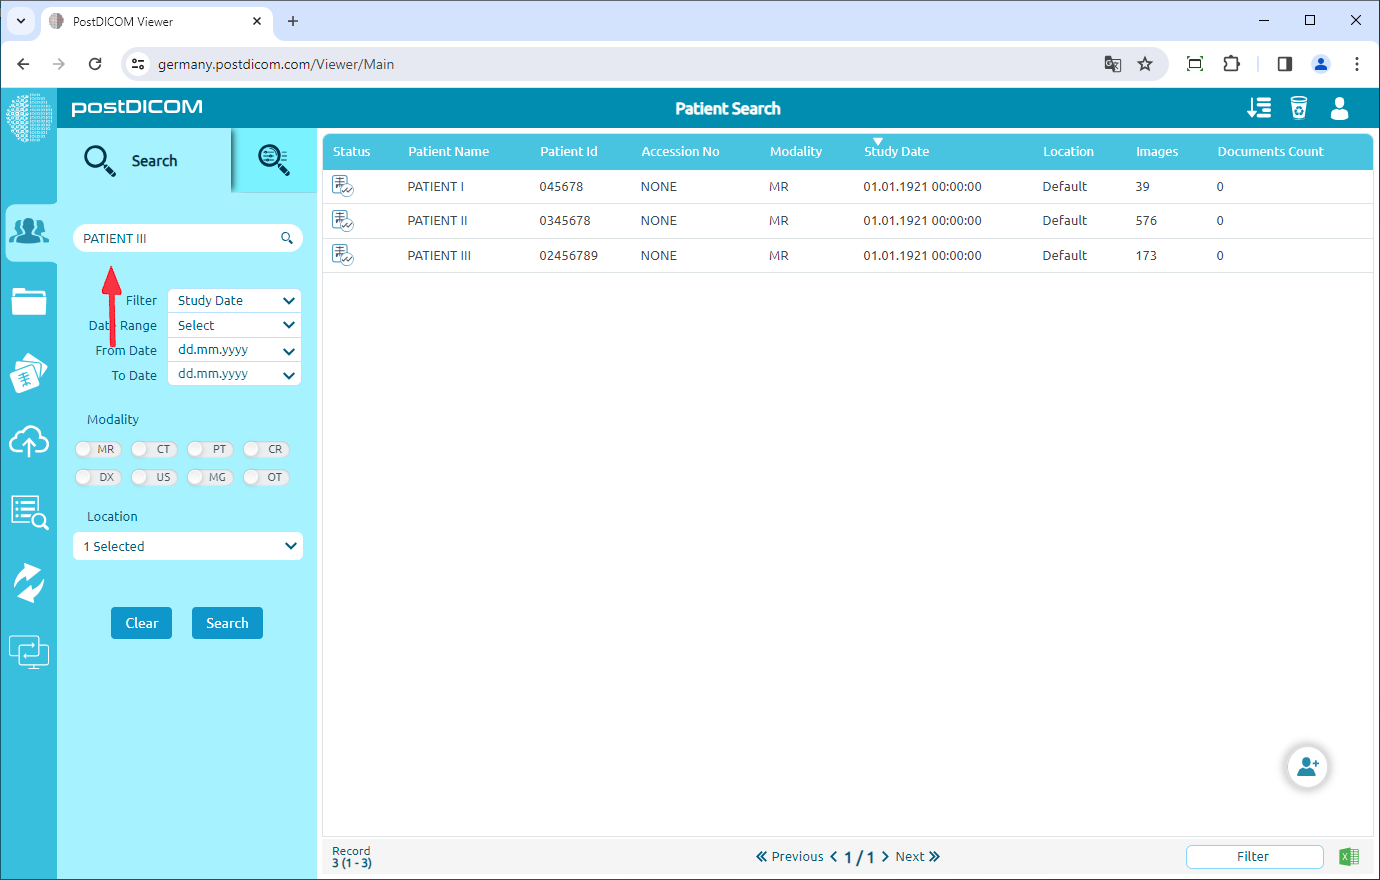
You can also search patient orders by using Keyword search field.Go back to the "Search" tab Entered information will be searched in patient name, patient id, patient other ids and accession number at the same time. Fill Keyword search field, then, click on "Search" button.
Once you have clicked on, you will see related order or orders on the page.
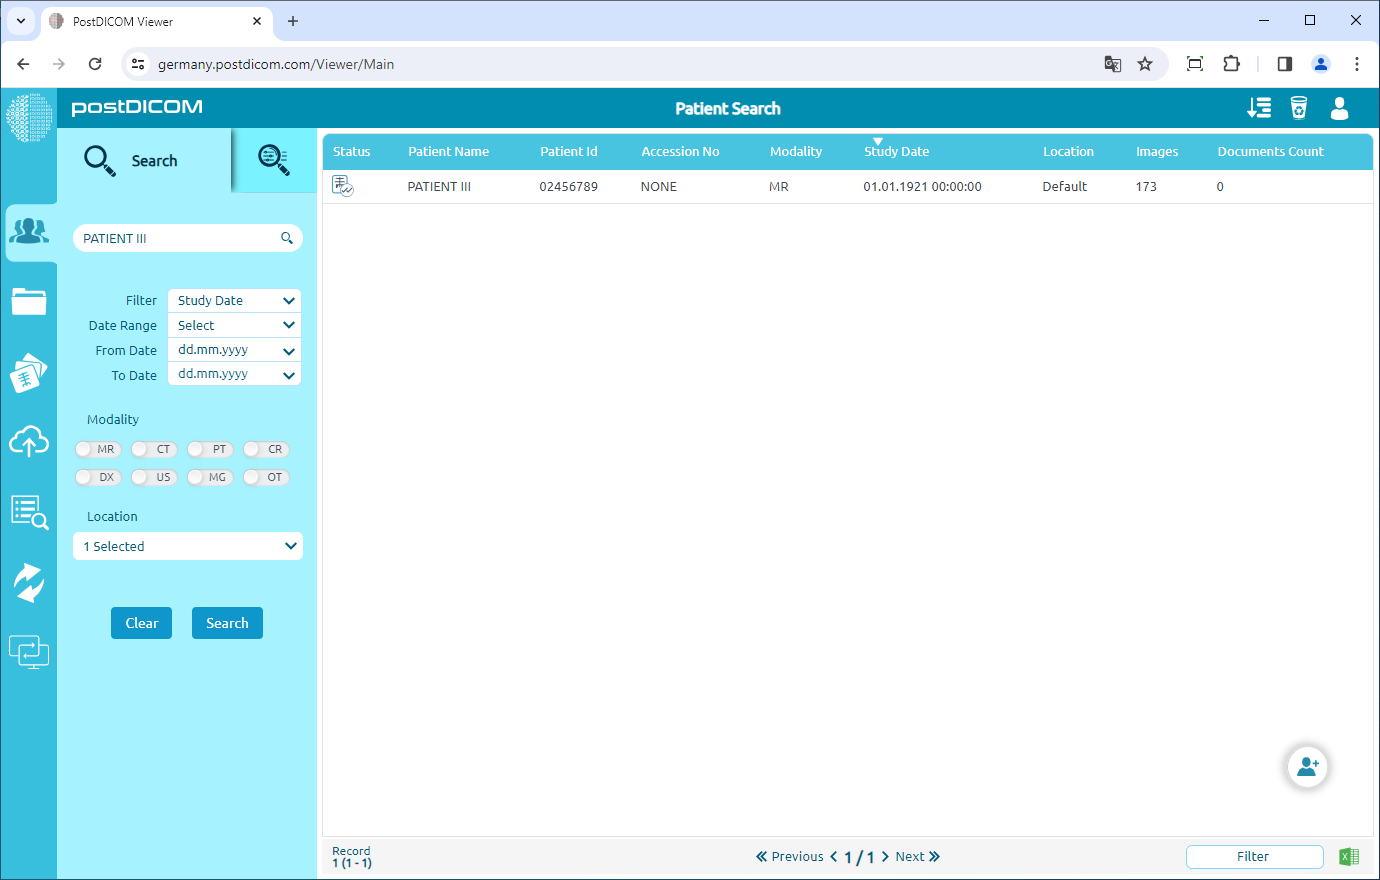
In order to clear your search parameters, you can follow the same steps in Step 5.
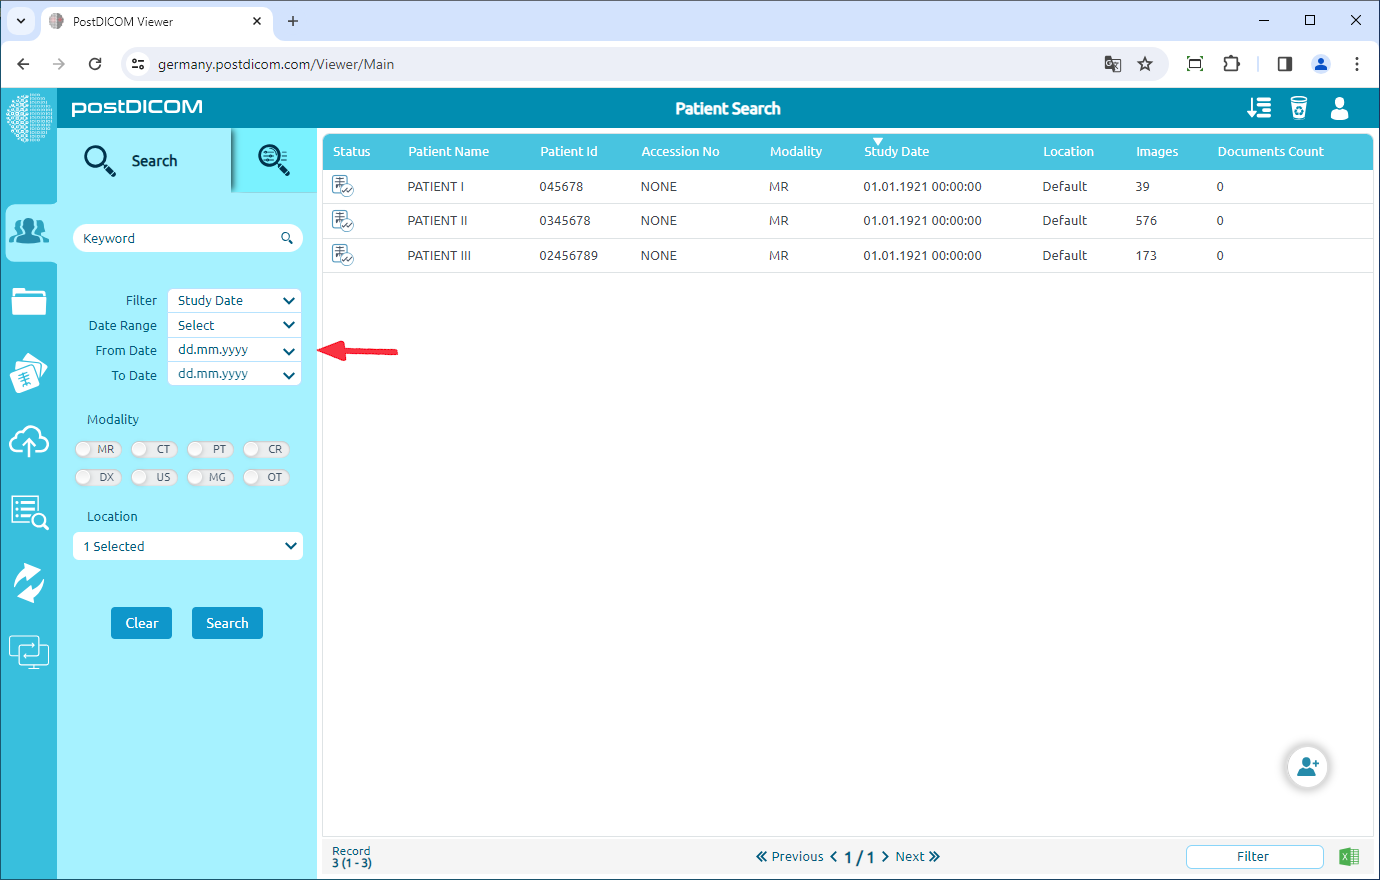
You can also search patient orders by using the date range. For this, select the "Date Range" on the left side of the page. When you select a specific range such as "Today", "Yesterday", "Last Month" or "Last 10 Years", "From Date" and "To Date" information will be selected automatically according to this range. If you select "Custom Date Range", you can select "From Date" and "To Date" information as you like. After selecting the date range, click on "Search" button. Date Range search can be used with other search parameters.
For clearing your search parameters, you can follow the same steps in Step 5.
You can also search patient orders by using modality of the order. Select the modality of the patient order on the left side of the page. When you select the modality, it will turn into blue colour. Then click on "Search" button. Modality filter can be used with other search parameters.