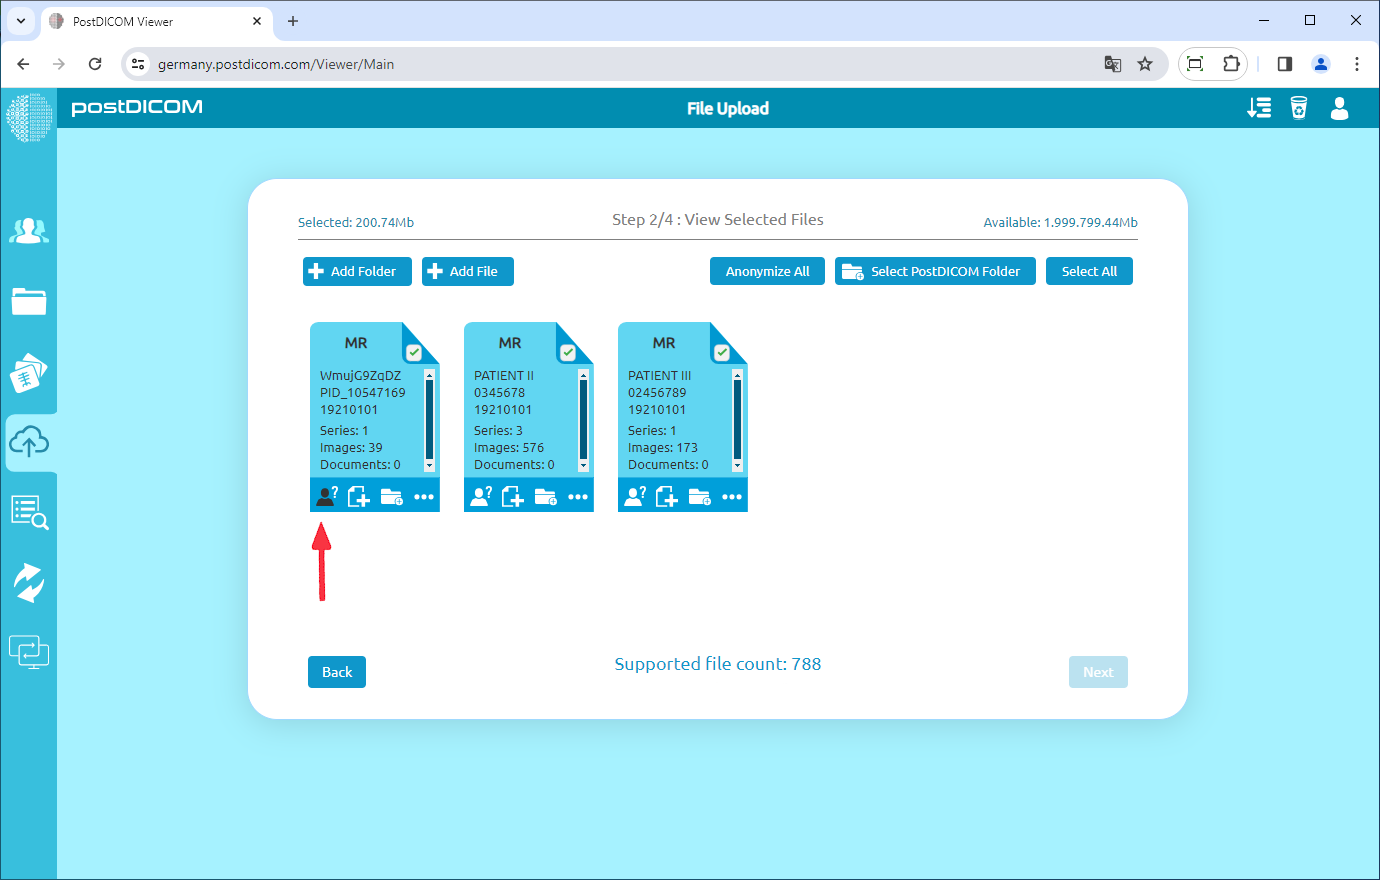
On "Step 2/4: View Selected Files" page, you will see all Patient Study Previews. At the bottom of each patient study preview, there are 4 buttons namely anonymize, add clinical documents, assign study to a folder and show study details. In order to anonymize a particular patient study, click on anonymize button on the lower left corner.
After clicking on the icon shown above, "Anonymize Study" form will be shown. Patient Study fields such as Patient Name, Patient ID, Patient Other Ids etc. are shown with default values. You can change one or more field values by selecting and editing. If you want to fill these fields with random values, click on "Fill With Random Values" icon at the upper right of the form.
Once you have entered the anonymized values , select "Use Anonymized Values" it will save automatically you can click the “Close” button and close the window. "Anonymize Study" icon which was previously white colour will turn into black. If you do not want to use anonymized values click on "Anonymize Study" and deselect "Use Anonymized Values" and then click "Cancel" again. "Anonymize Study" icon will turn into white colour.
In this way, you can anonymize any Patient Study before uploading to postDICOM cloud.