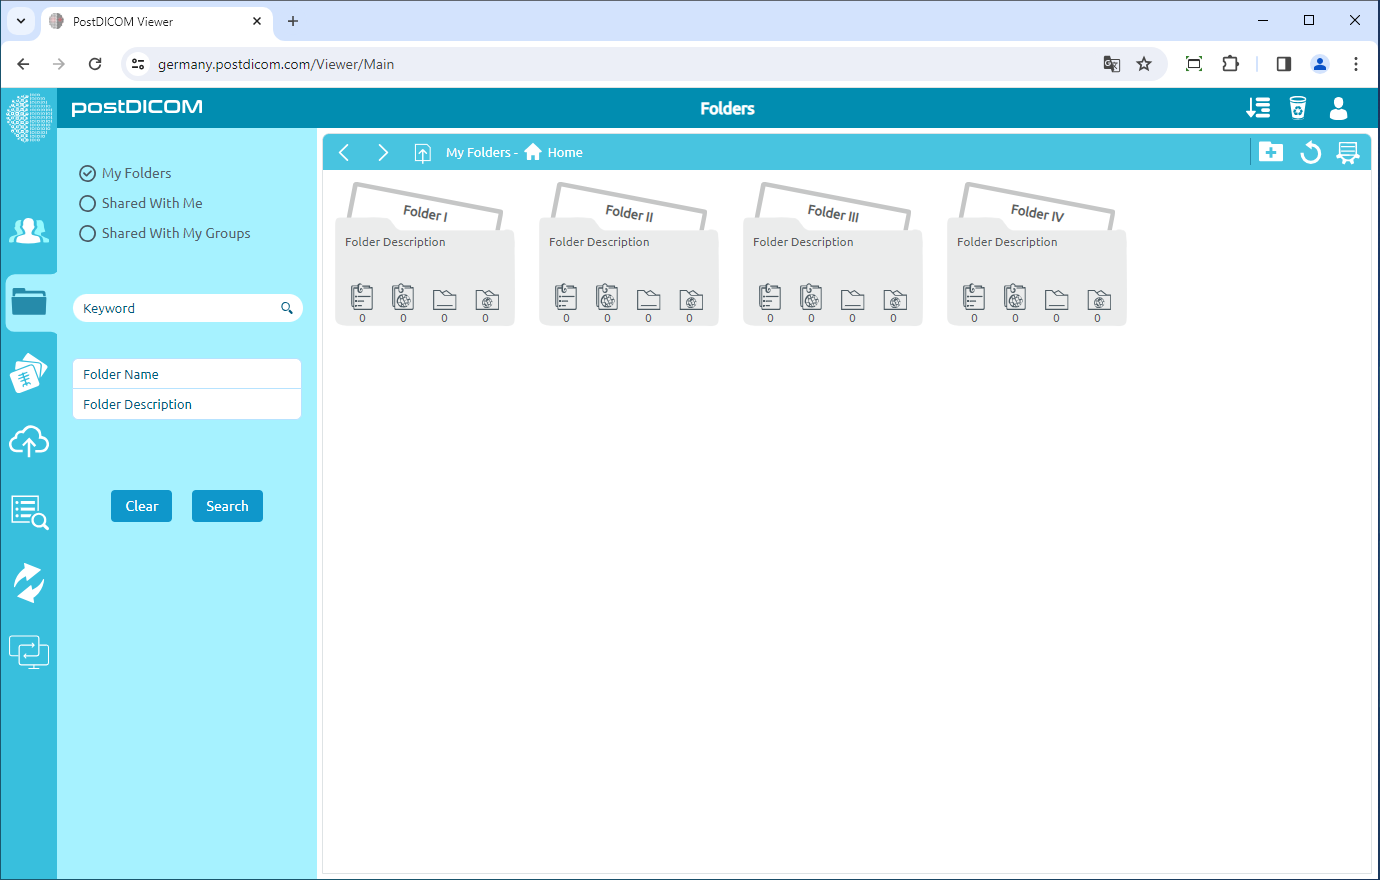
Folders can be moved to the recycle bin from three different locations. The first one is from the "Folders" section on the main screen. The second one is using the "Select Folder" form shown during upload when medical images and clinical documents are added to folders. The third one is using the "Select Folder" form shown on the "Search" results page when Patient Studies are added to folders. At these three locations visual appearance of the folders, toolbar, and functions are identical, therefore, in this article screen shots taken from the "Folders" section are used. In "Folders" section, all of the folders and their contents are displayed.
Click on the folder you want to move to the recycle bin. After you have clicked, the selected folder will turn into blue color and if you click again it will be deselected. You can choose one or more folders at the same time using Control and Shift keys.
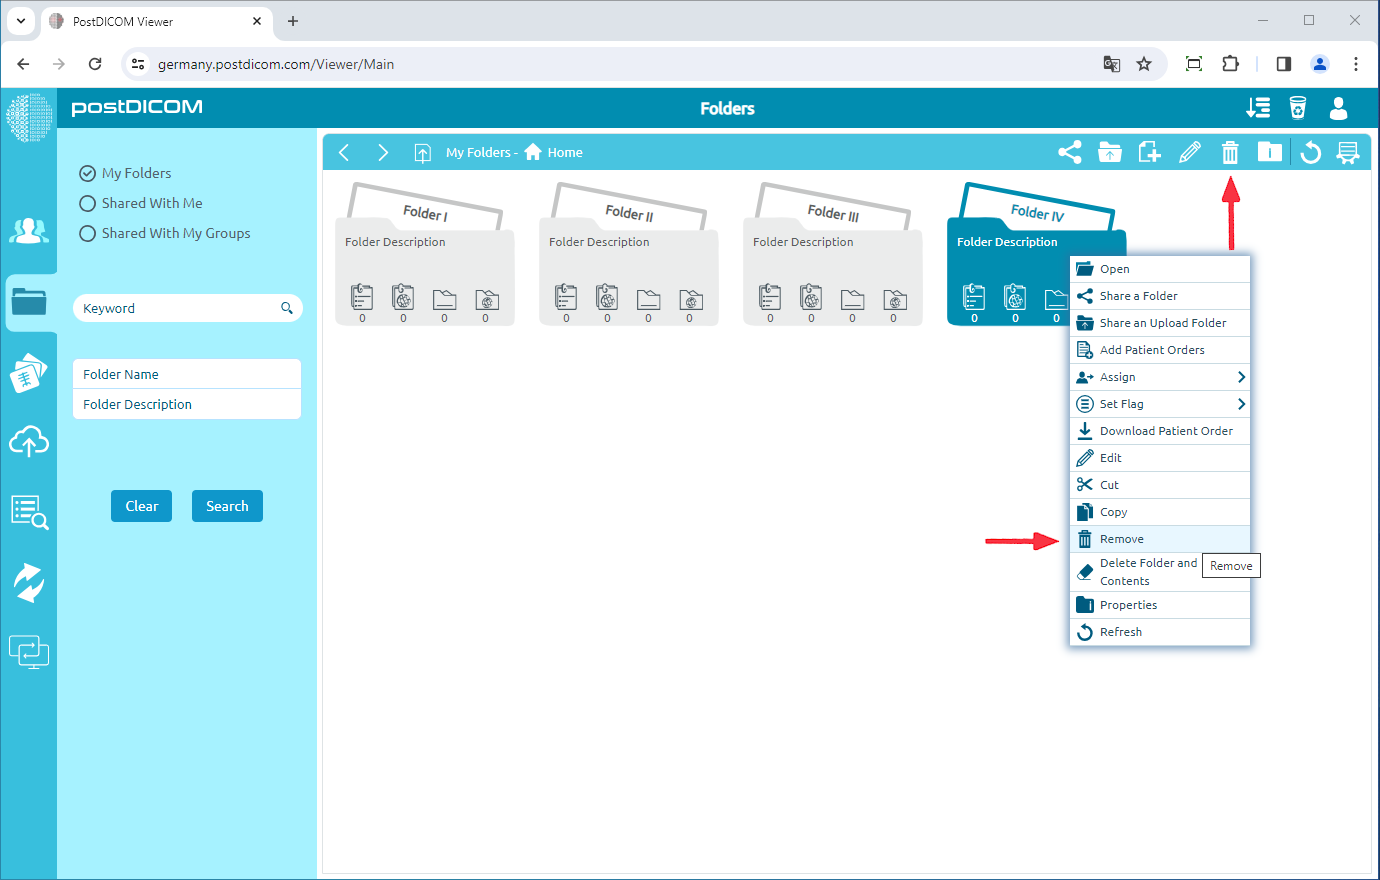
Once you have selected a folder or folders, click on the "Recycle bin" icon on the upper right side of the form or right-click and select the “Remove” button.
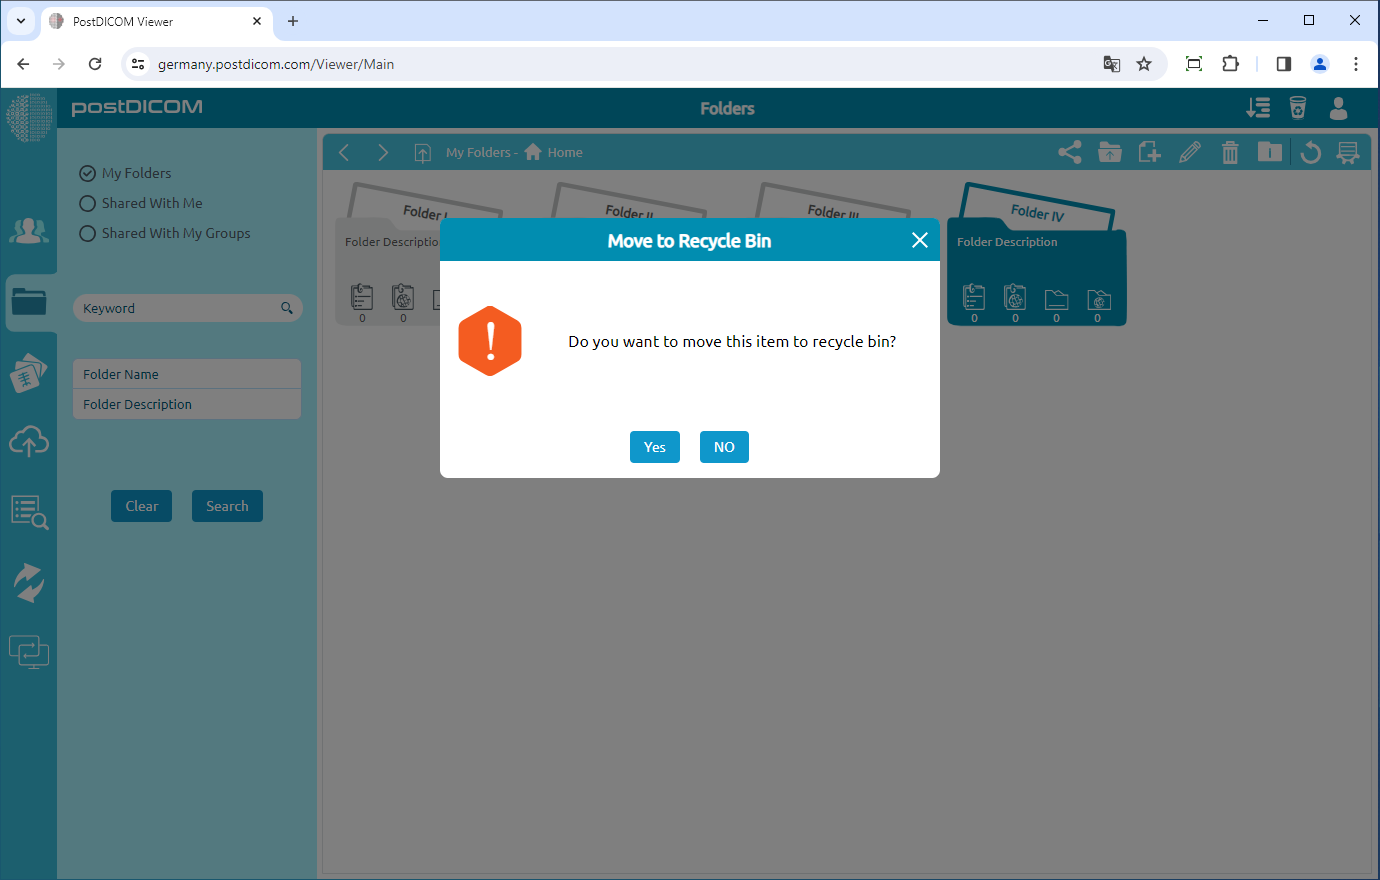
After clicking on the icon, a Message Box will be shown to confirm you to move the selected folder to the Recycle Bin. Click on "Yes" to confirm that you want to move the folder to the recycle bin. If you don’t want to move the folder to the recycle bin, click on "No".
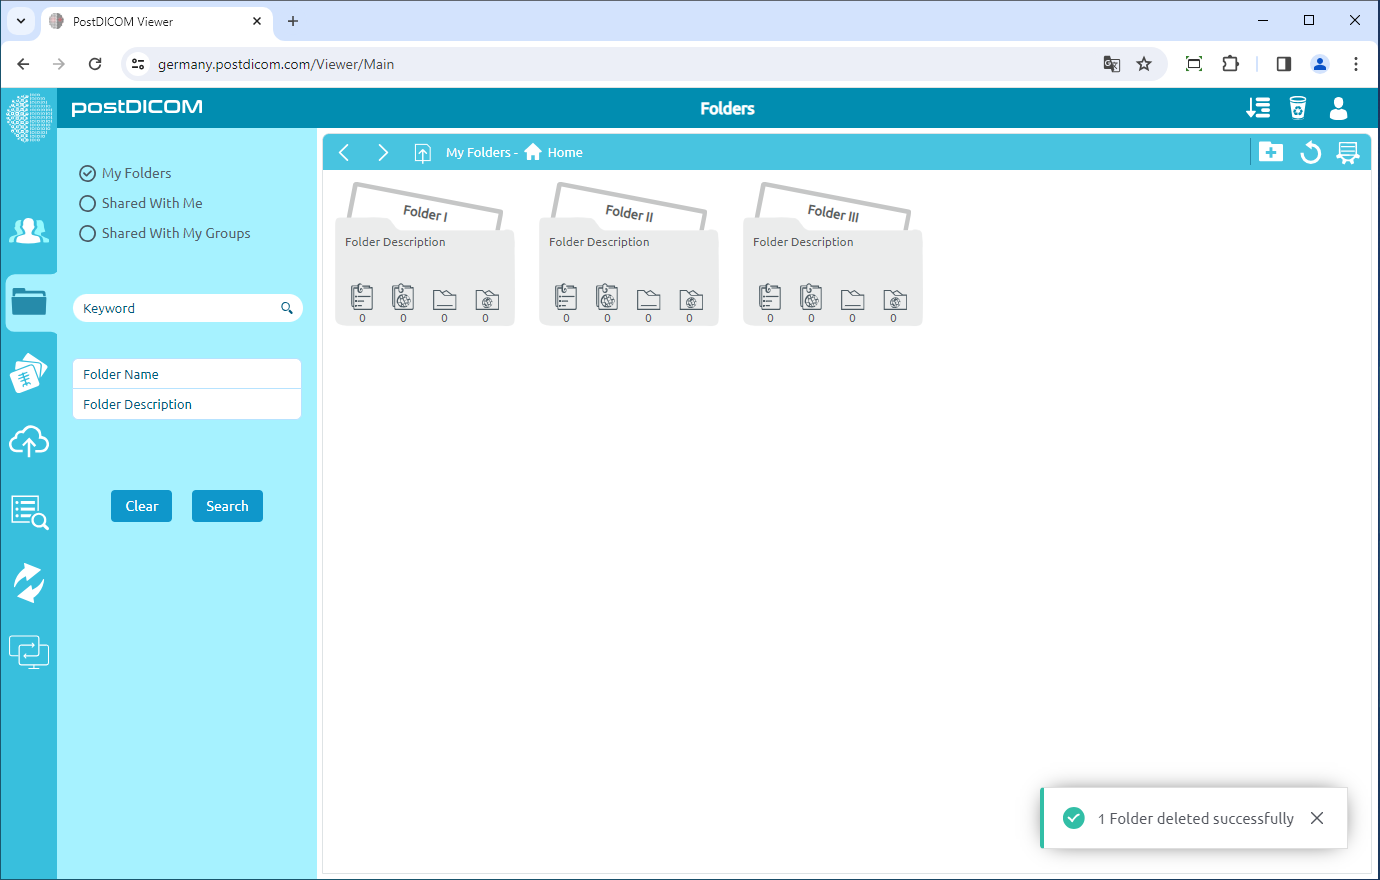
Once you have clicked "Yes", the selected folder or folders will be moved to the recycle bin and the remaining folders will be shown.