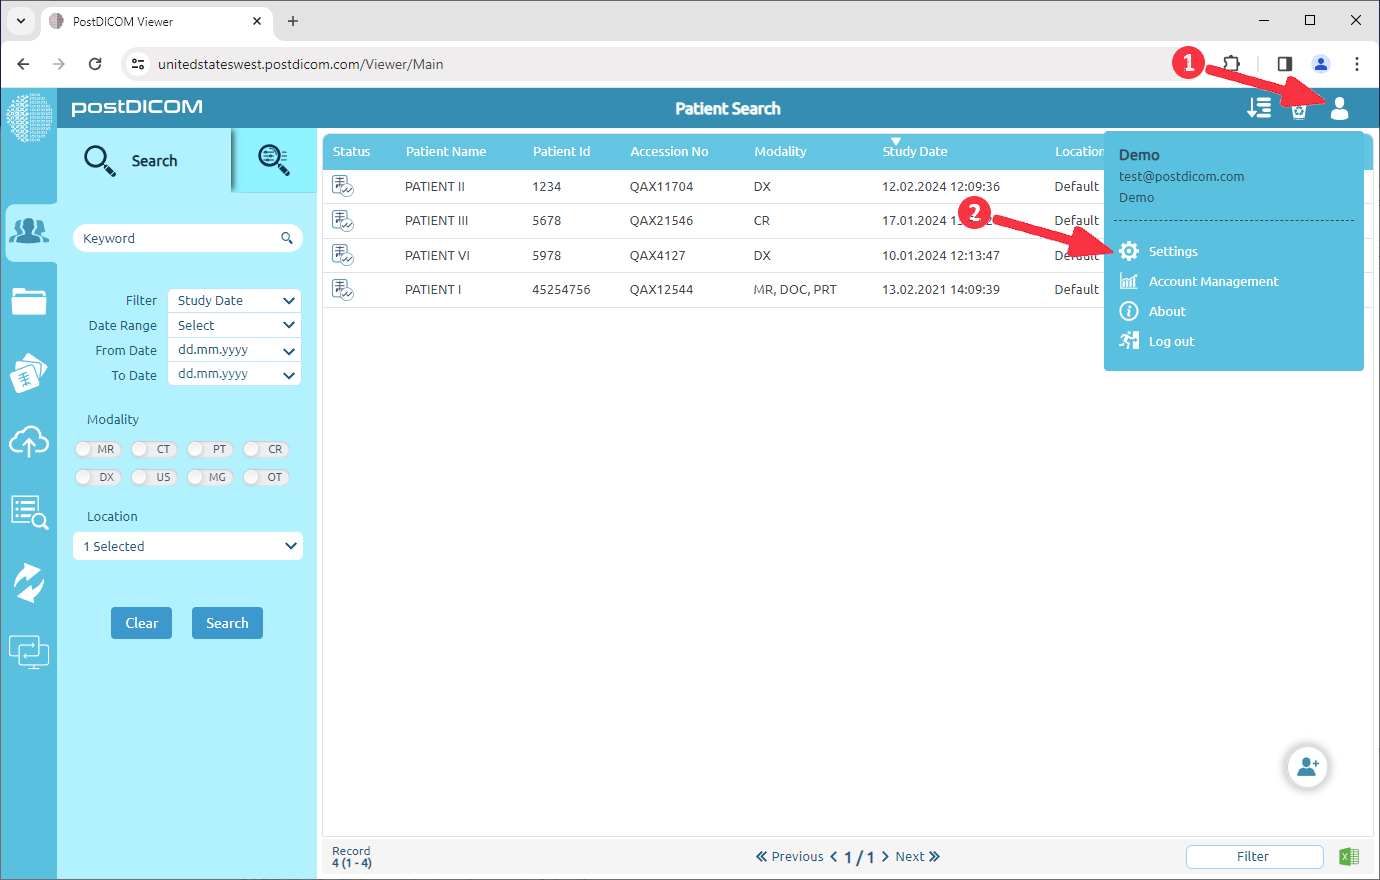
Click on the “Settings”.
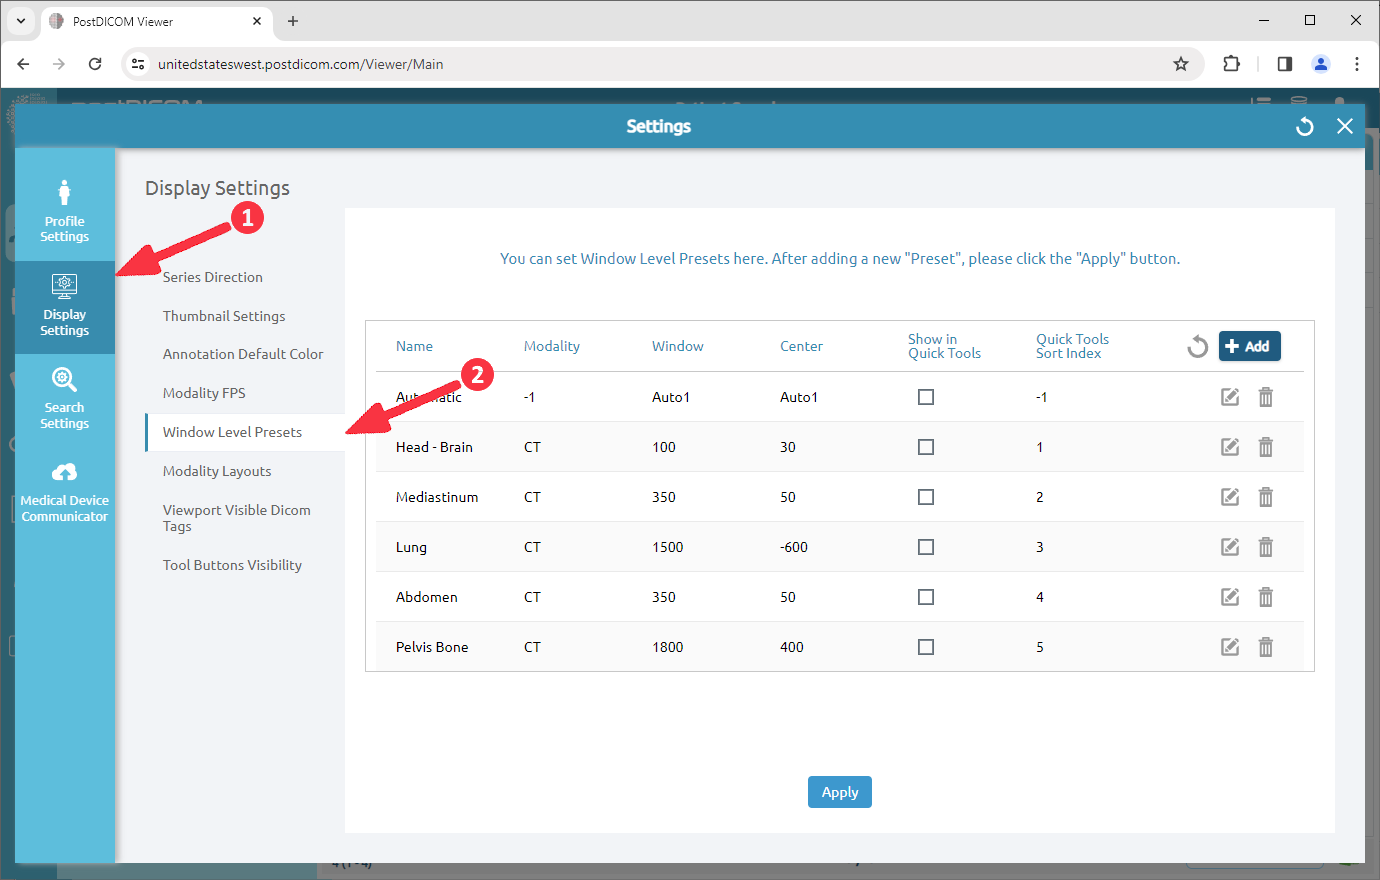
On the display settings field, click on the “Window Level Presets” menu item.
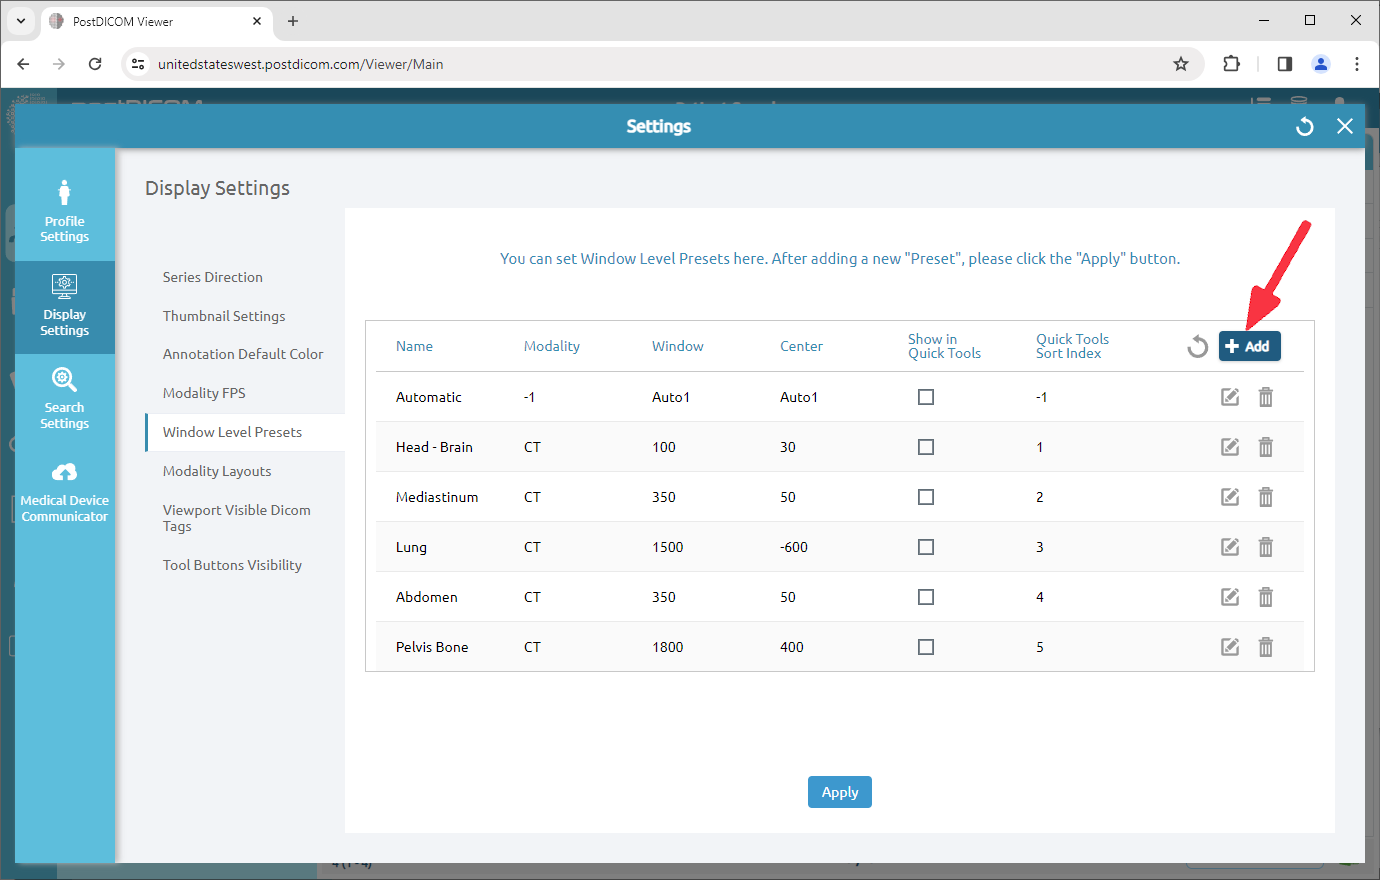
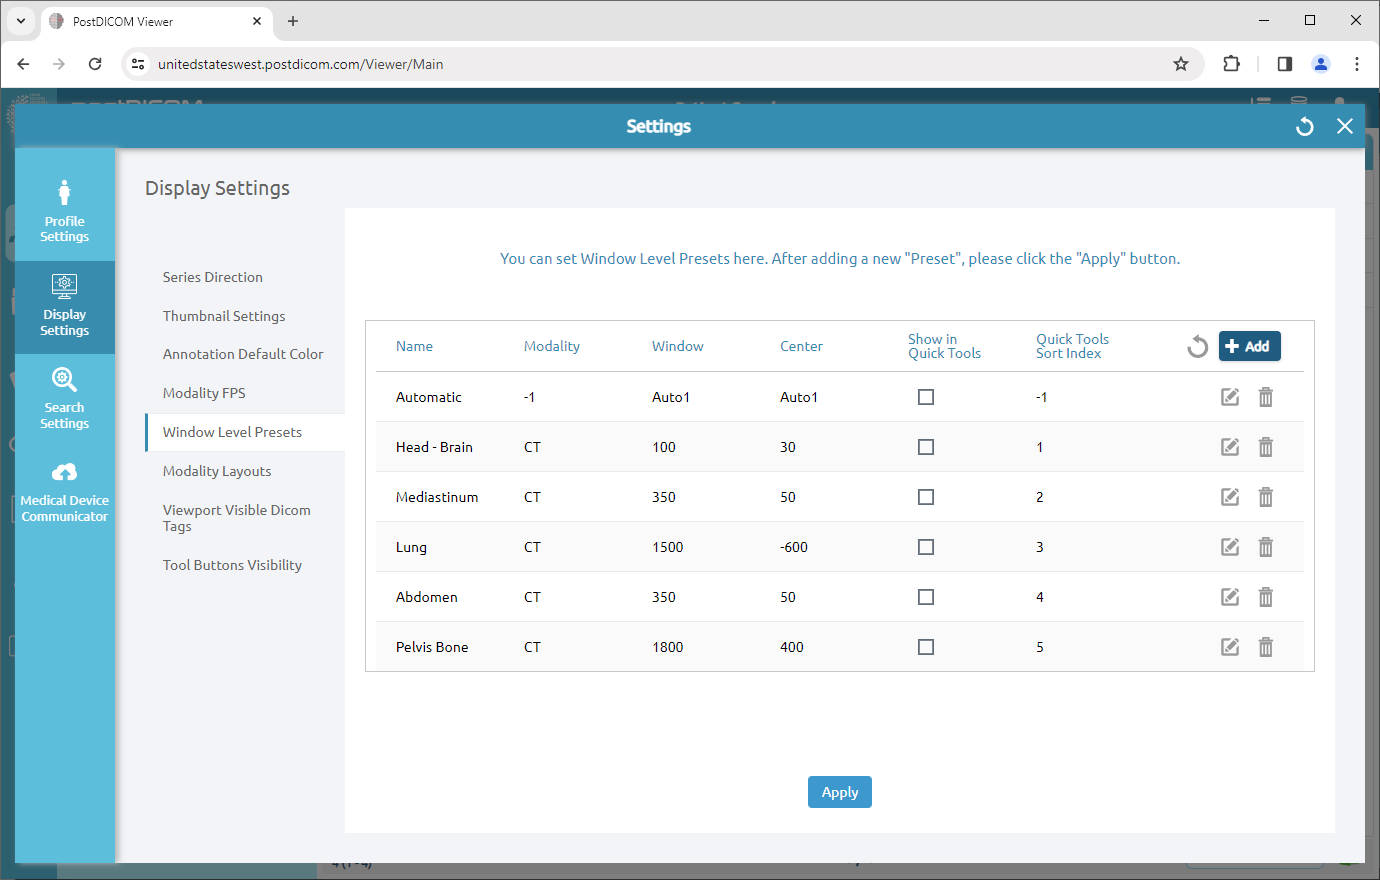
After clicking, the Window Level Preset Settings field will be opened. You can add a window level preset by clicking the “Add” icon.
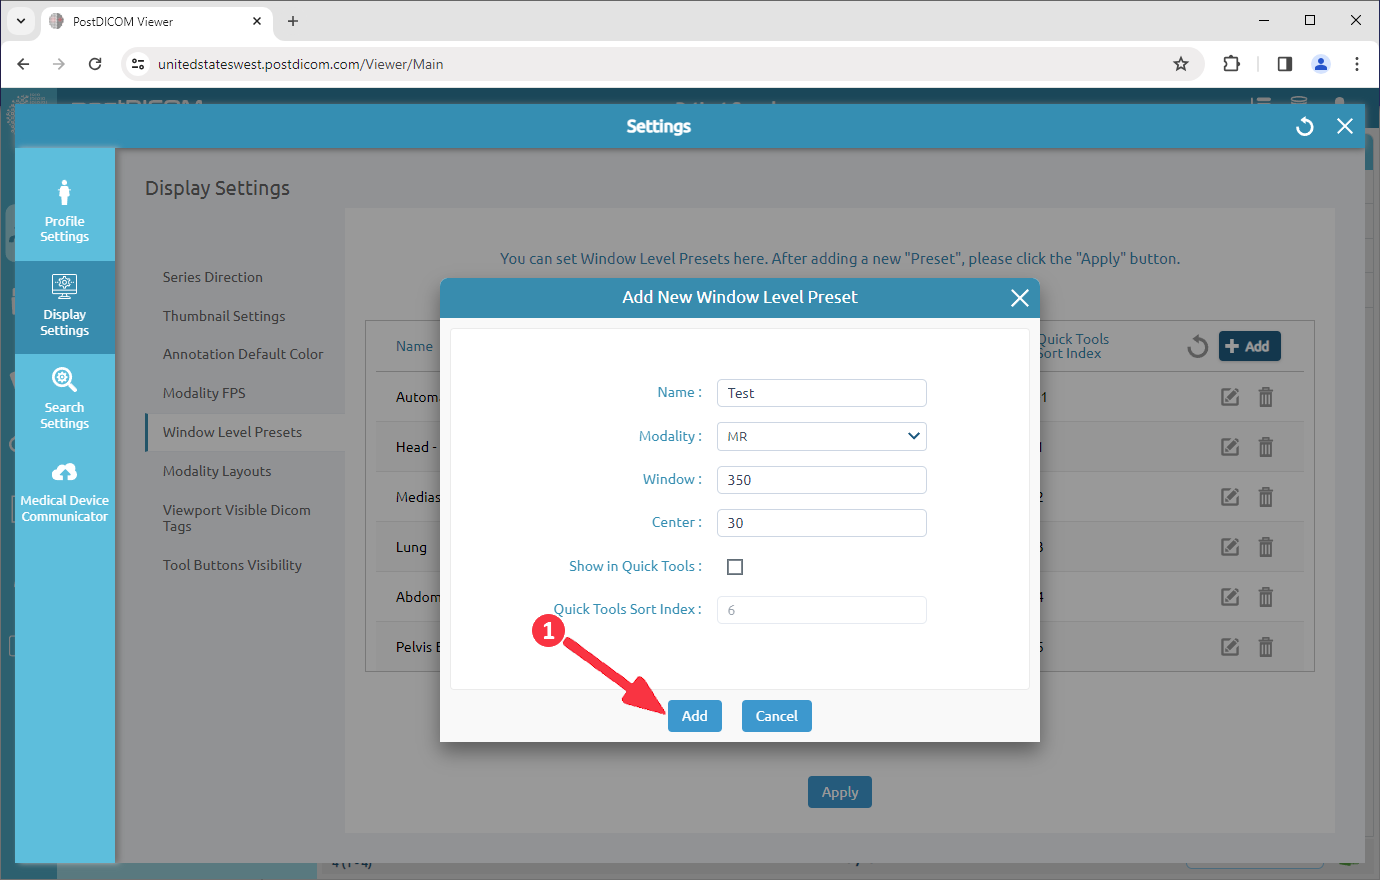
When you click on the button, the add new window level presets form will be opened. Fill out the form with the information and then click on the “Add” button.
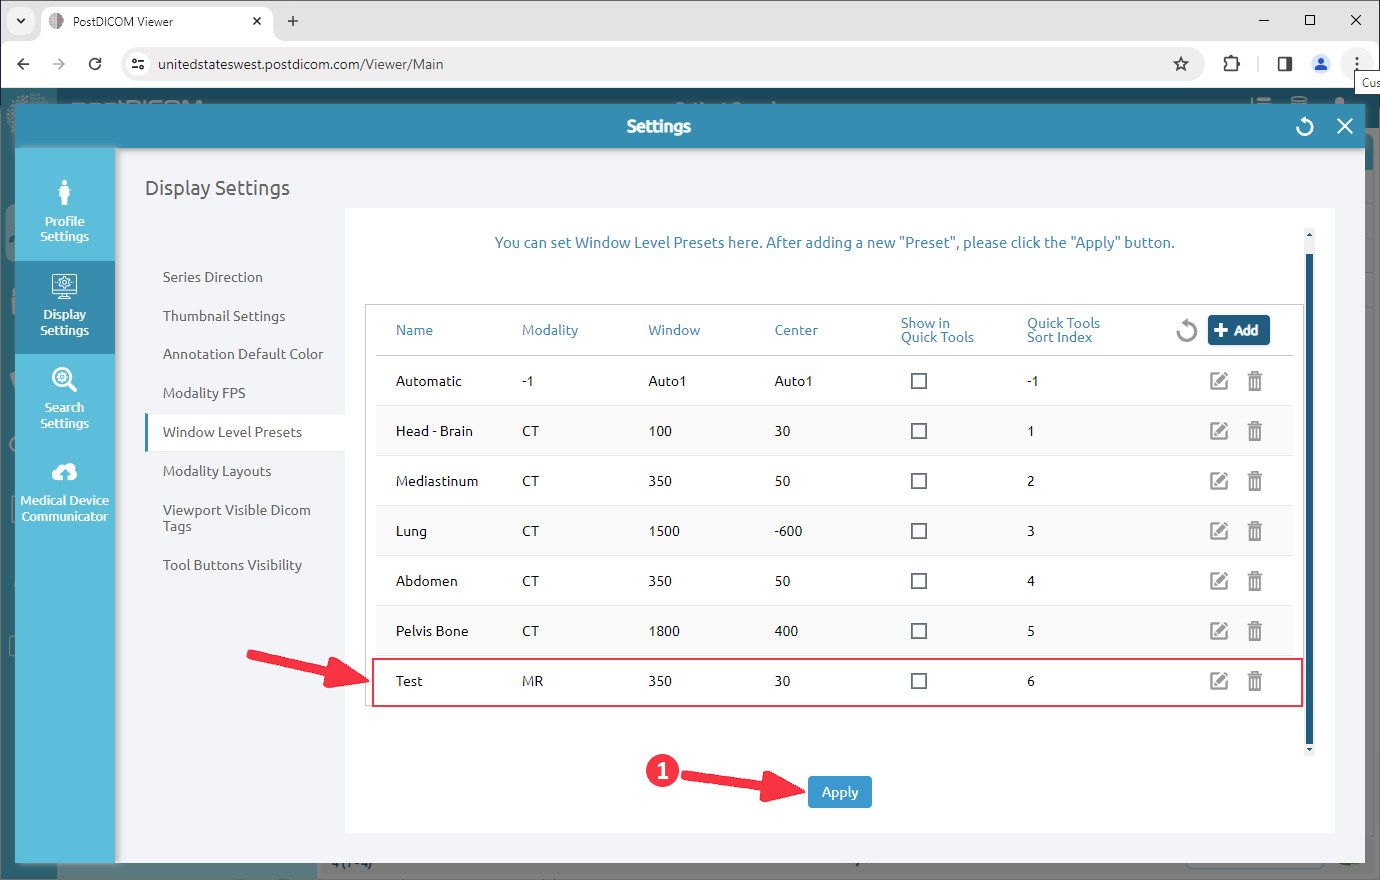
After clicking, a new window level preset will be added to the end of the list. Click on the “Apply” to save.
Click on the “OK” button to close the box.
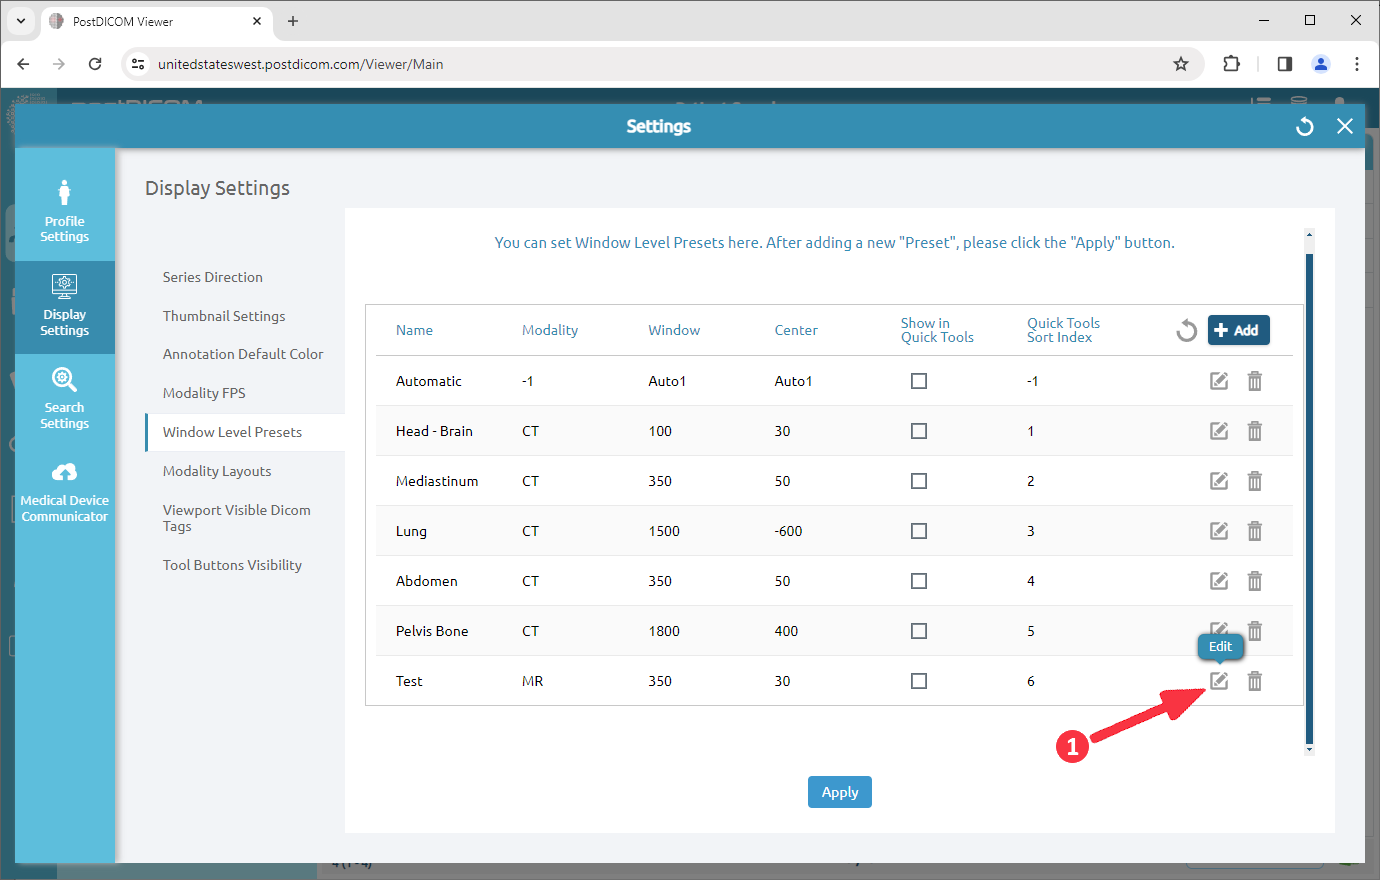
If you want to edit window level presets in the list, click on the “Edit” icon.
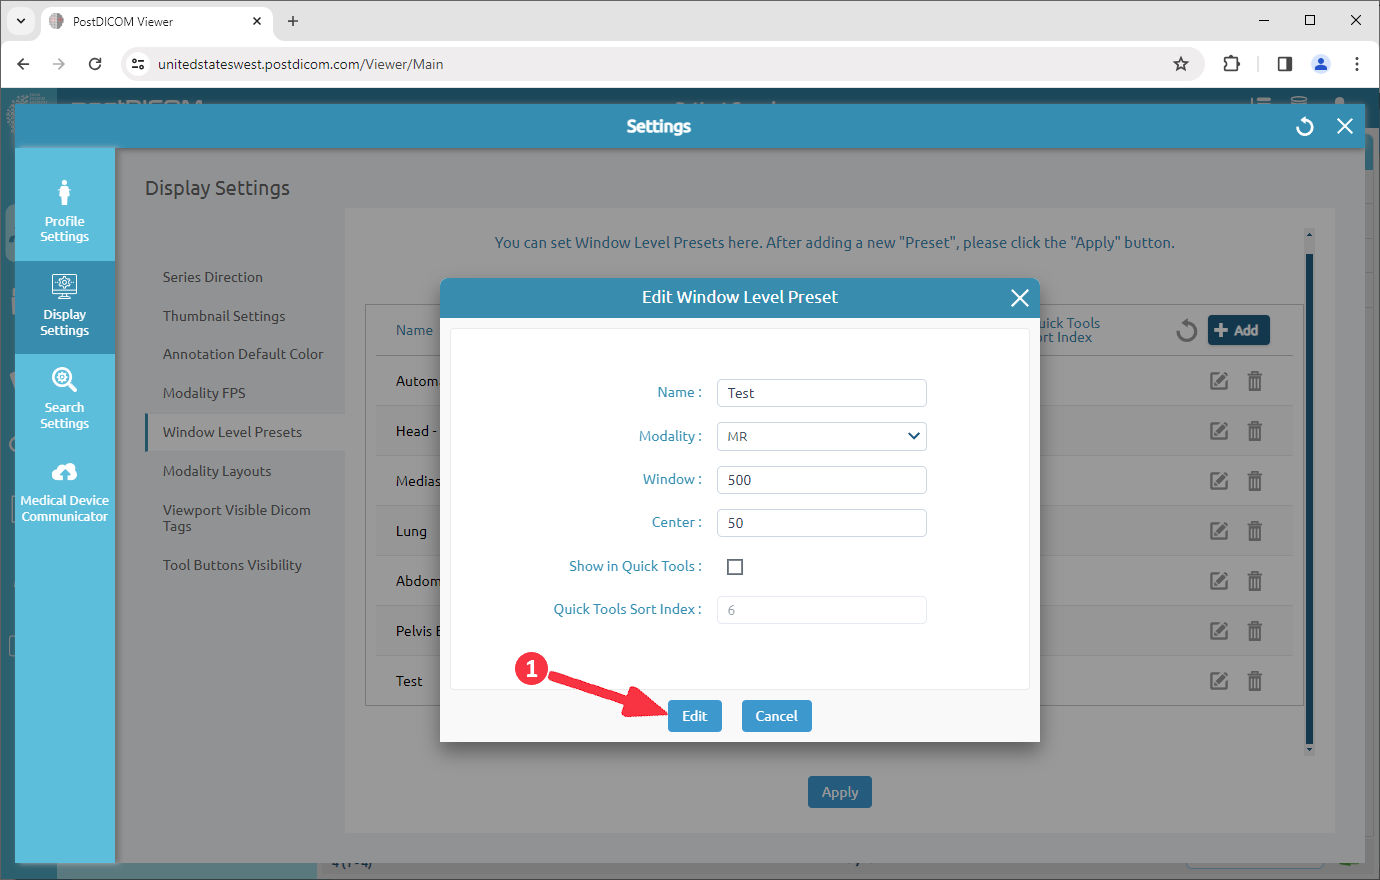
When you click on the button, the edit window level presets form will be opened. You can edit the name, the window, or the center value by entering related fields and editing the modality by using the arrow on the right side of it. Then, click on the “Edit” button.
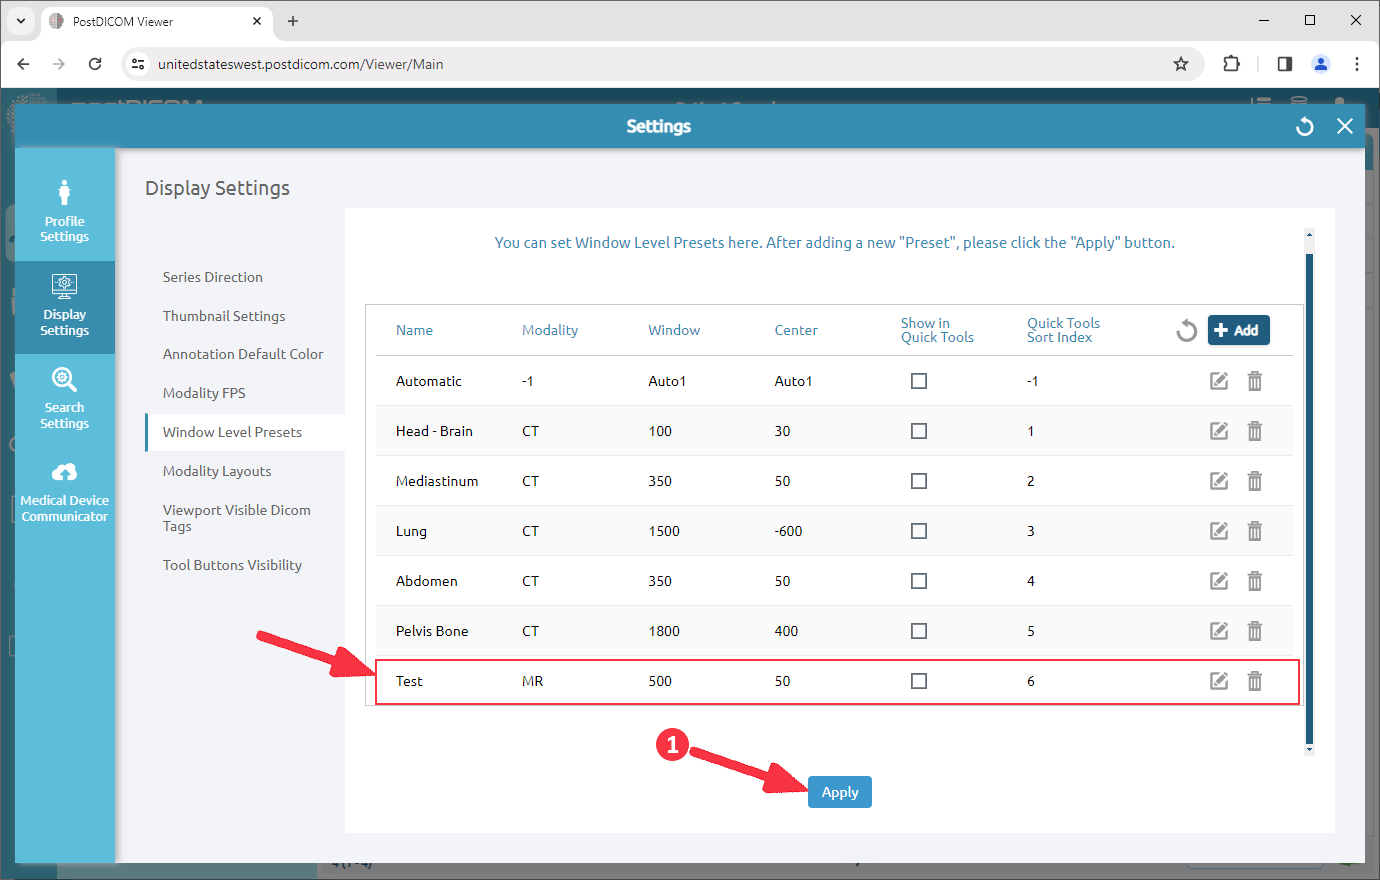
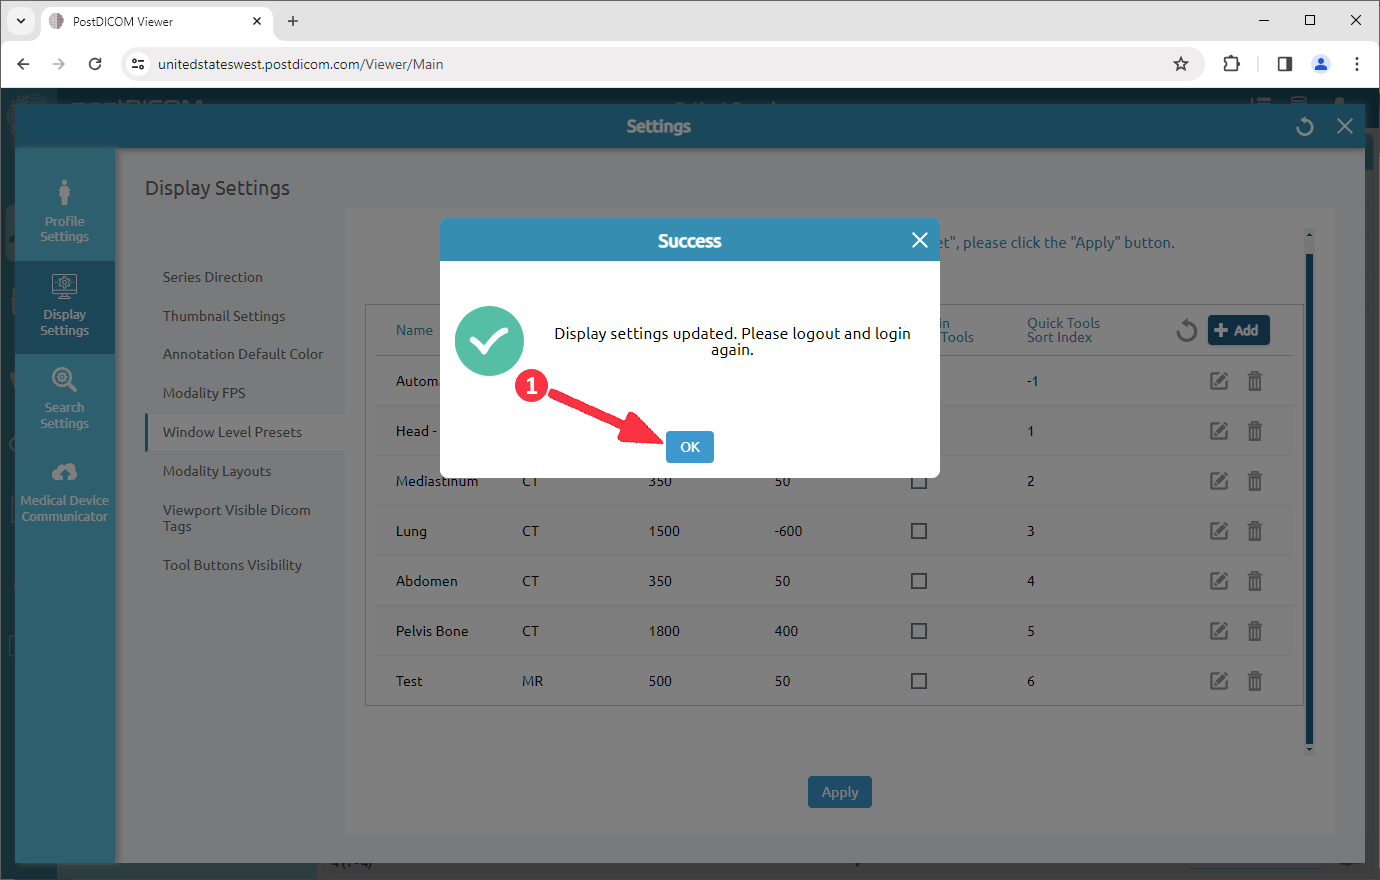
After clicking, the edited window level preset will be shown in the list. Click on the “Apply” to save.
Click on the “OK” button to close the box.
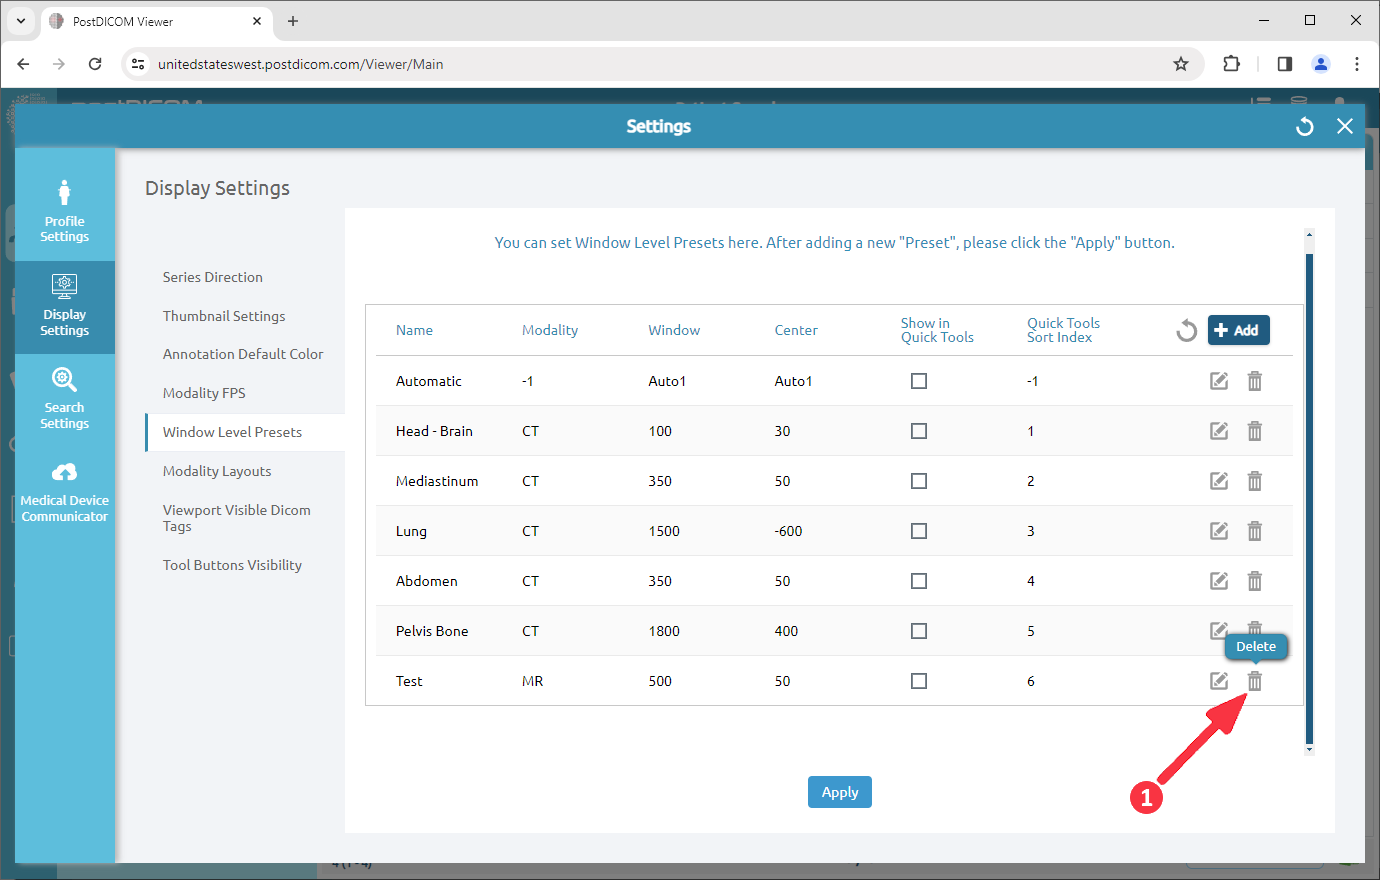
If you want to delete a row, click on the “Delete” icon on the right end of it.
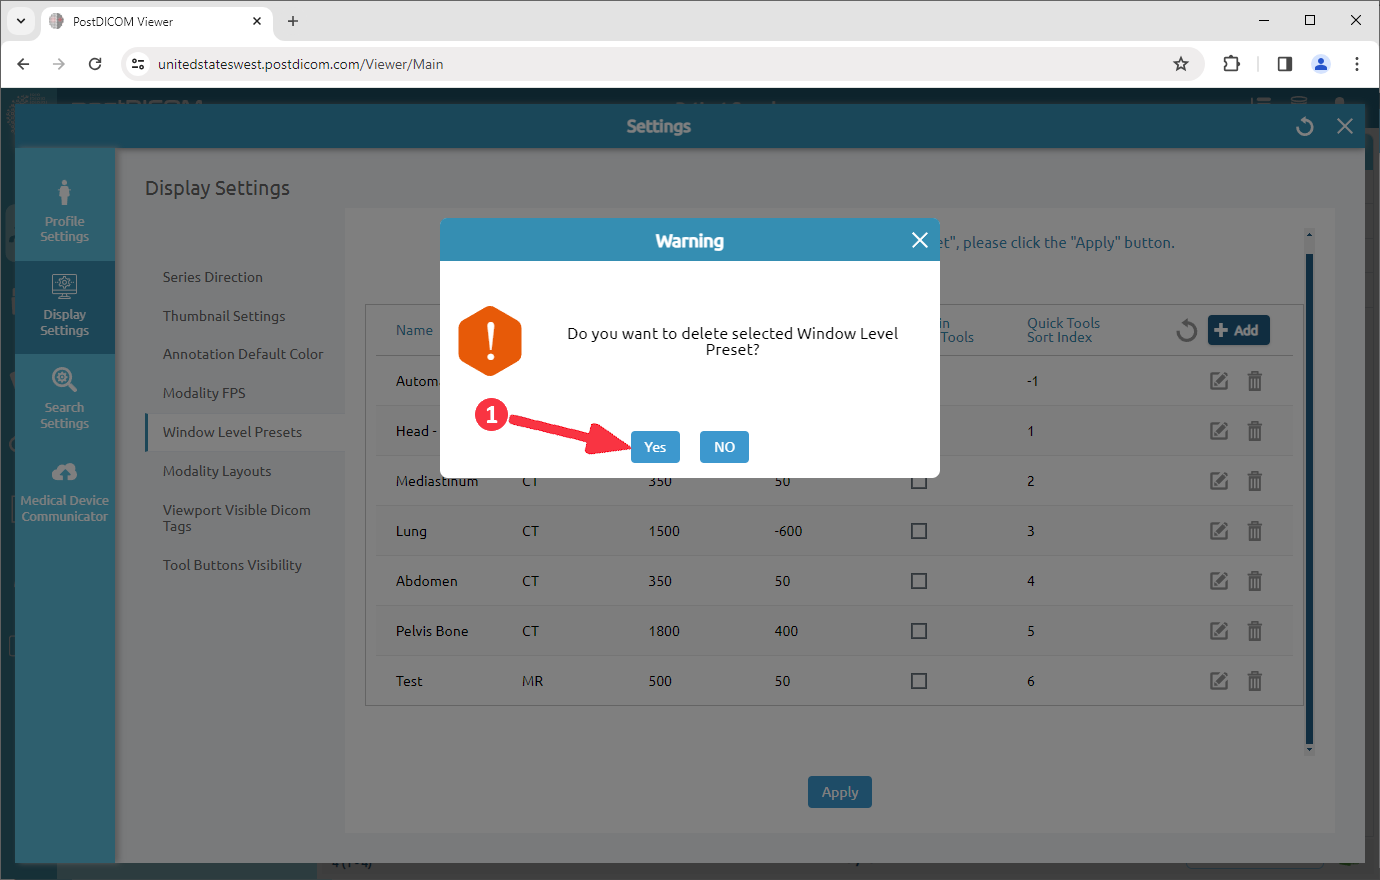
After clicking, a confirmation message box will be shown. Click on “Yes” to confirm that you want to delete the window level preset. If you don’t want to delete them, click on “No”.
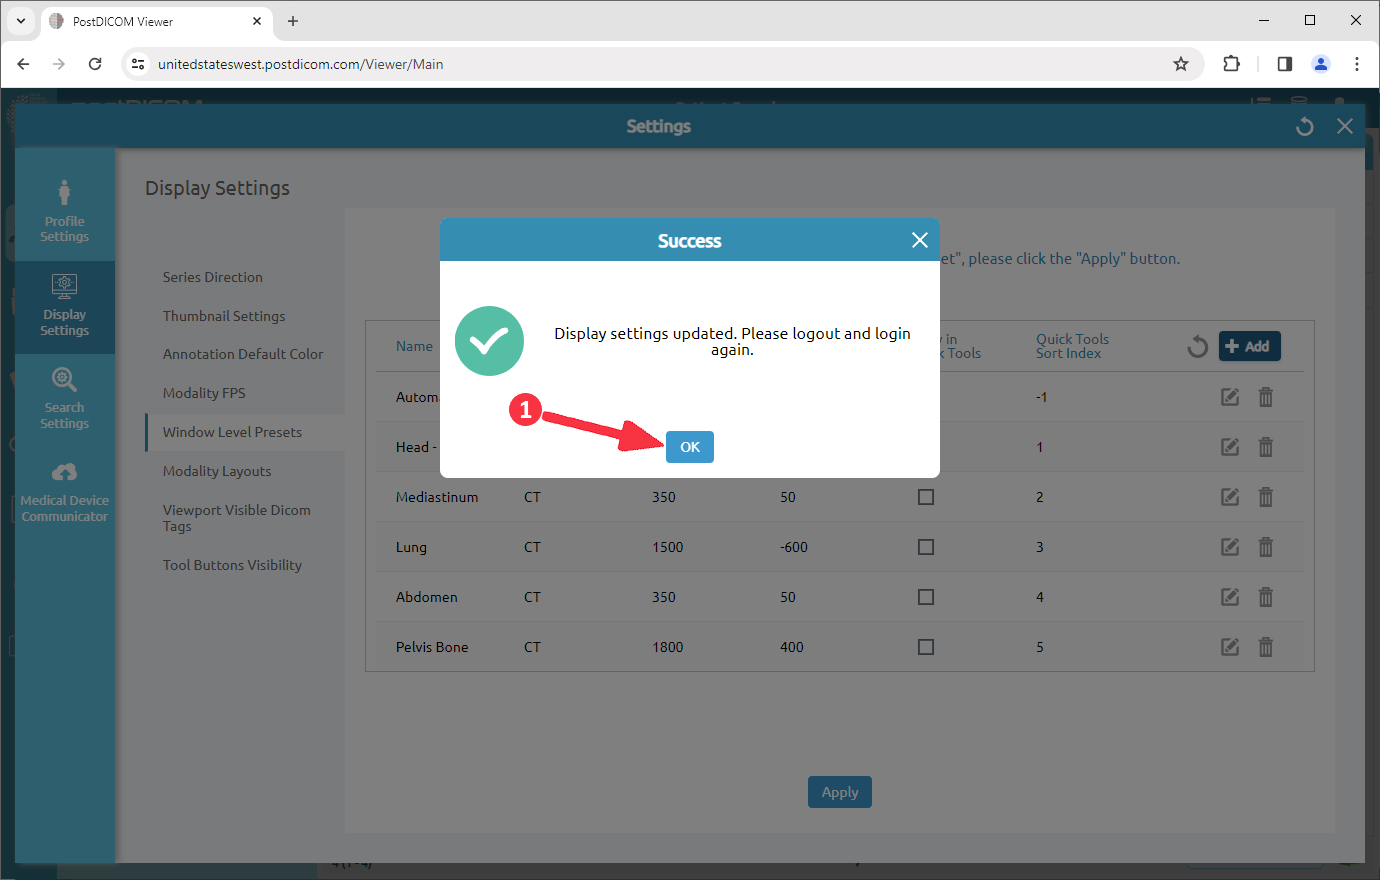
Click on the “OK” button to close the box.
After deleting, you will see the remaining rows on the window level presets settings field.