Login to your account and click on the “Settings” icon on the upper right side of the page.
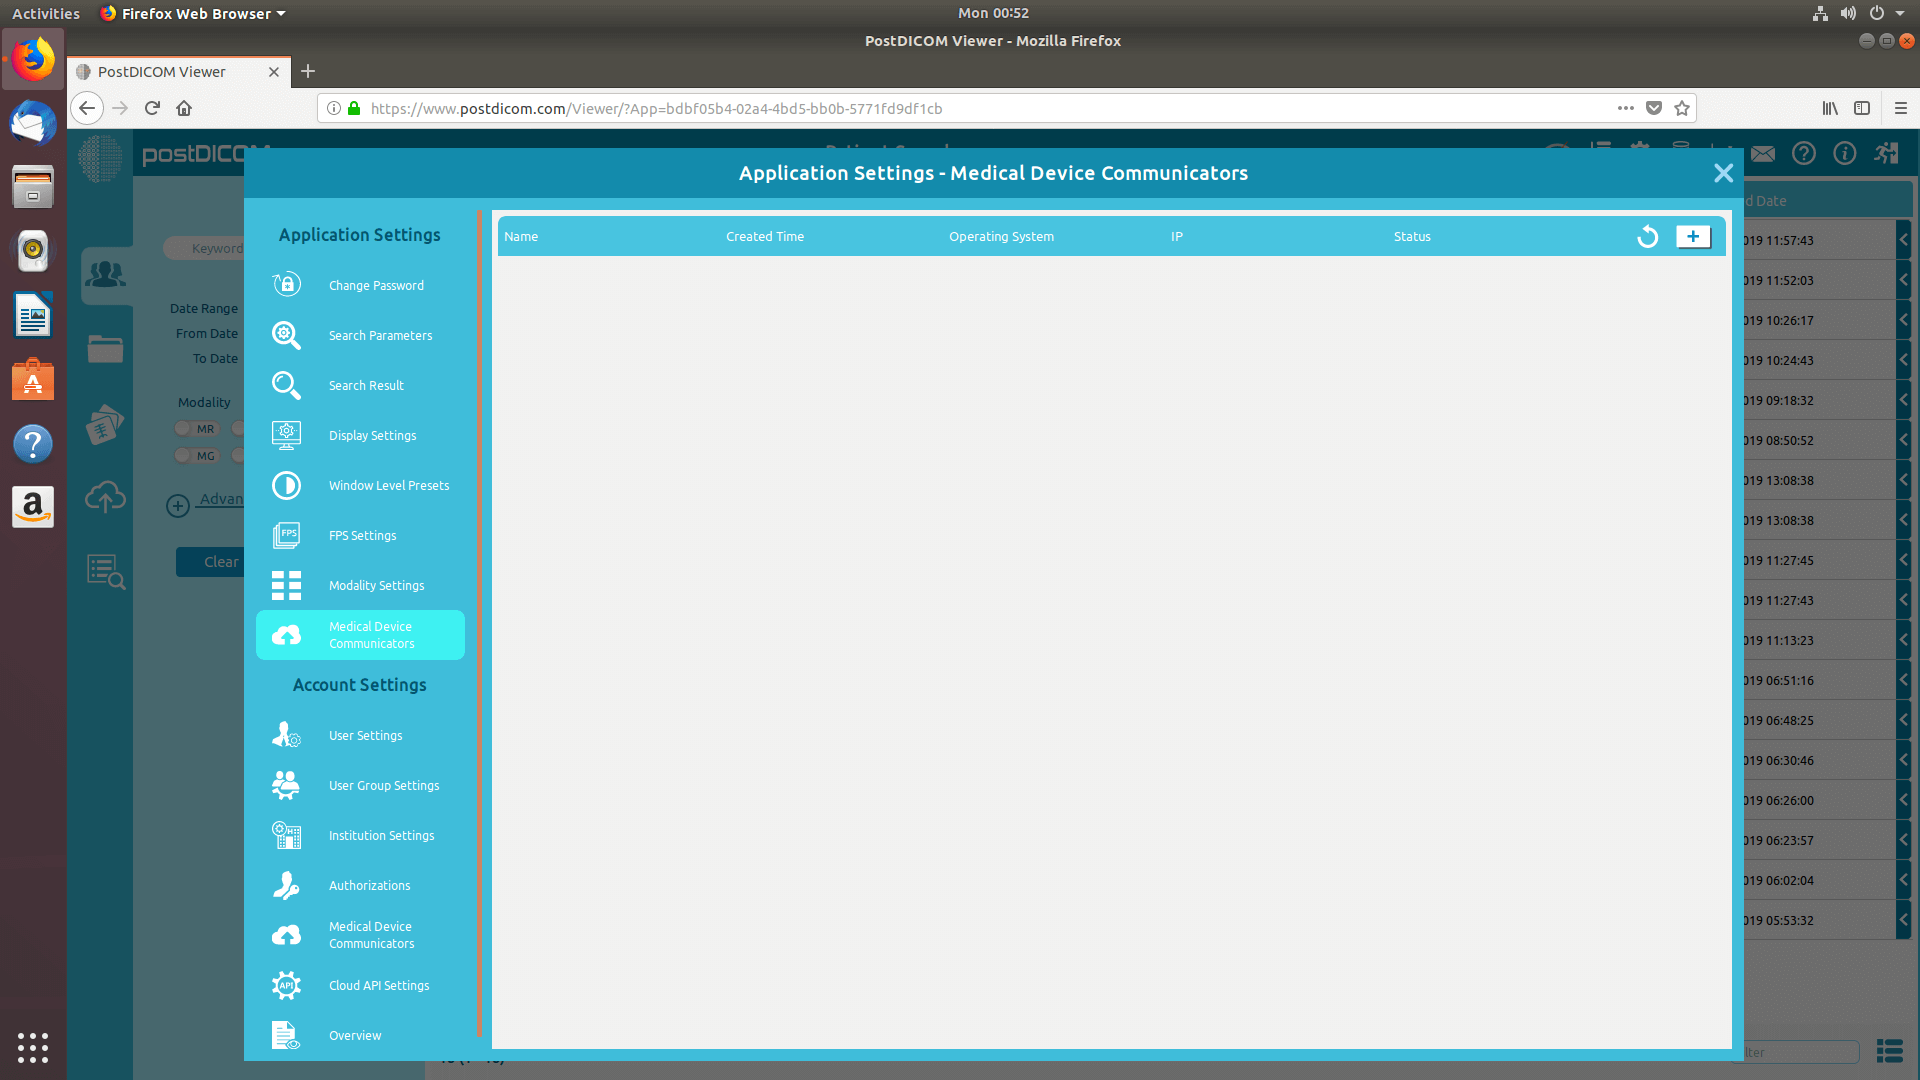
On application settings section, click on “Medical Device Communicators” menu item on the left side of the page.
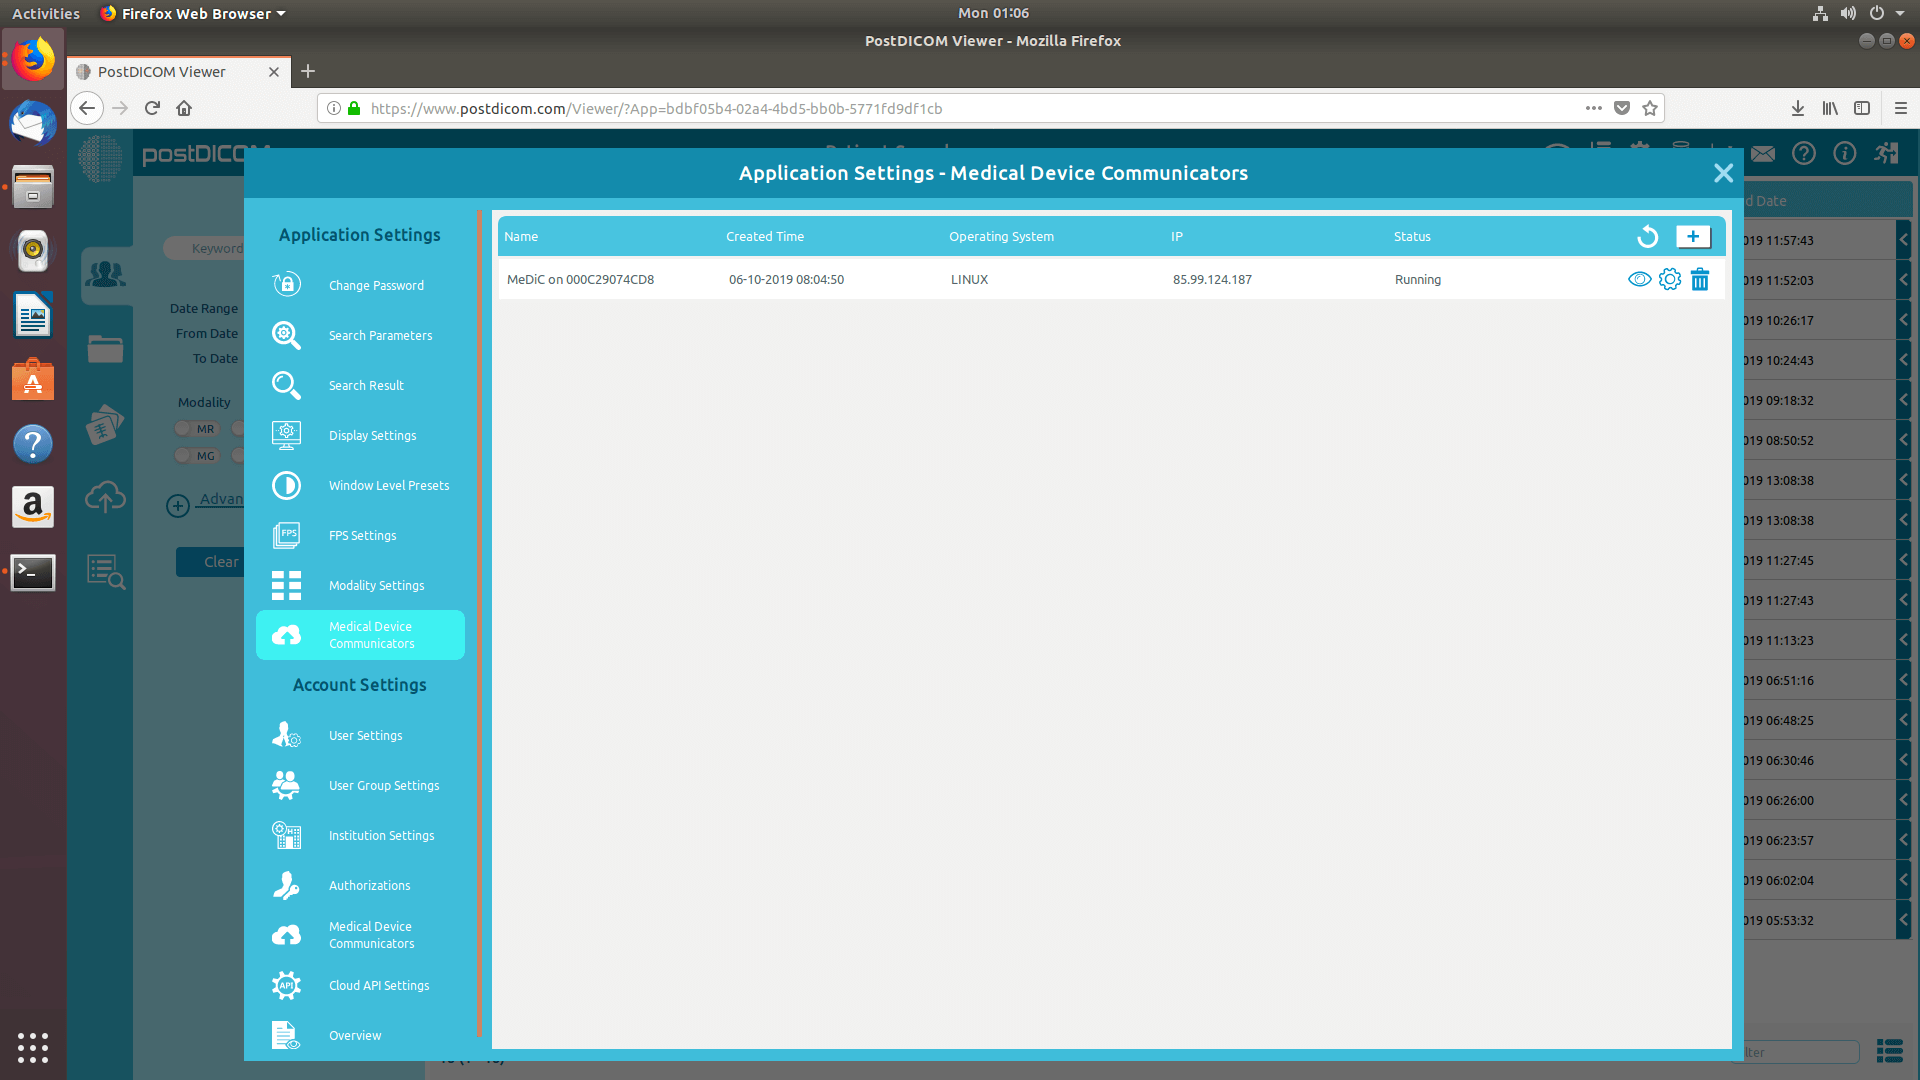
MeDiC applications of the current user will be displayed on the right hand side of the page. For each MeDiC application, its name, created time, operating system, IP and current status will be displayed. If you do not see your MeDiC application click on the “Refresh” button to refresh the MeDiC applications list.
To add a new MeDiC, click on “Add new Medical Device Communicator” button on the upper right side of the field.
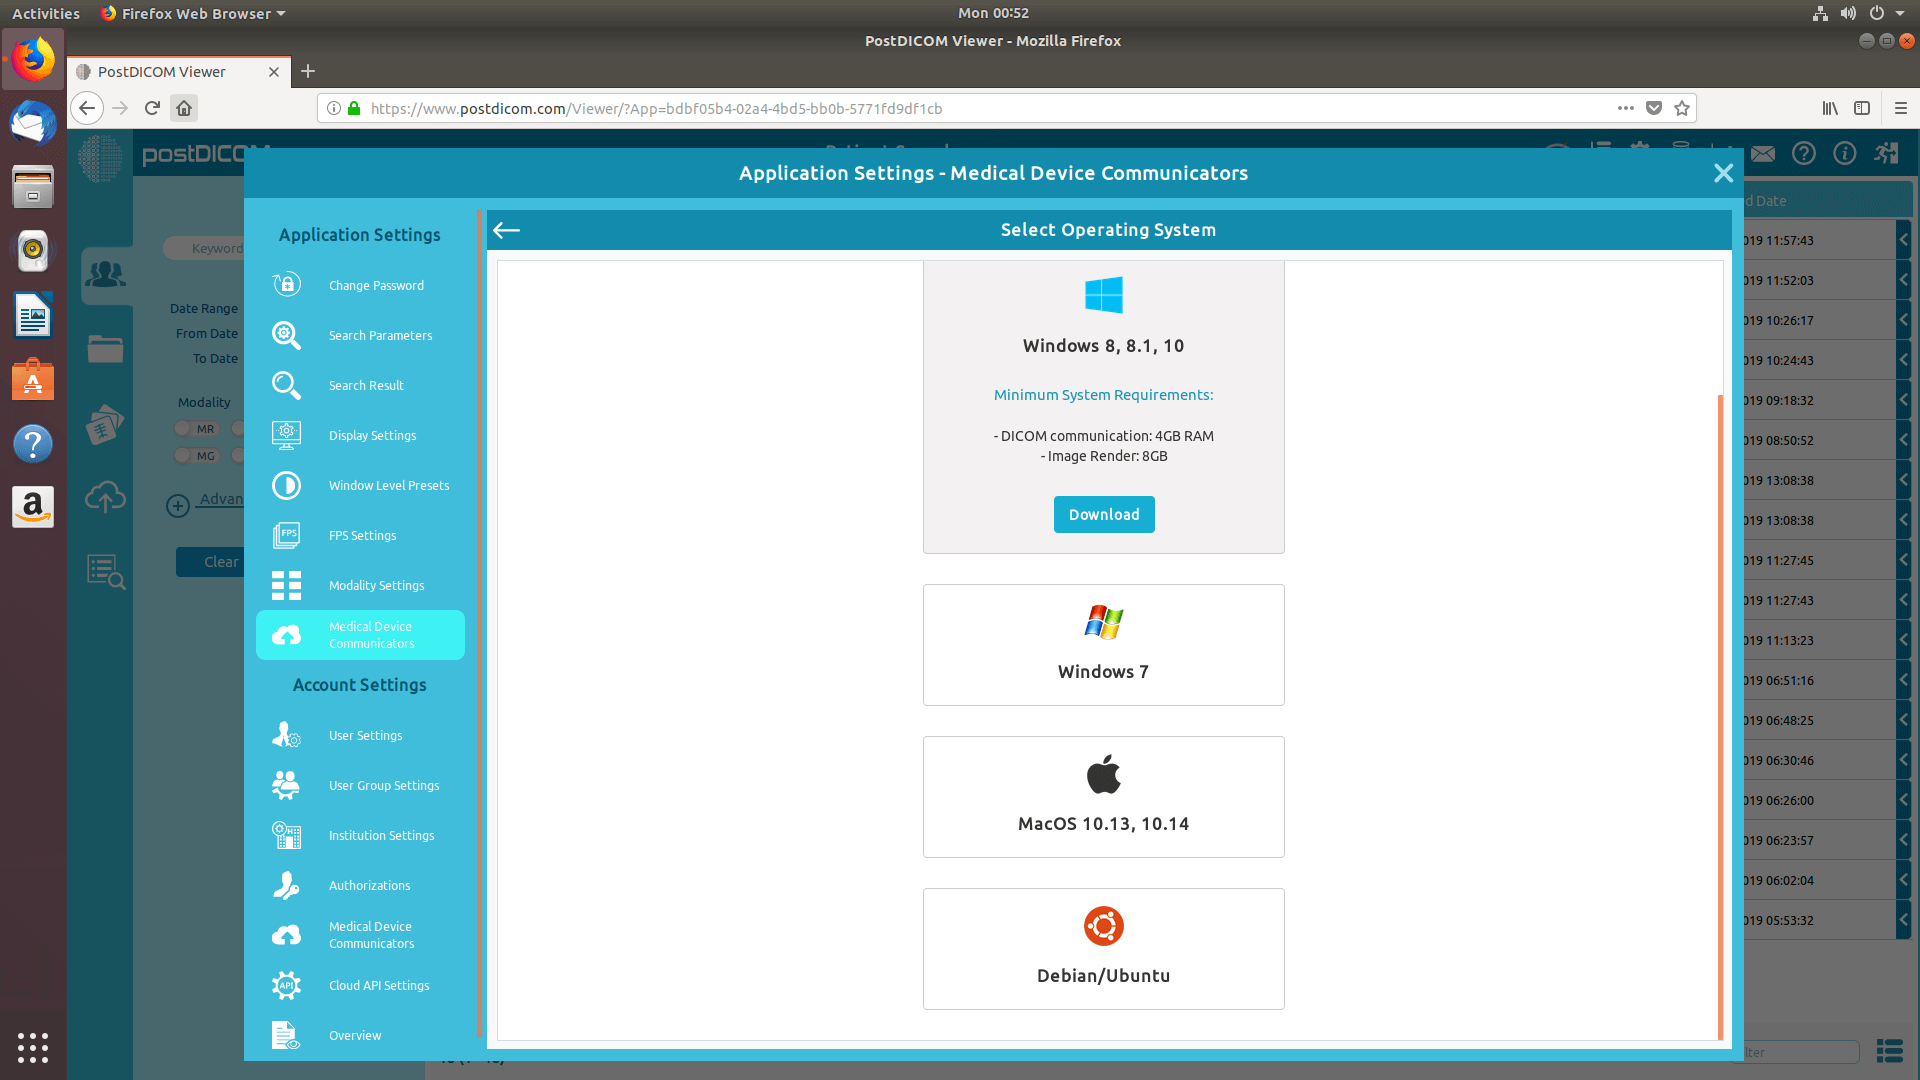
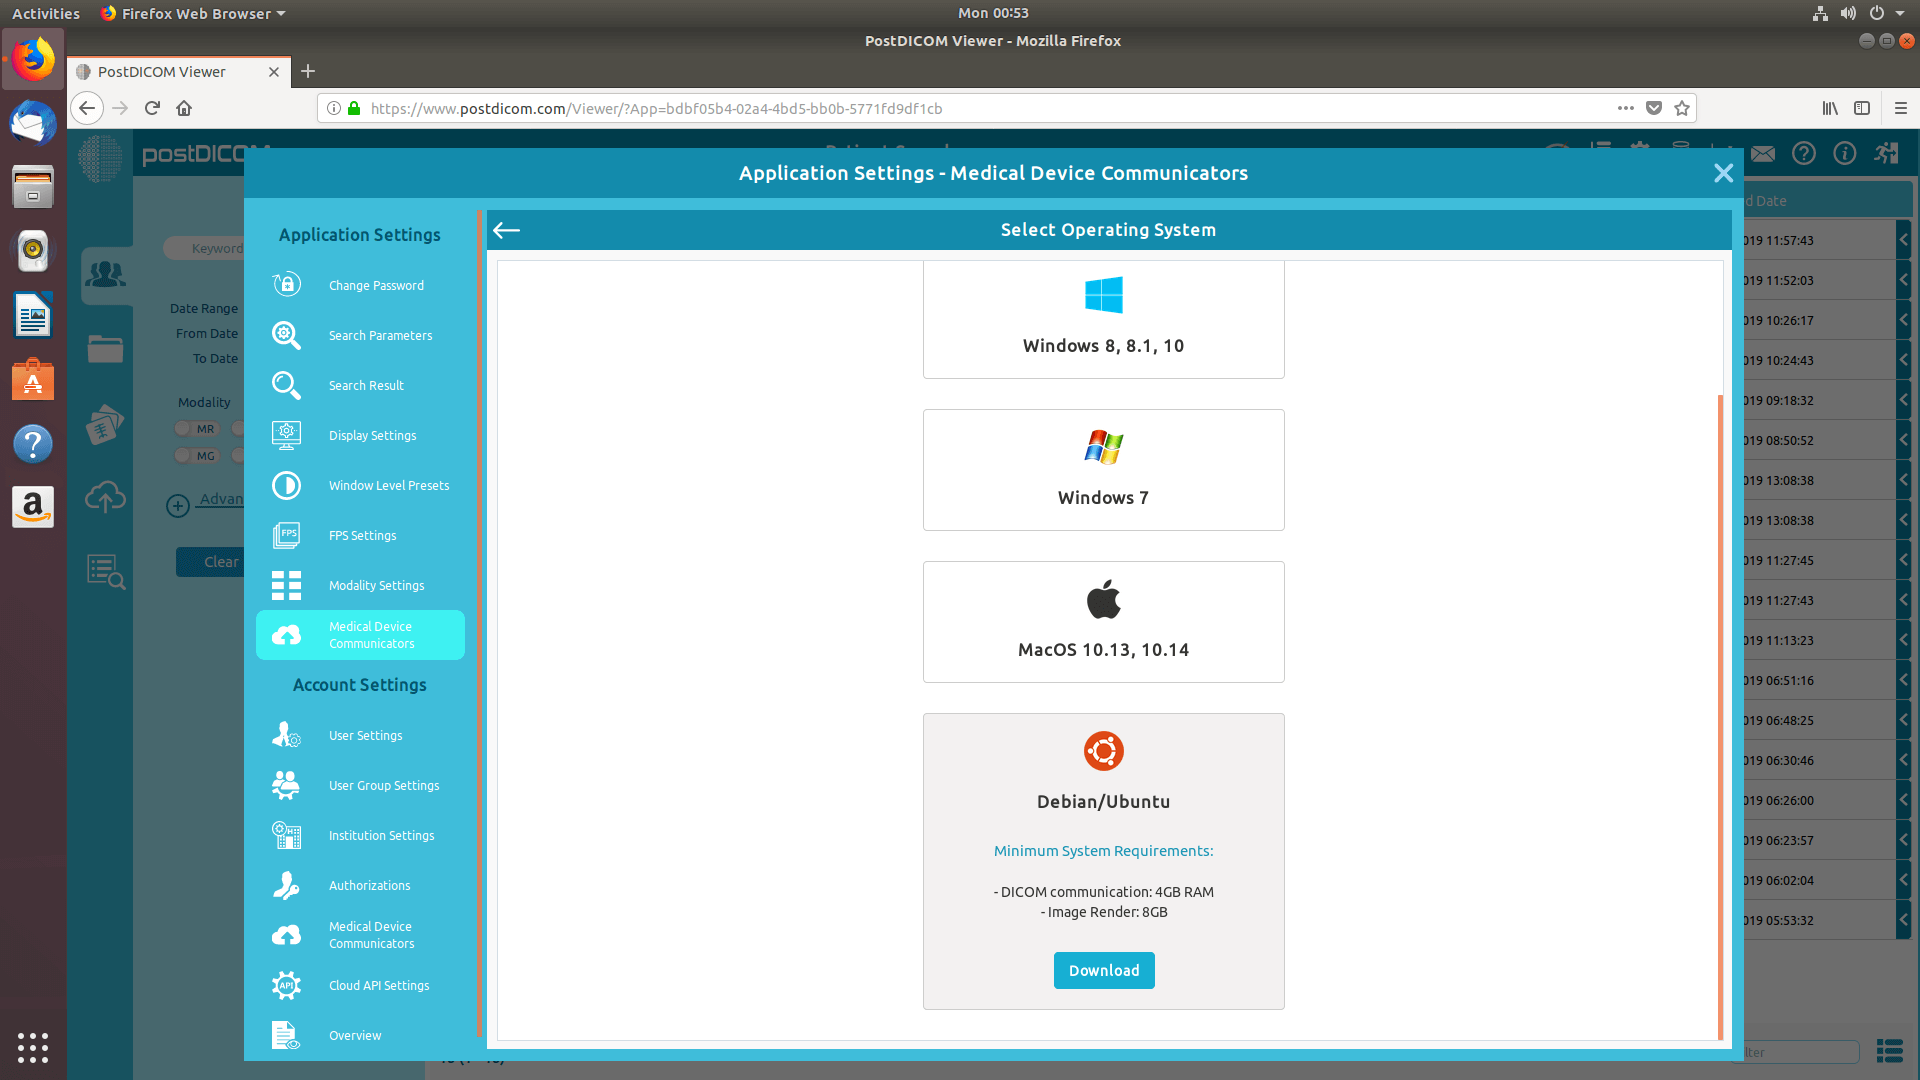
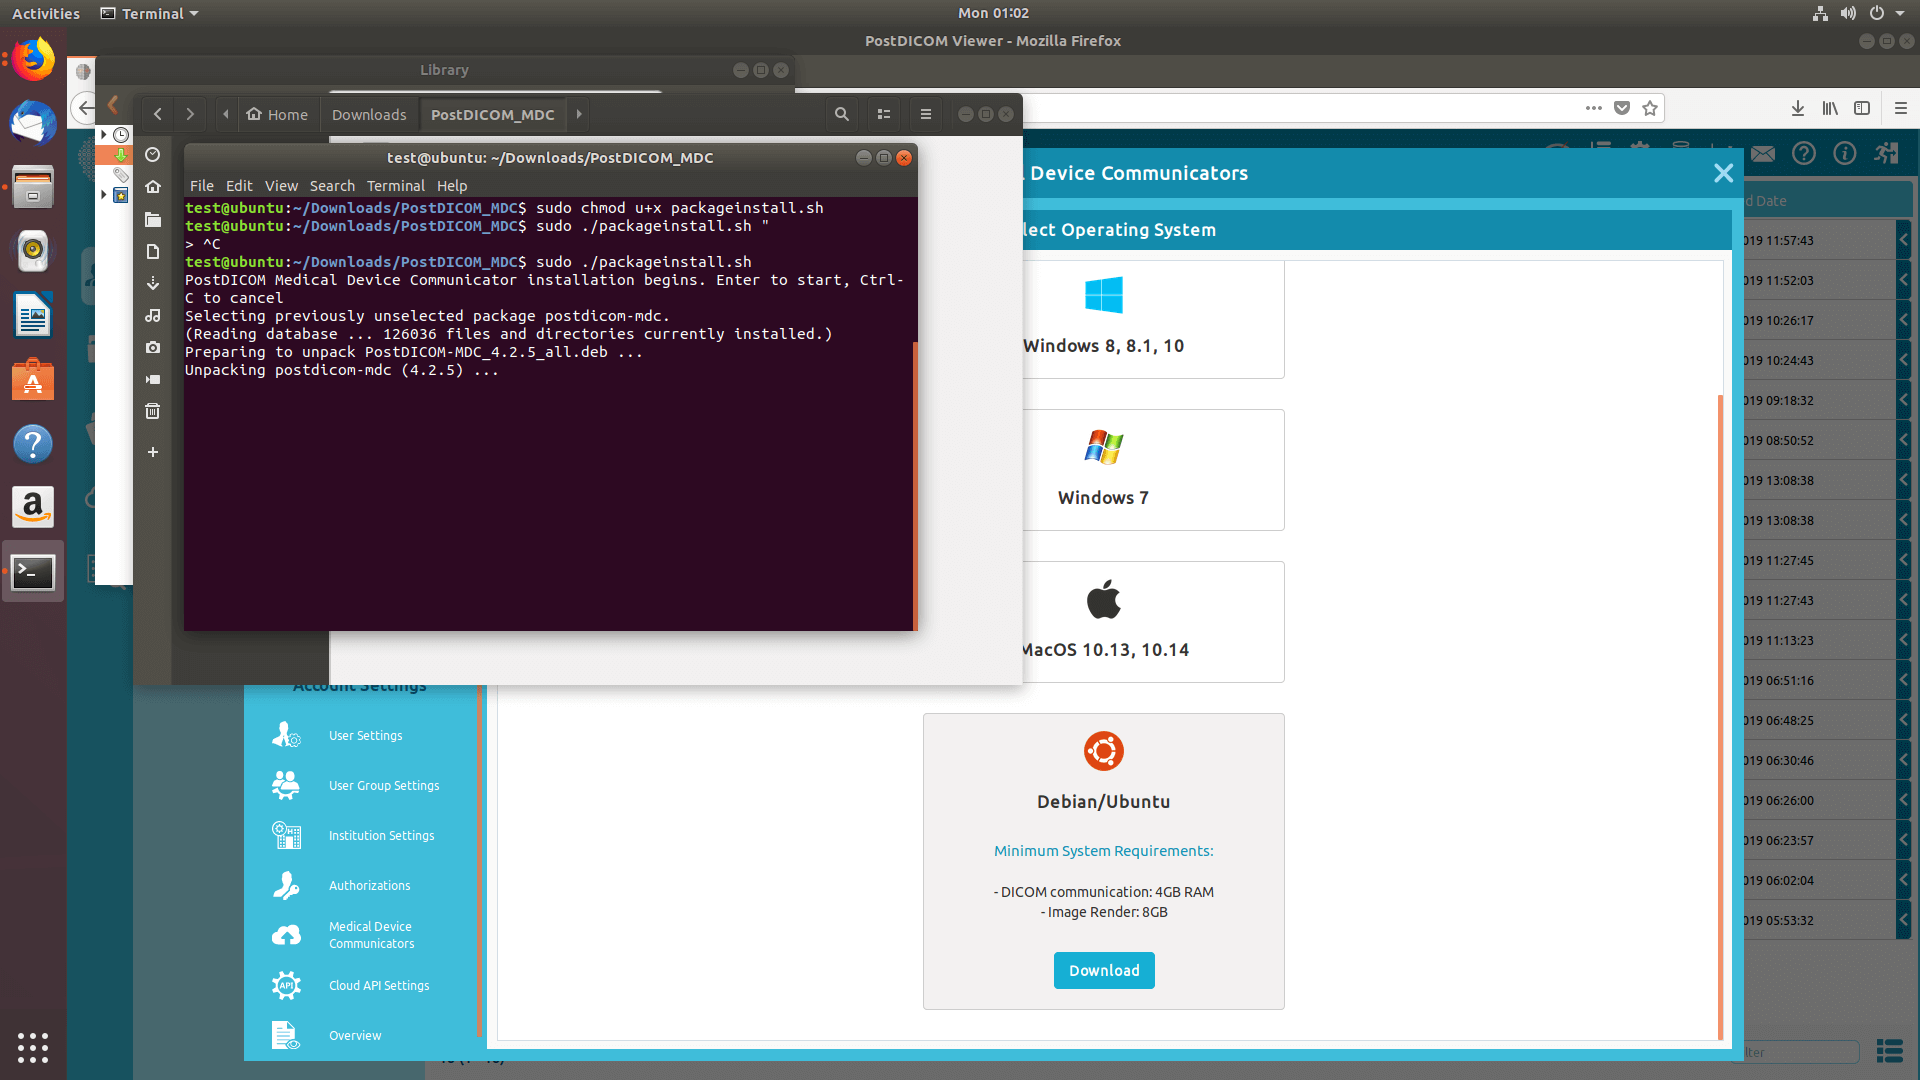
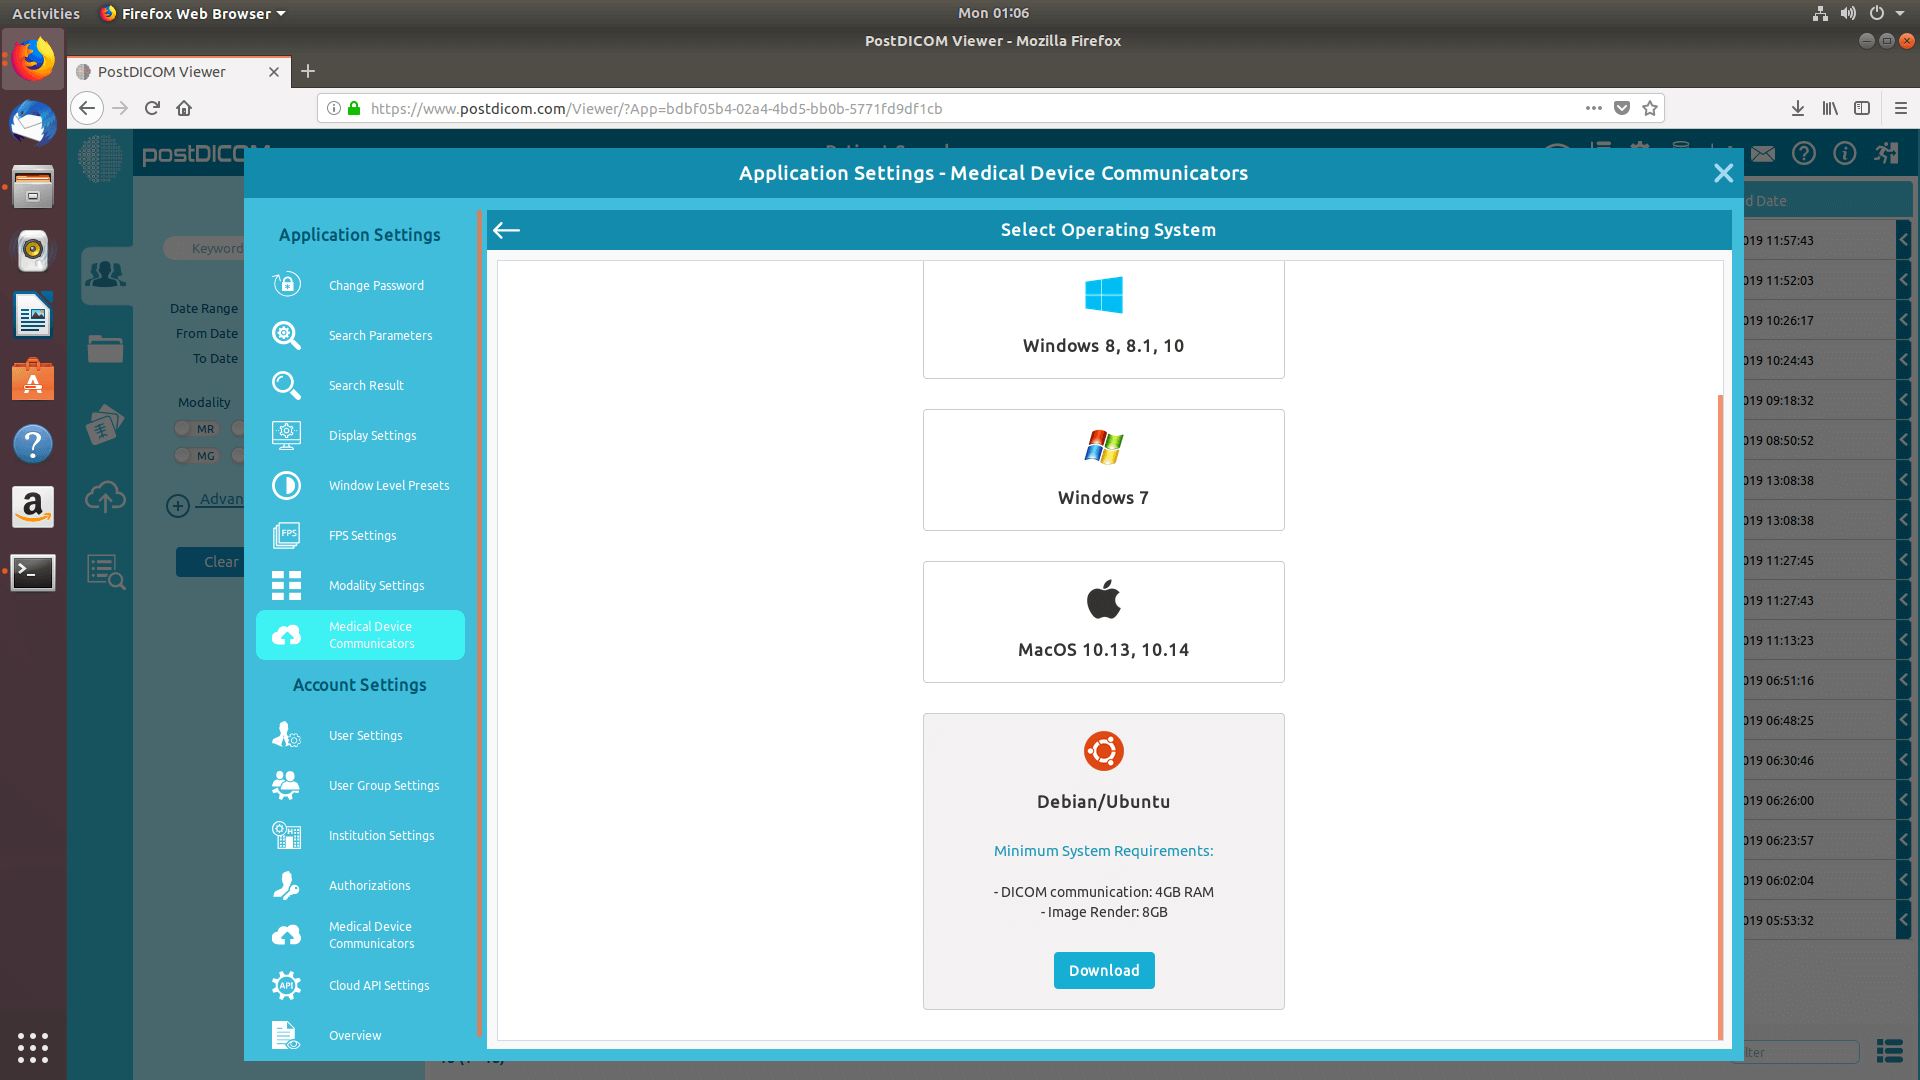
The “Select operating system” form will be shown and supported operating systems will be listed on the form. MeDiC applications can run on computers running Microsoft Windows 7, 8, 8.1 or 10. Moreover, it can run on Macintosh computers running Apple MacOS High Sierra or Mojave. Minimum requirements for corresponding operating system can be seen by clicking on the information icon. Choose the operating system that is compatible with your computer.
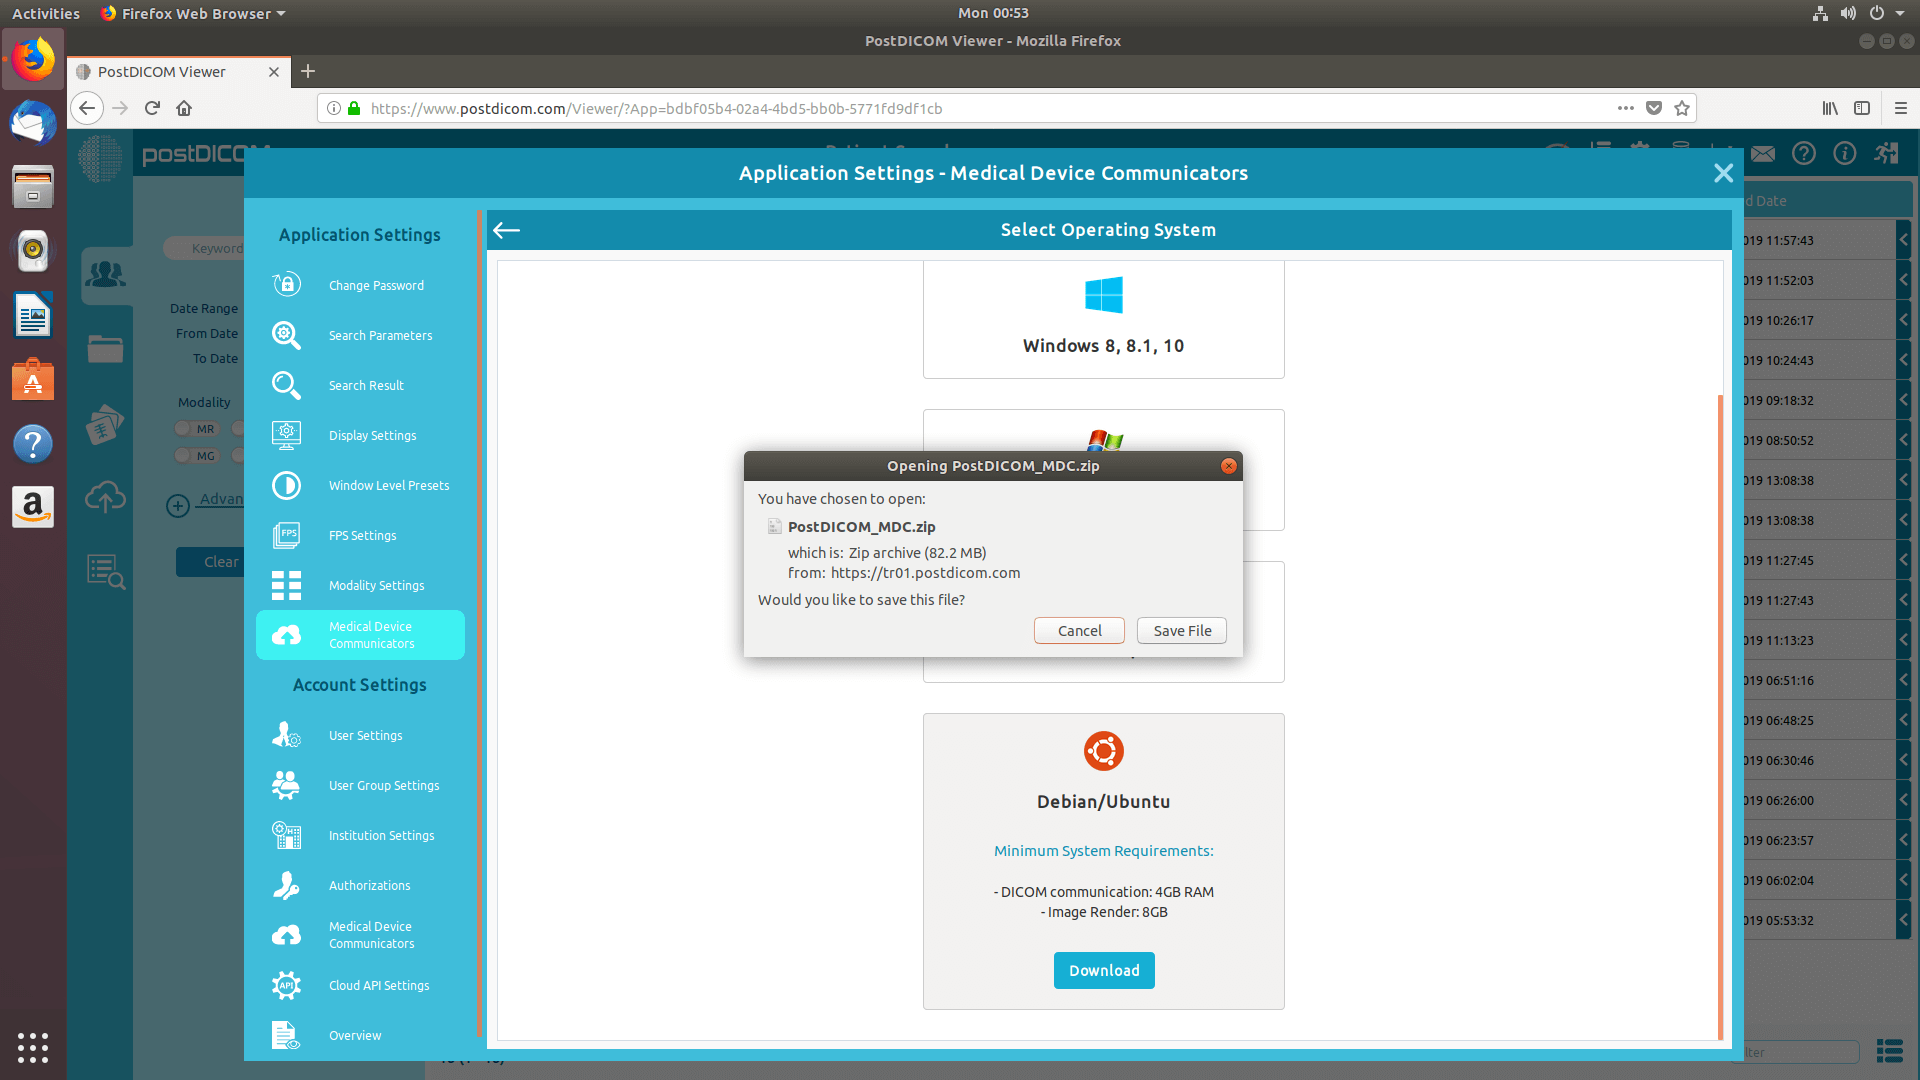
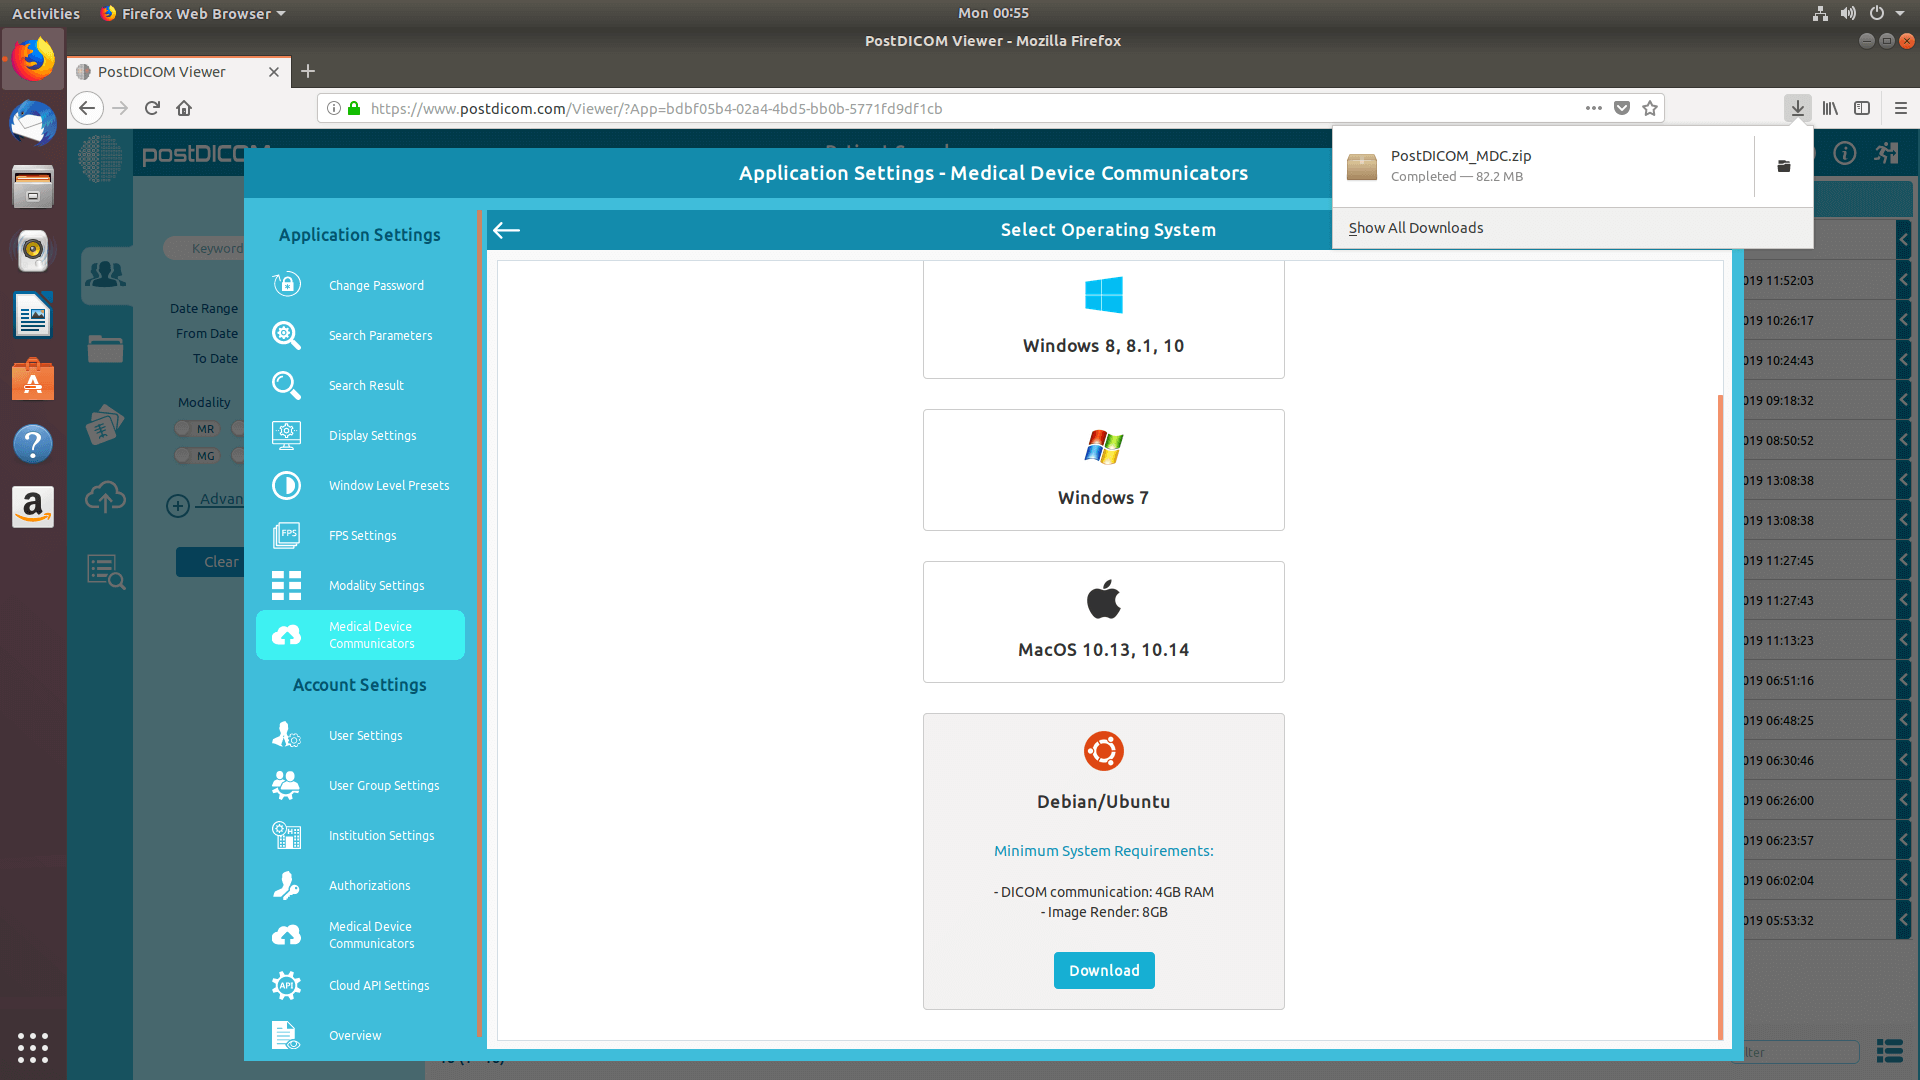
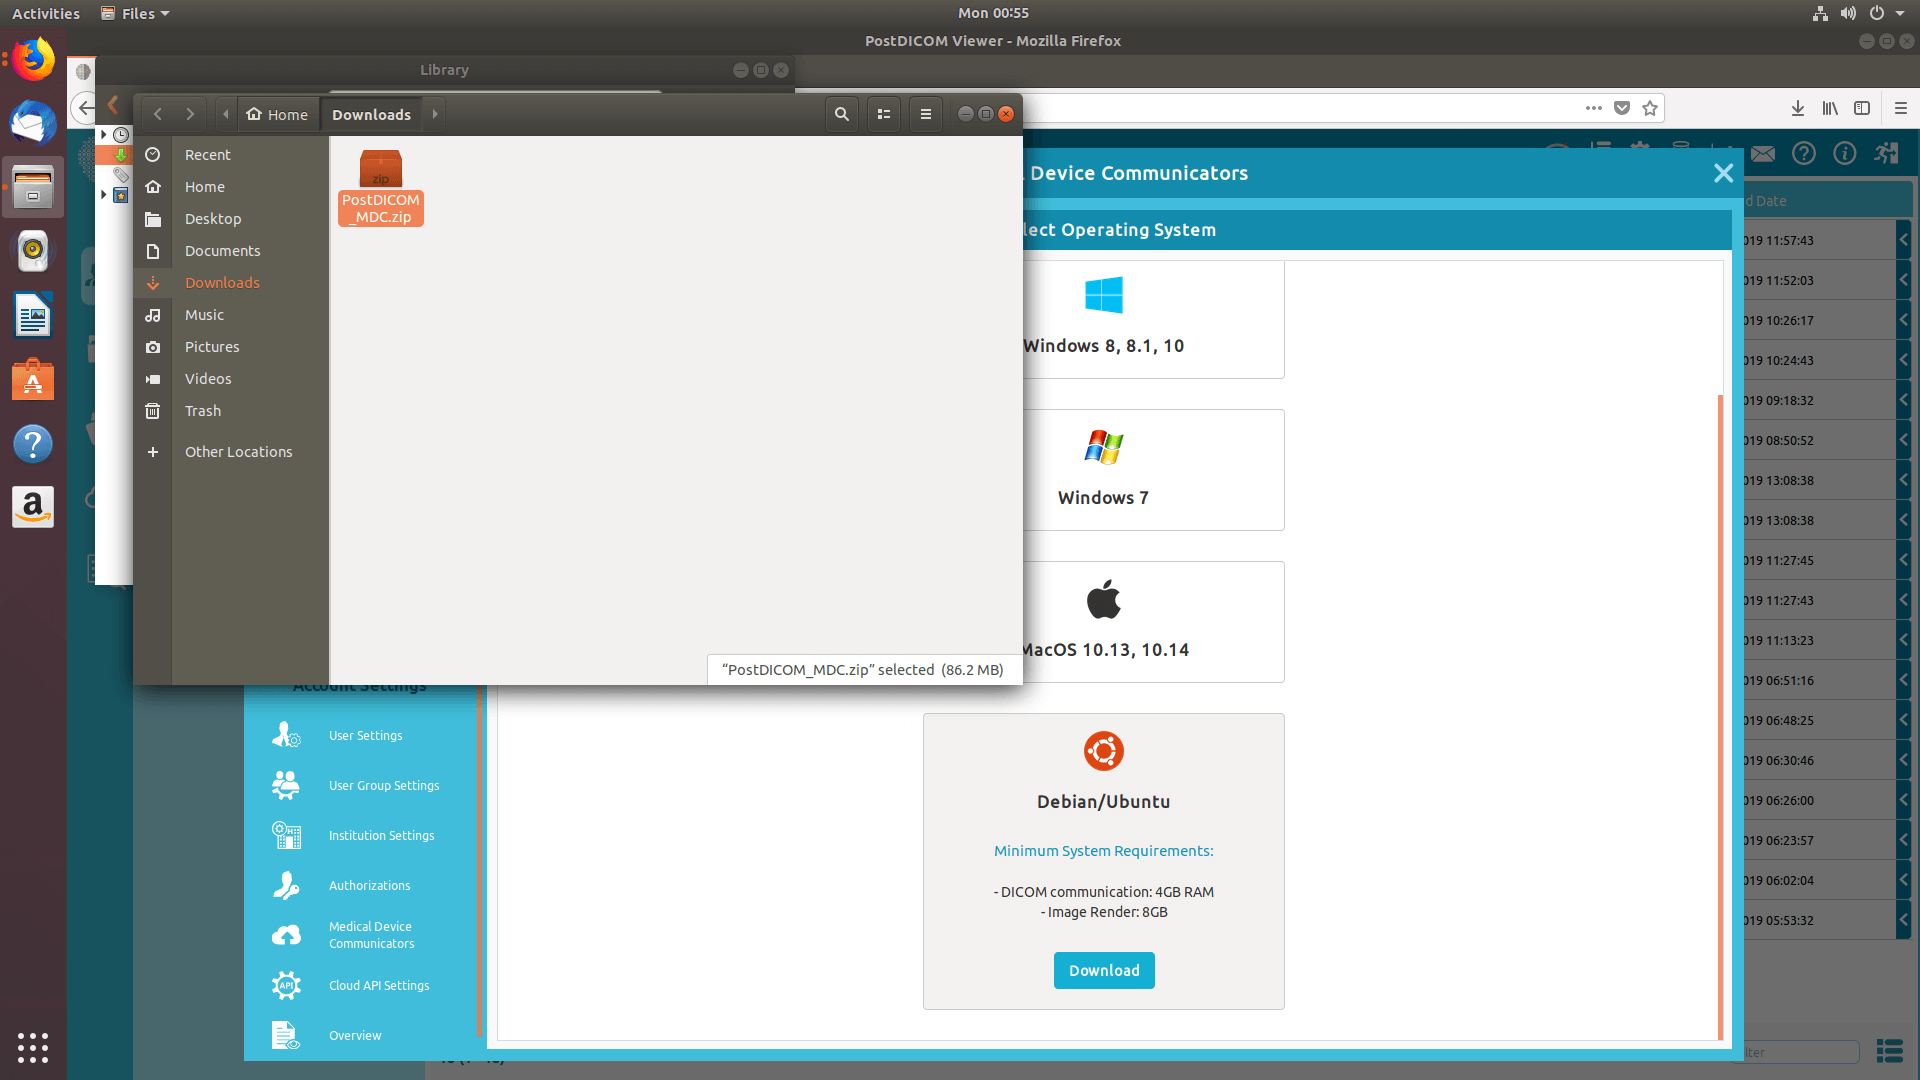
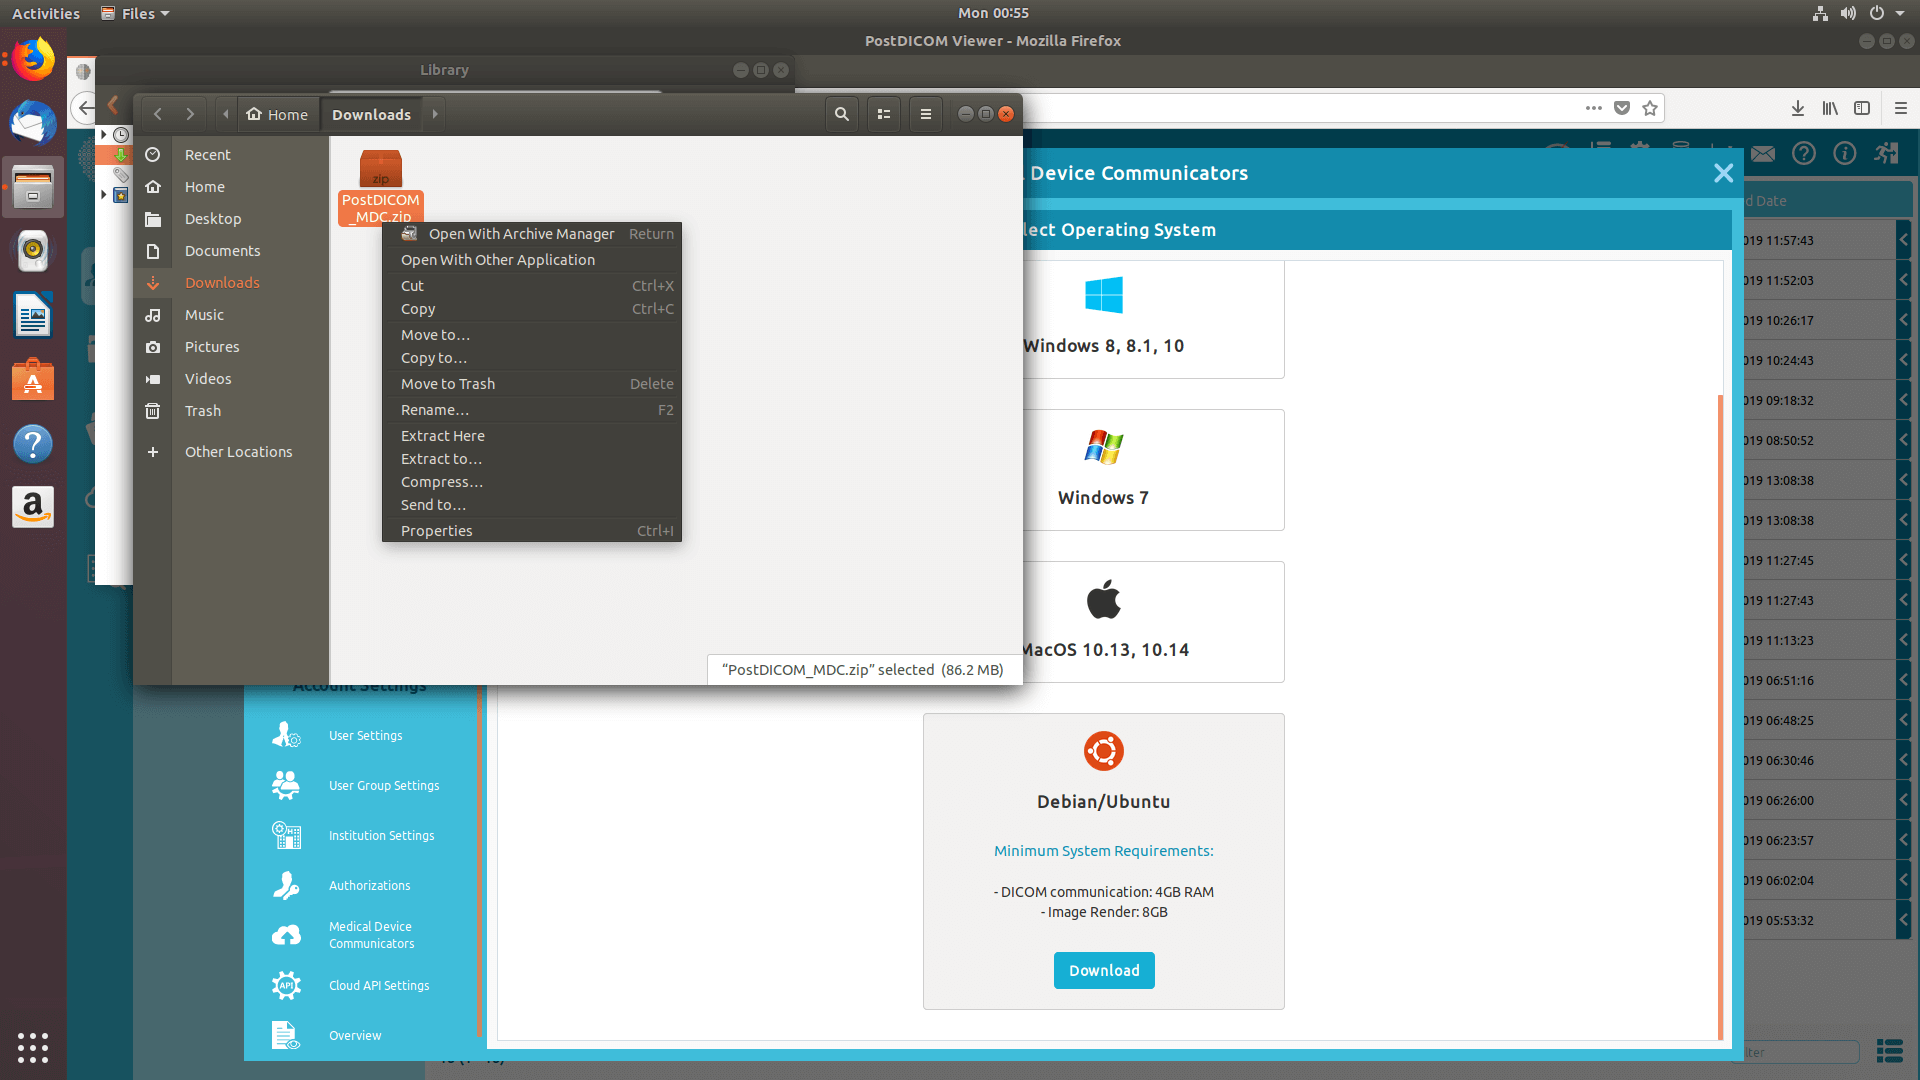
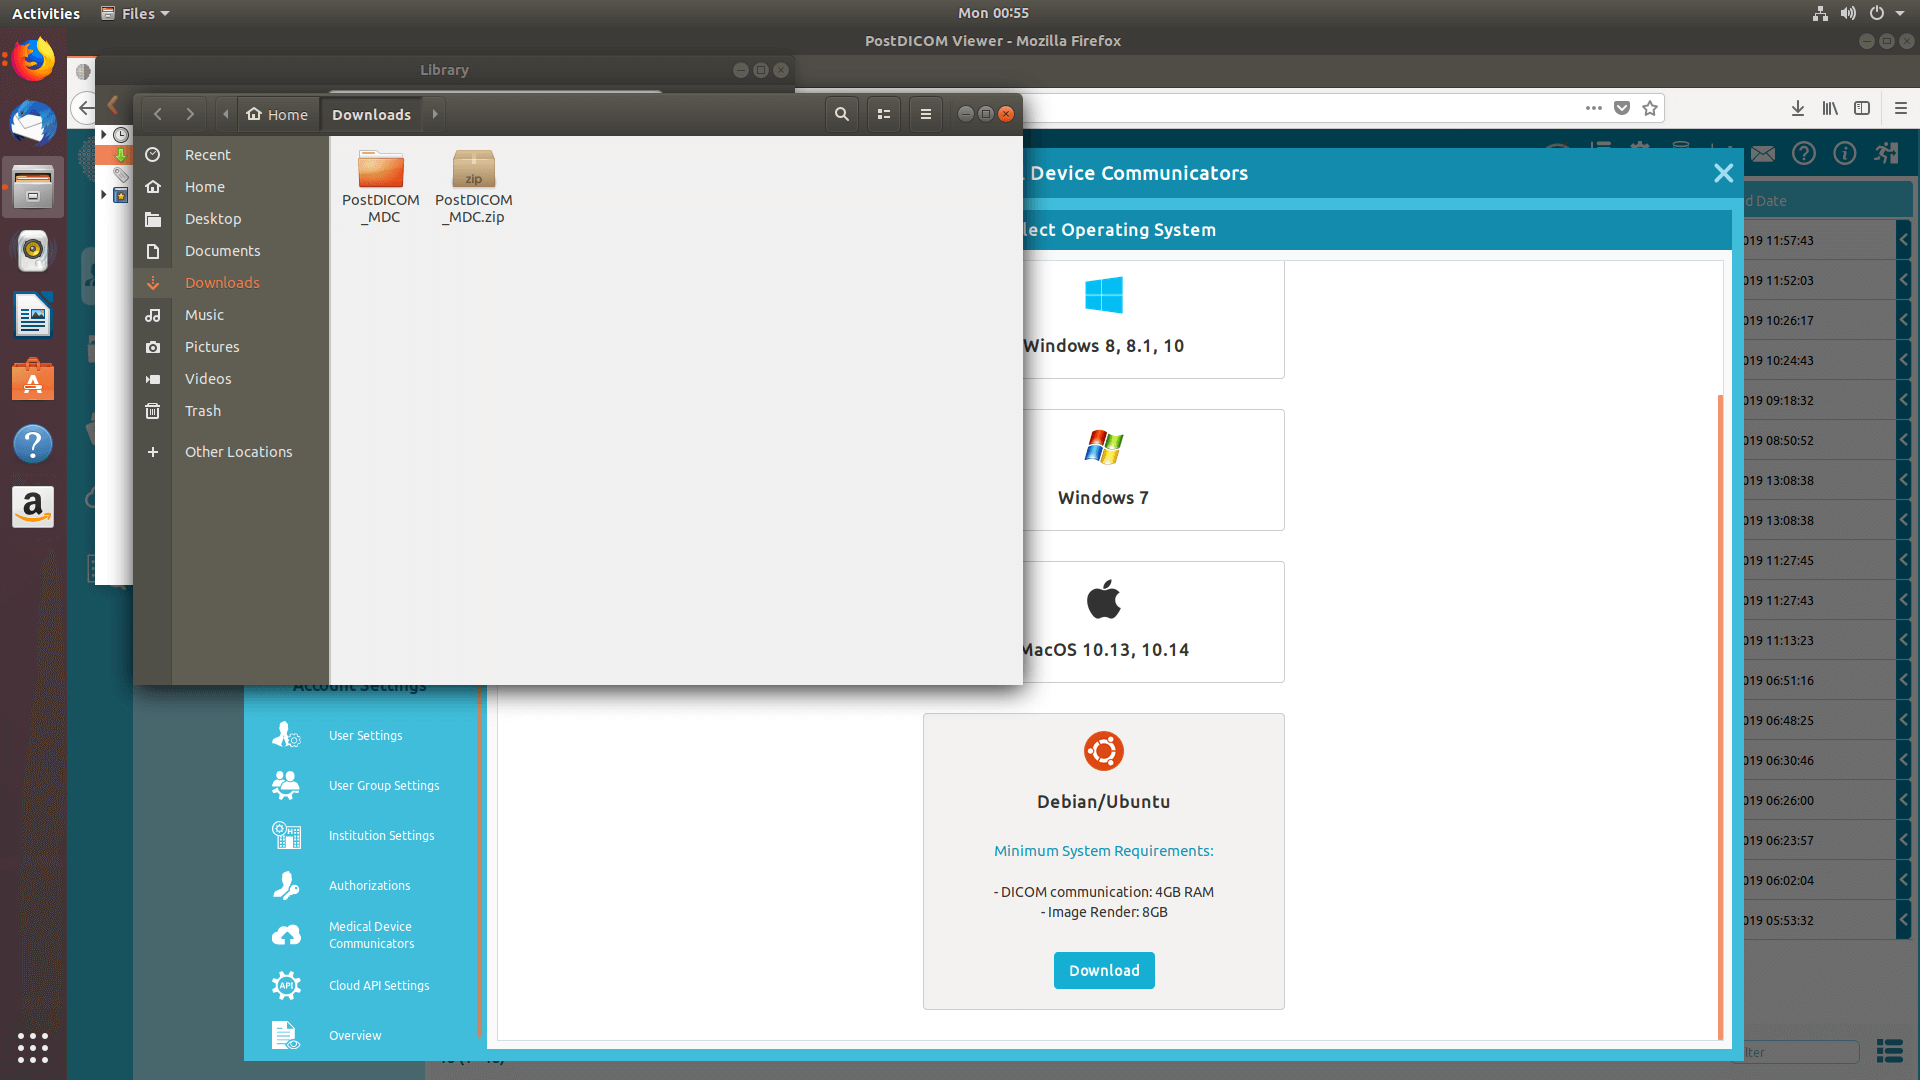
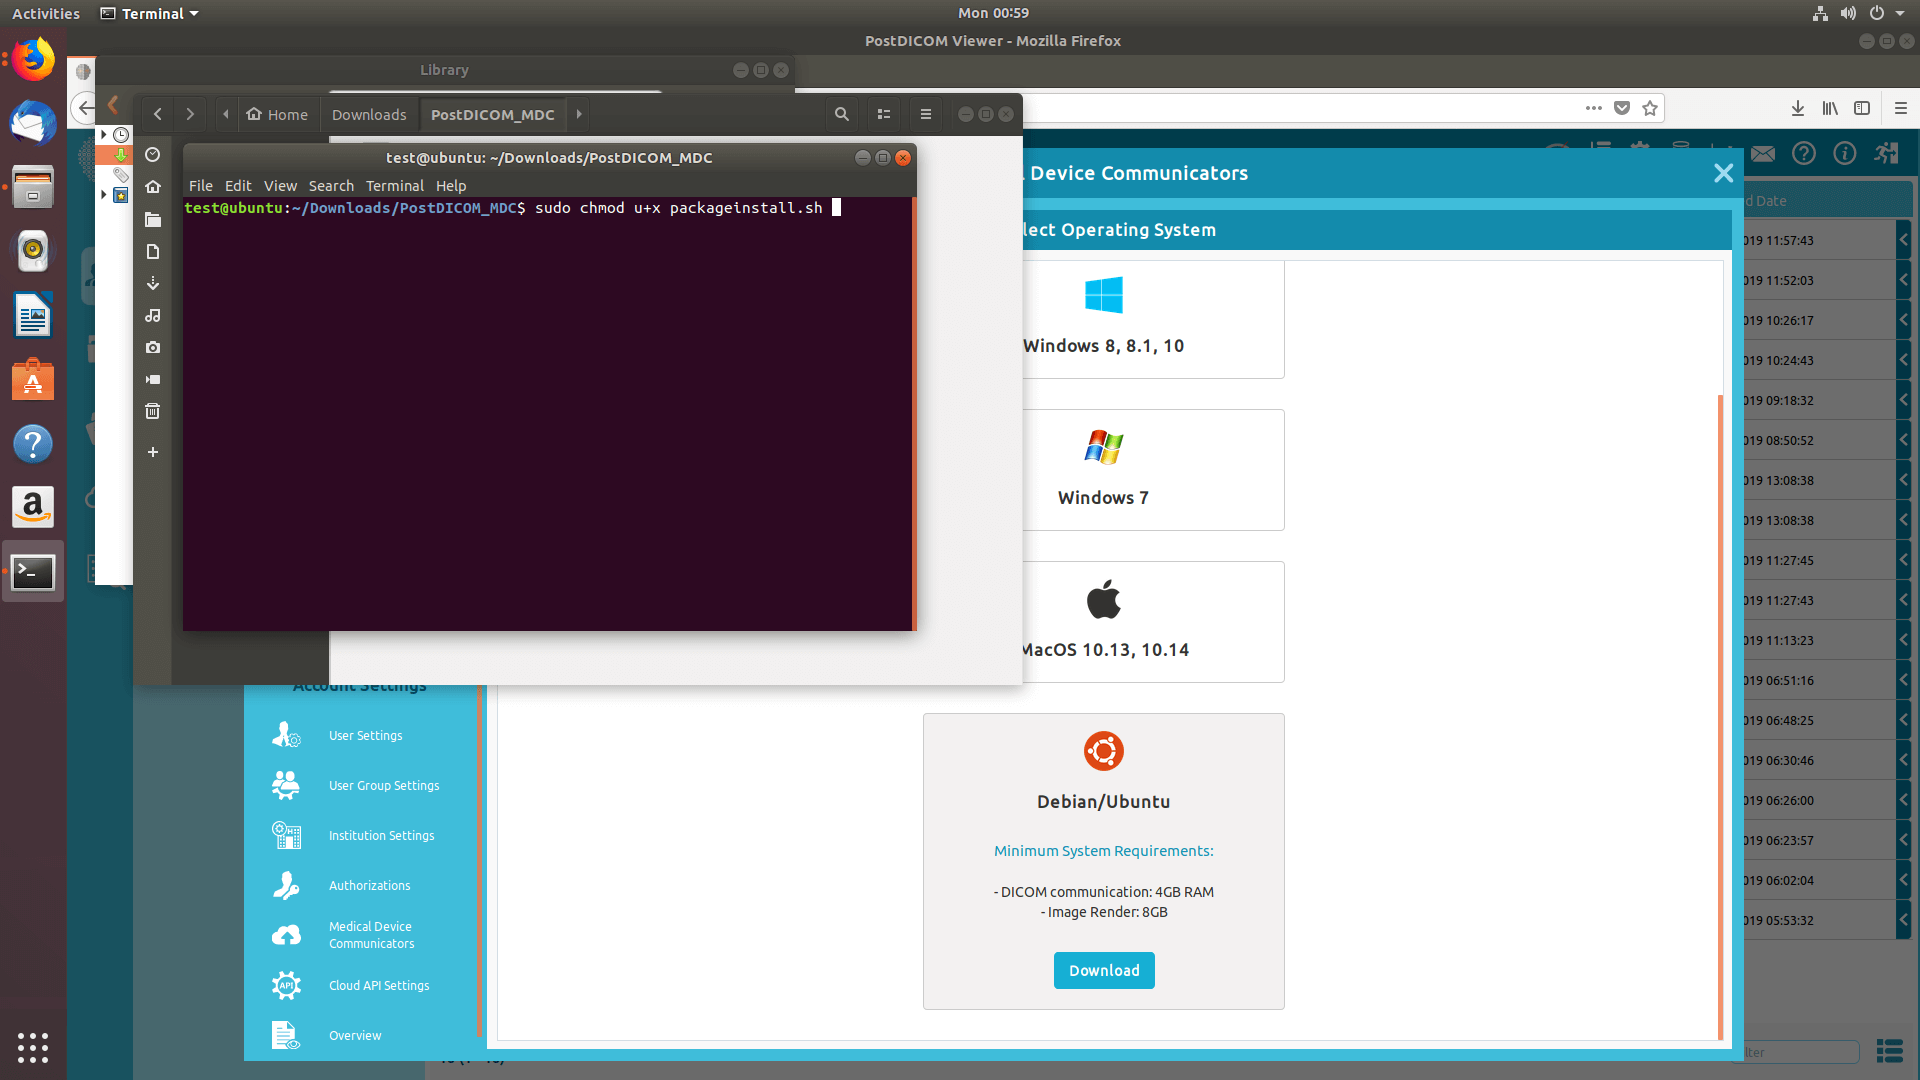
Click on the operating system to download MeDiC setup to your computer.
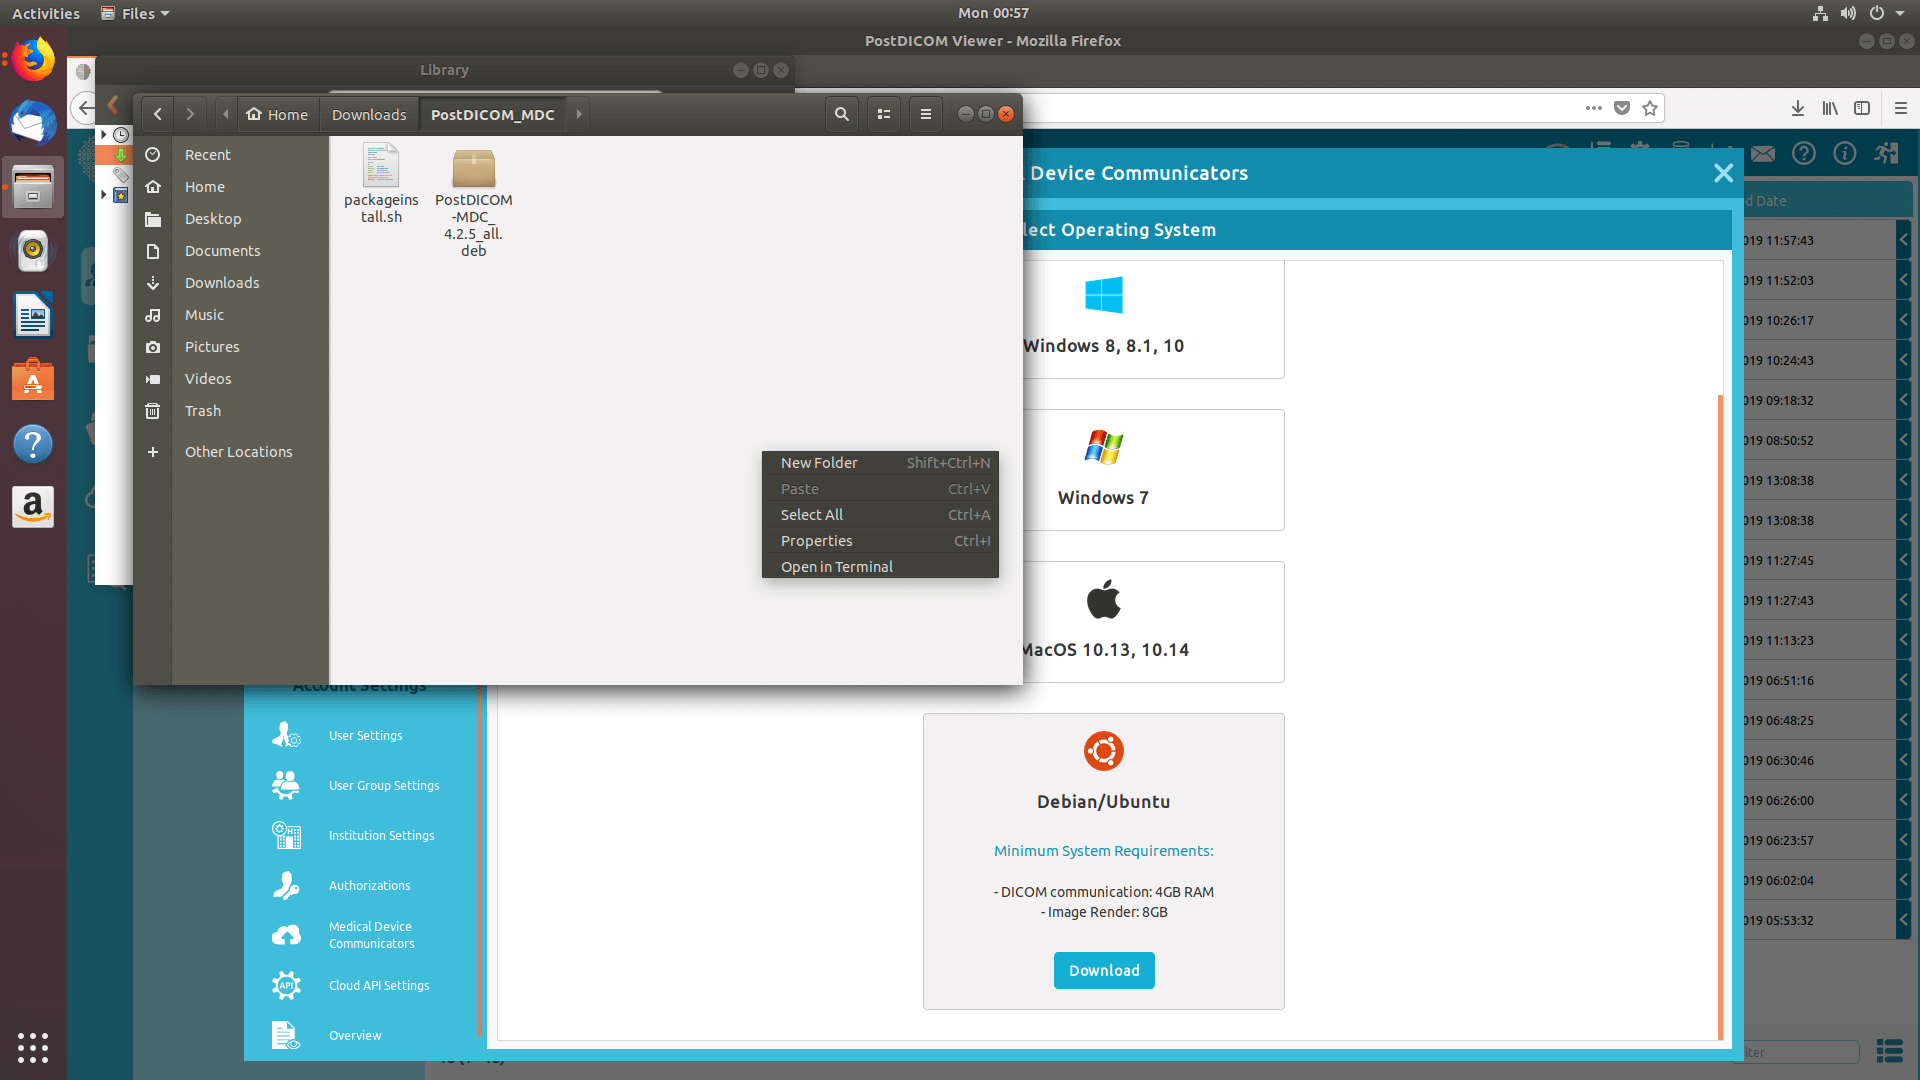
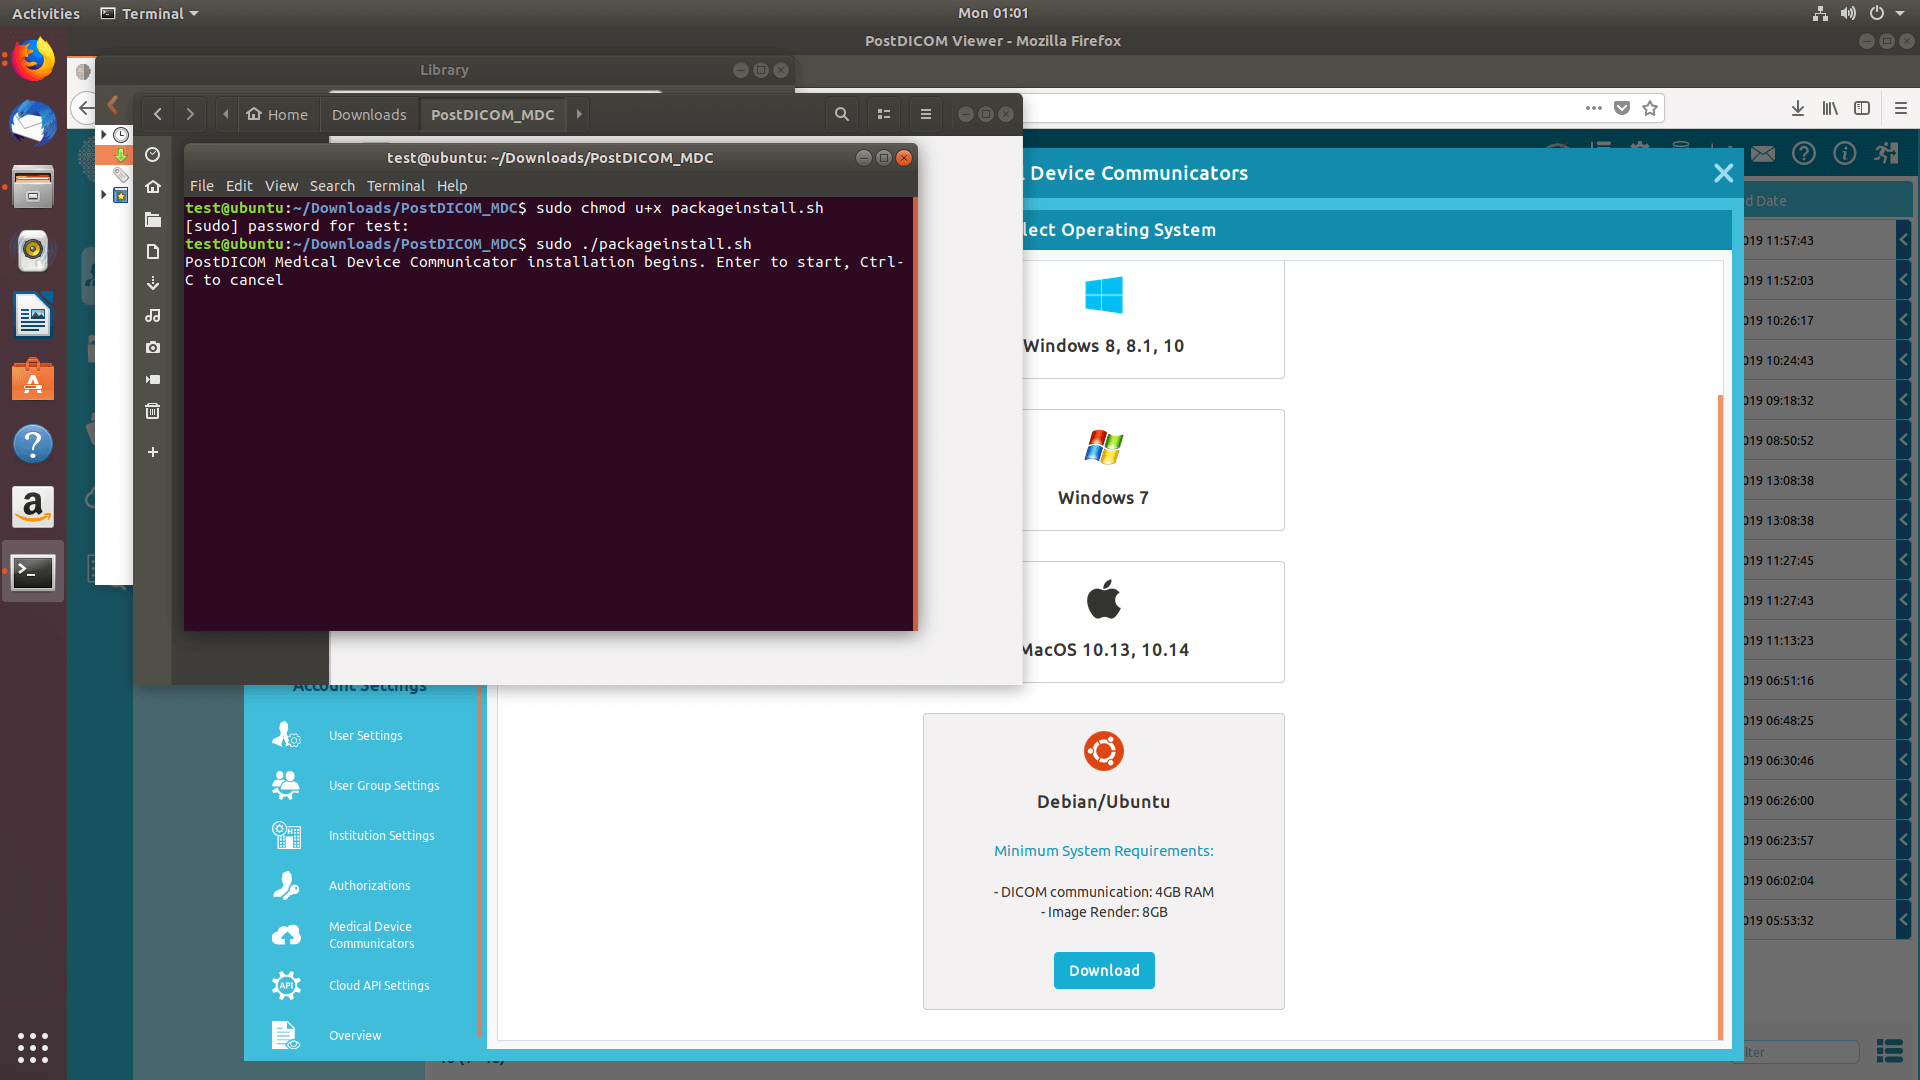
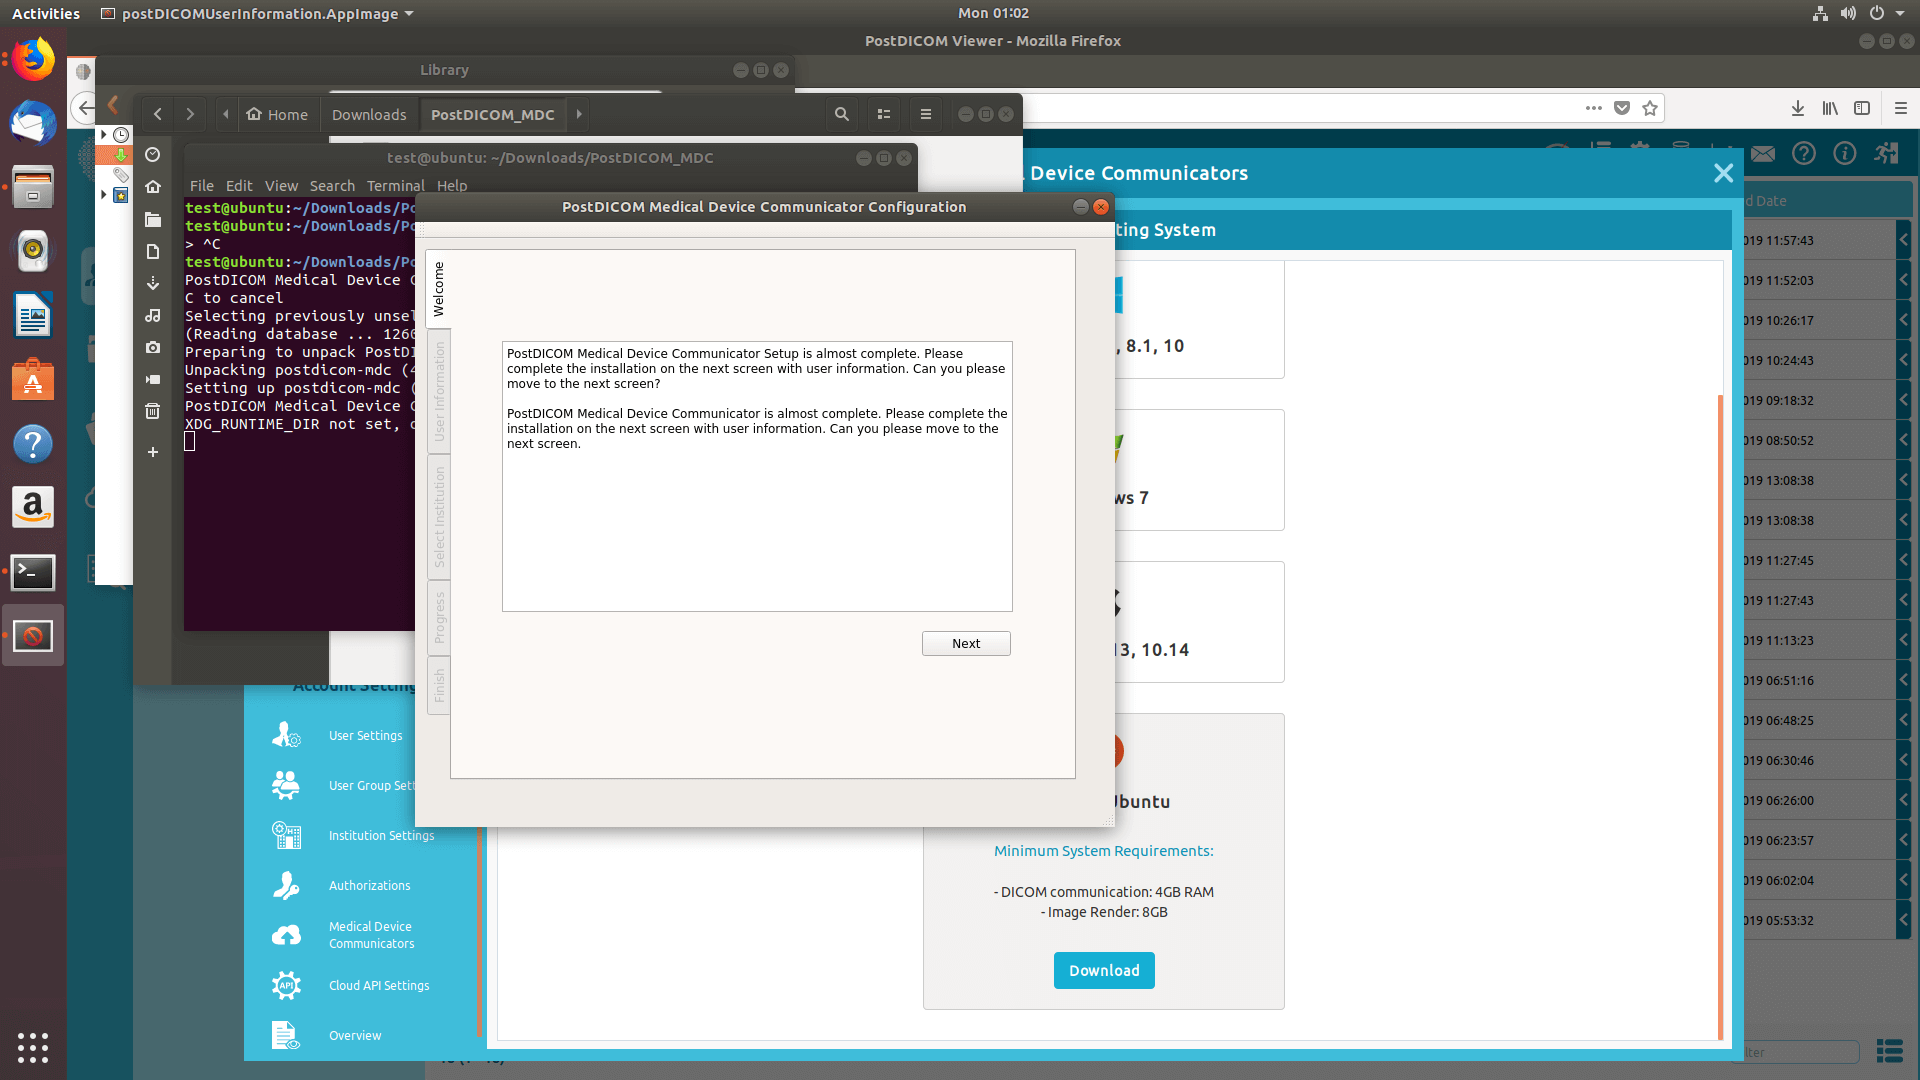
When setup file is downloaded, click on “PostDICOM_MDC.exe” to run it. PostDICOM Medical Device Communicator Setup page will be opened. Click on the “Next” button.
The destination folder selection page will be opened. The software will be installed in the default folder listed in the text area. If you want to select a different location, click on the “Change” button. When setup folder is selected, click on the “Next” button.
You are now ready to install PostDICOM MeDiC on your computer. Click on the “Next” button to proceed with the installation.
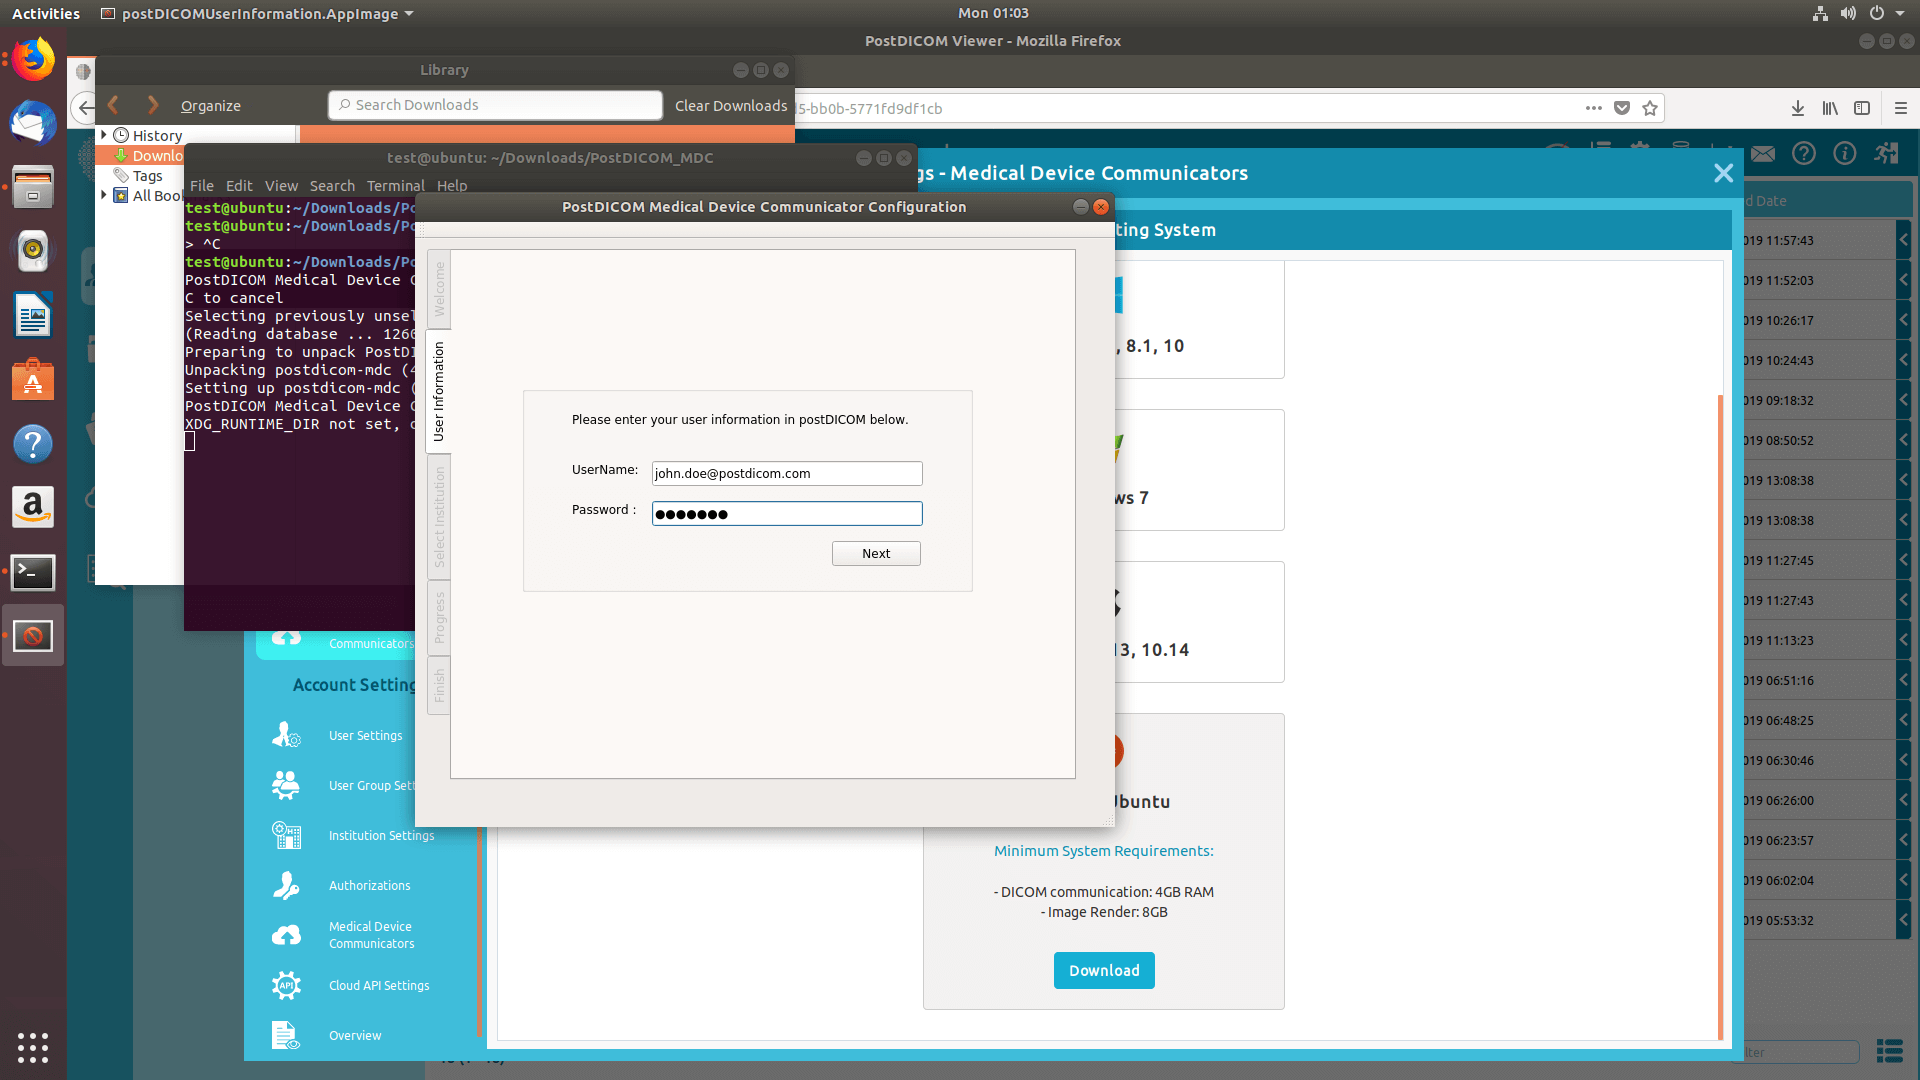
Enter your PostDICOM e-mail address and password and click on “Next” button.
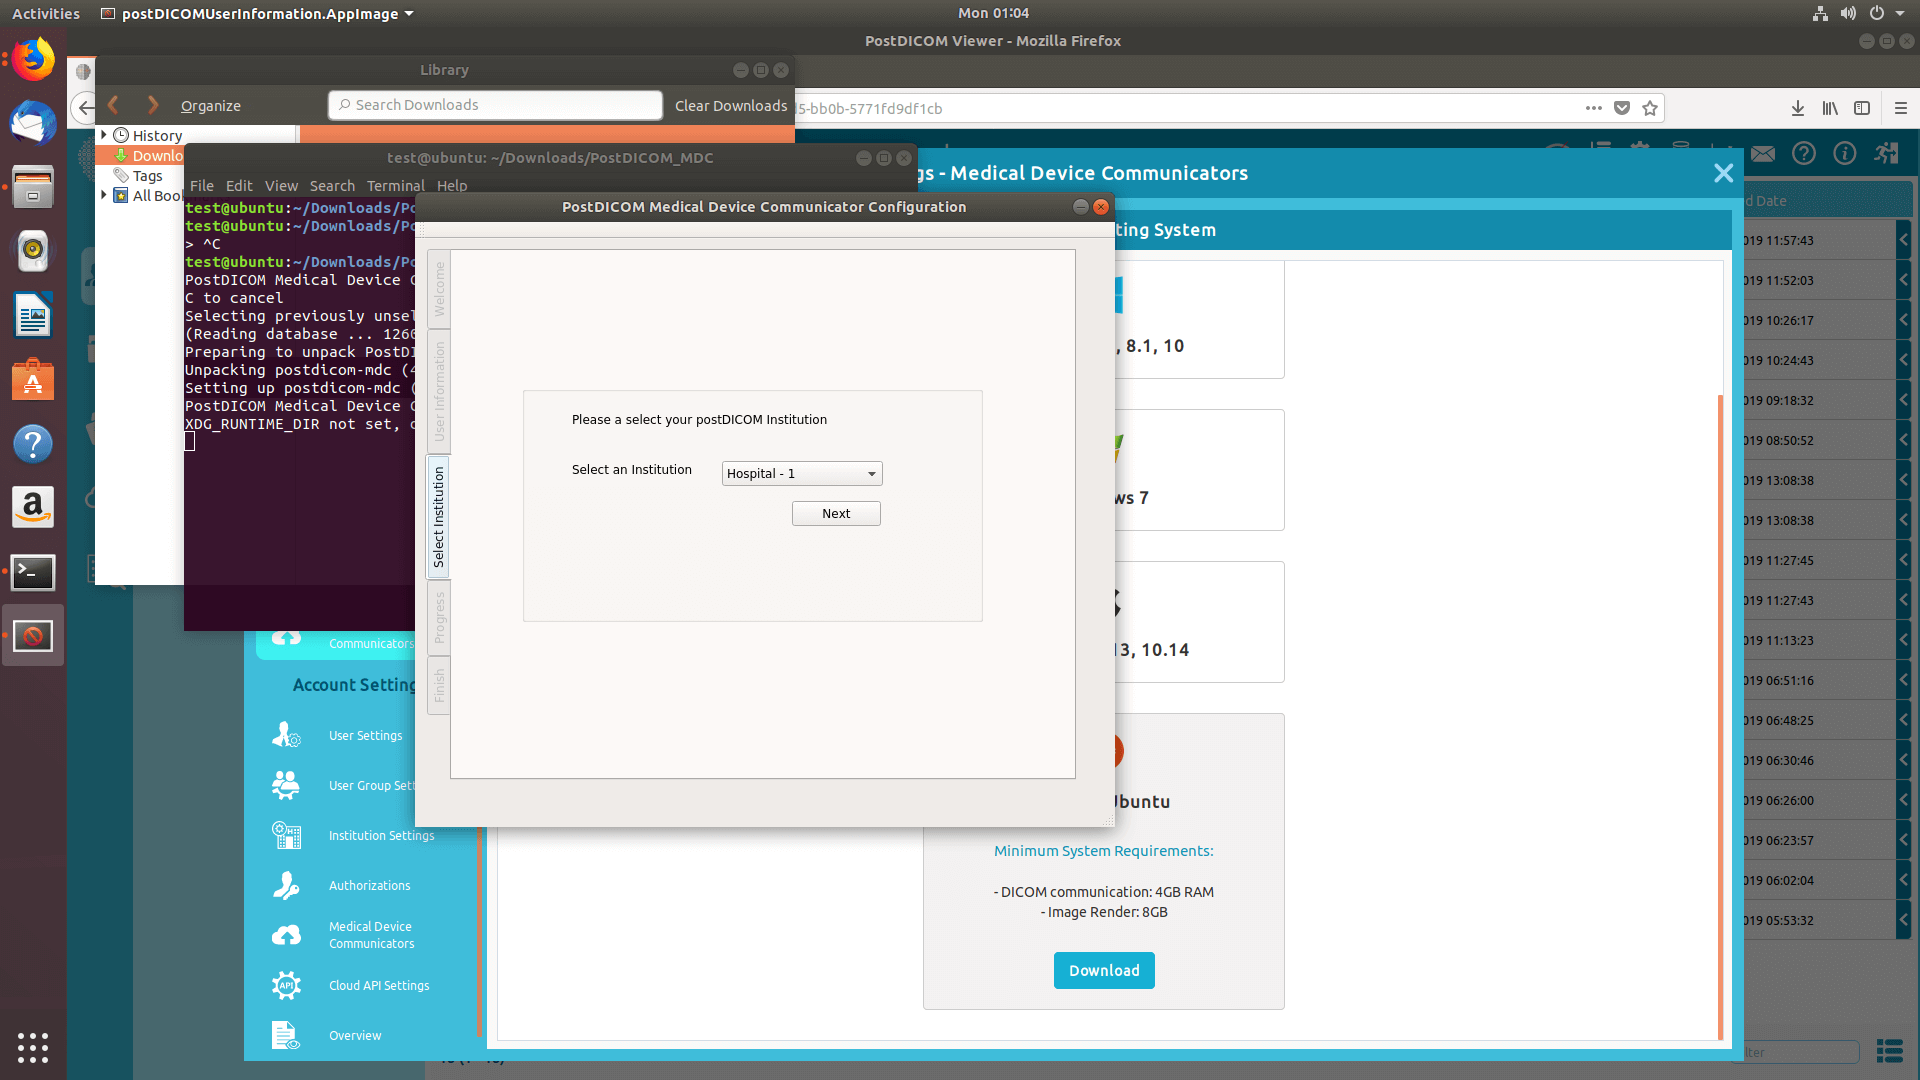
If you have more than one institution, please, proceed with caution. Institution Selection Form will be displayed so that you can select the current institution for this MeDiC. This step is very important. Because, each MeDiC application can only work for one Institution. When you send your DICOM files to this MeDiC, every file received by this MeDiC is only saved to the selected institution. After correct institution is selected, click on the “Next” button to continue.
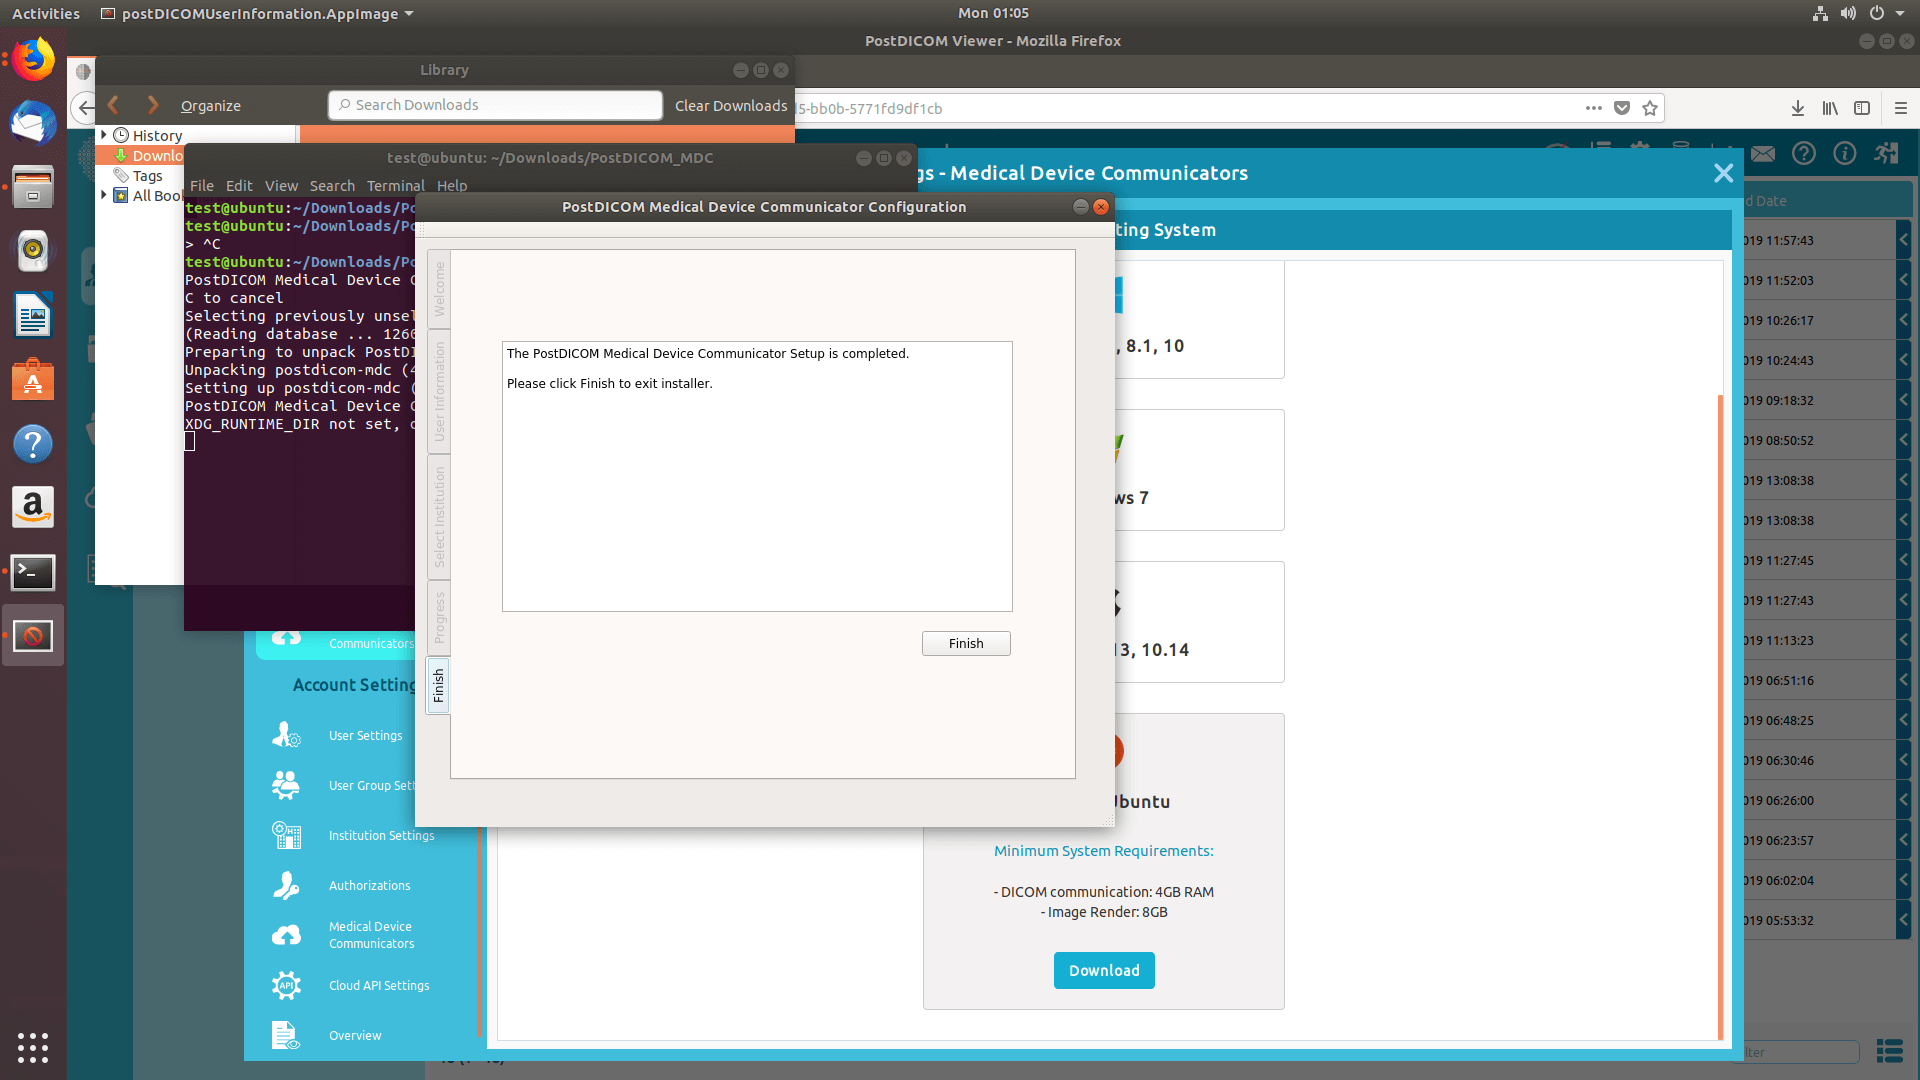
In a few seconds, MeDiC installation will be completed. When it is finished, click on the “Finish” button to close the installer.
When installation is finished, click on the “Back” button to list your MeDiC application(s).
You will see newly installed MeDiC in the Medical Device Communicators list with its name, created time, operating system, IP and status information. If you do not see your MeDiC application click on the “Refresh” button to refresh the MeDiC applications list.
Next image.
Next image.
Next image.
Next image.
Next image.
Next image.
Next image.
Next image.
Next image.
Next image.
Next image.
Next image.